You are viewing an older revision! See the latest version
Websocket and Mbed
WebSocket
- WebSocket on mbed
- The mbed WebSocket Server
- Deploy your own WebSocket server
Import programWebsocket_Wifly_HelloWorld
WebSocket Hello World using the wifly interface
Import programWebsocket_Ethernet_HelloWorld
websocket client ethernet hello world example
As explained in this webpage, the WebSocket protocol allows full-duplex, bi-directional communications between a server and clients.
The websocket server
In this tutorial, we will be using a public server provided by mbed for testing purposes.
So you just have to program your mbed!
If you want more information regarding the server side code, see Mbed WebSocket server and Websockets Server
This tutorial is divided into two parts:
- Part 1 - Sending Hello World over a WebSocket communication over WiFi
- Part 2 - Sending Hello World over a WebSocket communication over Ethernet
You may wish to skip to the relevant section after you have chosen whether you are using WiFi or Ethernet
Part 1 - Sending data from the Mbed: Wifi
1.1 - Code
You may wish to skim the page on the WiFly module.
The main code:
#include "mbed.h"
#include "WiflyInterface.h"
#include "Websocket.h"


/* wifly interface:
*     - p9 and p10 are for the serial communication
*     - p19 is for the reset pin
*     - p26 is for the connection status
*     - "mbed" is the ssid of the network
*     - "password" is the password
*     - WPA is the security
*/
WiflyInterface wifly(p9, p10, p19, p26, "mbed", "password", WPA);

int main() {
    wifly.init(); //Use DHCP
    while (!wifly.connect());
    printf("IP Address is %s\n\r", wifly.getIPAddress());

    Websocket ws("ws://sockets.mbed.org:443/ws/demo/wo");
    while (!ws.connect());

    while (1) {
            ws.send("WebSocket Hello World over Wifly");
            wait(1.0);
    }
}
Import programWebsocket_Wifly_HelloWorld
WebSocket Hello World using the wifly interface
ssid, key, mode, channel
Don't forget to adapt:
- the ssid and the key of your network in the Wifly constructor
- the mode and the channel of your choice in the WebSocket constructor
1.2 - You should be ready!
- You can now download this program into your mbed
- Visit the webpage of your own channel: http://sockets.mbed.org/your_own_channel/viewer
Information
You can join the server, create your own channel, send and view messages over your channel just by visiting:
http://sockets.mbed.org
1.3 - Demo
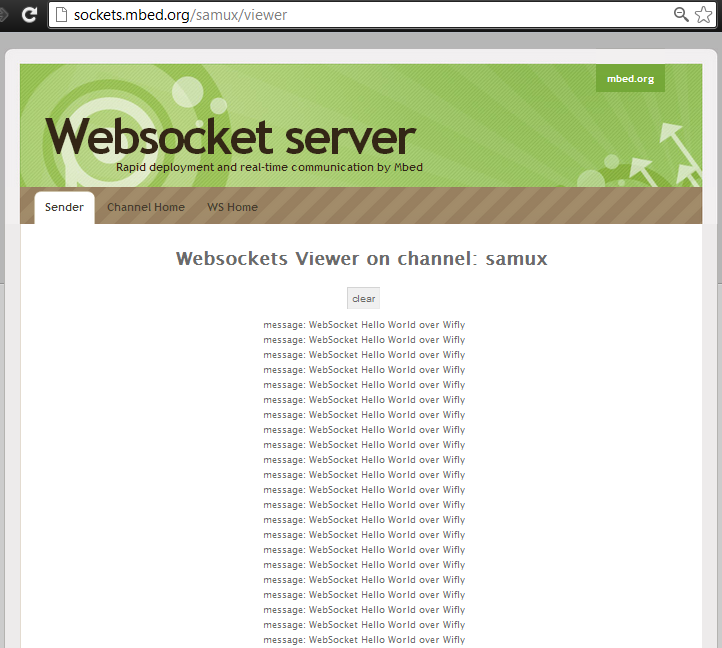
You can check that all is working by visiting the webpage of your own channel: http://sockets.mbed.org/your_own_channel/viewer
For instance: http://sockets.mbed.org/samux/viewer

Et Voilà! We are able to send data on our webpage over a wifi network!
Part 2 - Sending Hello World from the Mbed: Ethernet
2.1 - Code
The main code:
#include "mbed.h"
#include "EthernetInterface.h"
#include "Websocket.h"


int main() {
    char recv[30];

    EthernetInterface eth;
    eth.init(); //Use DHCP
    eth.connect();
    printf("IP Address is %s\n\r", eth.getIPAddress());

    Websocket ws("ws://sockets.mbed.org:443/ws/demo/wo");
    ws.connect();

    while (1) {
        ws.send("WebSocket Hello World over Ethernet");
        wait(1.0);
    }
}
Import programWebsocket_Ethernet_HelloWorld
websocket client ethernet hello world example
Note that the WebSocket API is the same for using a WiFi module or an Ethernet connection
mode, channel
Don't forget to edit:
- the mode and the channel of your choice in the WebSocket constructor
2.2 - You should be ready!
- You can now download this program into your mbed
- Visit the webpage of your own channel: http://sockets.mbed.org/your_own_channel/viewer
Information
You can join the server, create your own channel, send and view messages over your channel just by visiting:
http://sockets.mbed.org
2.3 - Demo
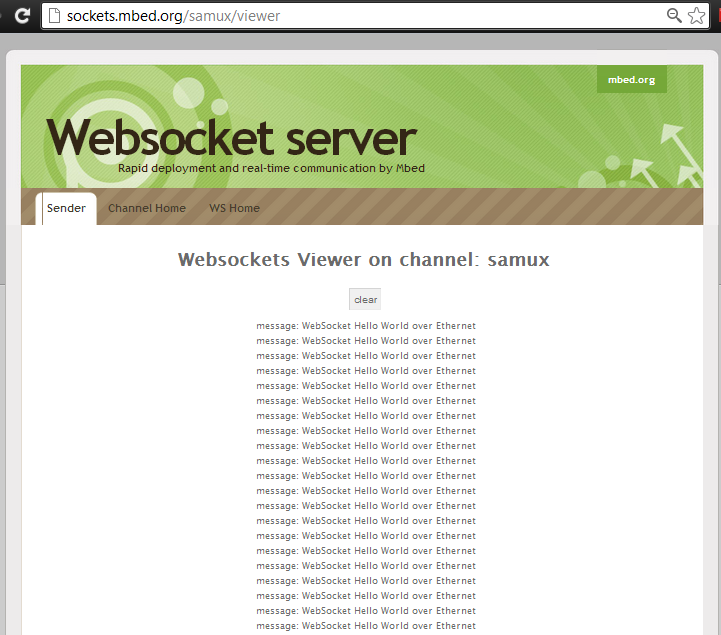
You can check that all is working by visiting the webpage of your own channel: http://sockets.mbed.org/your_own_channel/viewer
For instance: http://sockets.mbed.org/samux/viewer

Et Voilà! We are able to see on our webpage Hello World over an Ethernet network!
Now, if you want, you can write your own webpage to process and display the data coming in on your channel whichever way you wish!
Conclusion
After this tutorial, you are able to send messages to every webpage connected to a websocket server. You can imagine sending data from sensors and print or display values received in the webpage. Sensors are now accessible all over the world. You can take a look to the Internet Of Things project where data are sent and displayed in real time using another HTML5 feature: canvas.
