m3pi RobotRacing
Robot racing was the very first activity we tried with the m3pi robot. The challenge was to drive around the track as fast as possible either by scripting the m3pi with some hard-coded movements, or writing a line follower.
This page pulls together the resources we've created.
Organisers Instructions
You might have arrived at this page having read the Organiser Instructions. If not, they can be found here :
Resources Pack
Download mbedRobotRacingResource.zip containing :
- Timer HTML file
- Hello World - The published m3pi Hello World makes the m3pi move forward, turn around and come back
- LineFollower - The published crude line follower
- LineFollwer_PID - The published PID line follower
- BluetoothRPC - The published Bluetooth RPC program. Provide command line access via RN-42 module
- WiiRacing - The published Wii Racing program. Use a USB Bluetooth dongle to pair a Wii Remote to drive the m3pi
- USBLineDetector - This code runs on the beam breaker assembly to convert beam breaks to pipe "|" characters
Lap timer
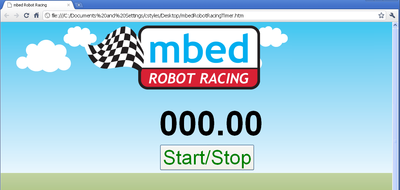
The lap timer was a novel idea using Javascript running in a web browser to catch the pipe characters "|" which started and stopped the timer.

The stand alone HTML file that implements the timer canbe downloaded here :
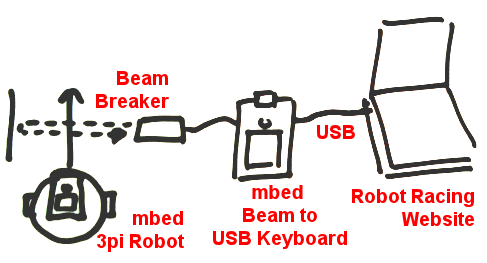
The actual measurement is done using a optical beam across the track that triggers the start/stop action when the robot breaks the beam.
Beam breaker
The next part of this novel timer was to use an mbed as a USB keyboard, so it can then "type" the pipe characters to the web browser. The mbed also has a beam breaker connected to it which is used to trigger the typing!

Import program
00001 #include "mbed.h"
00002 #include "USBKeyboard.h"
00003
00004 DigitalOut trigger(LED1);
00005 DigitalIn event(p22);
00006 USBKeyboard k;
00007
00008 int main() {
00009     while (1) {
00010         trigger = event;
00011         if (event) {
00012             k.putc('|');
00013             trigger = event;
00014             wait(1);
00015             while (!event) {
00016                 trigger = event;
00017             }
00018         }
00019     }
00020 }
Tracks and Maze artwork
Coming soon!
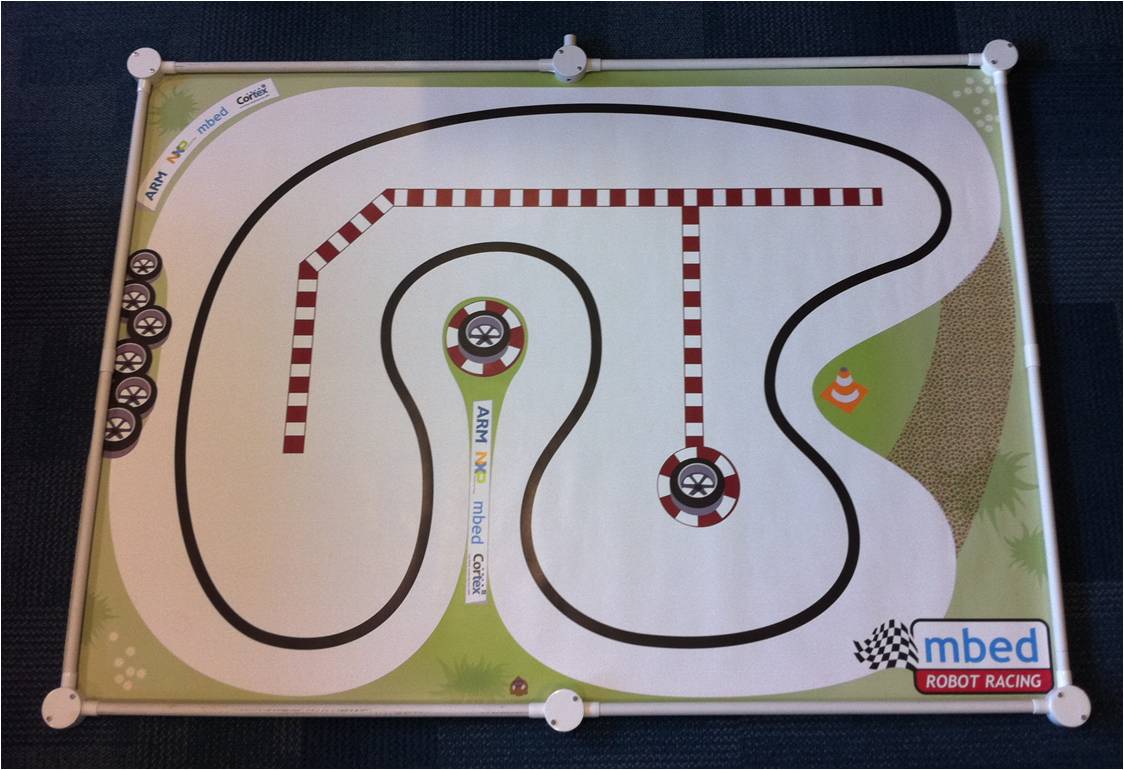
Some print ready PDF in 2A0 size, ready to take to your local highstreet printer, or order online.
Crash barriers!
We have found that if the robots can fly off of the table and land on the floor, they will! Although the 3pi is incredibly robost (astonishingly robust in fact), prevention is better than cure.
So, if you are using one of the 2A0 track designs, here is what you need to make yourself some portable crash barriers

- 4 x 75cm lengths of 20mm round conduit, Mark these "A"
- 4 x 55cm lengths of 20mm round conduit, Mark these "B"
- 4 x 2 way angled junction box, 20mm
- 1 x 3 way T junction box, 20mm
- 1 x 2 way through junction box, 20mm
- 2 x Conduit couplings, 20mm
Method
- Join two "A" sections with the 2 way through box
- Join the remaining two "A" sections with the 2 way T box
- Join two "B" sections with a coupling
- Join the remaining two "B" sections with a coupling
- The sections made from "A"s run the length of th track, the sections made form "B"s run the width
- Join the sections at the four corners with the 2 way angle boxes.
