You are viewing an older revision! See the latest version
Websocket and Mbed
Websockets and Mbed
As explained in this webpage(!), the Websocket protocol allows full-duplex, bi-directional communications between a server and clients.
-> In this tutorial, the websocket server already exists (at ARM).
-> So you just have to program your mbed
If you want more information regarding the server side code, go to this webpage
This tutorial is divided into two parts:
- Sending accelerometer data over a websocket, from an mbed:
- first, over wifi
- then using an ethernet connection
- Display this data using a
(new feature of HTML5)
1 - Send accelerometer data from the mbed
1.1 - Protocol used by the server**
The url format to establish a connection with the server is: ws://89.16.167.192:444/mbed-demo/<mode>/<channel>
The websockets are divided into channels.
When the server receives a message from a client in a certain channel:
- it will broadcast this message to all clients connected to this channel which are not in 'w' mode
- A client in 'w' mode connected to this channel can only 'write' messages to this channel but cannot receive messages
- A client in a mode different from 'w' can write and receive messages over the channel
1.2 - Javascript part
This code is very similar to the one presented in second part of this tutorial.
<!doctype html>
<html>

  <head>
    <style type="text/css">
      body {
        text-align: center;
        min-width: 500px;
      }
    </style>
    <script src="http://code.jquery.com/jquery.min.js"></script>
    <script>
    function log(m) {
		d = document.getElementById("log");
        d.innerHTML = m + "<br/>" + d.innerHTML;
    }

    $(document).ready(function () {

	$("#open").click(function(evt) {
        evt.preventDefault();

        var channel = $("#channel").val();
        var ws = new WebSocket("ws://89.16.167.192:444/mbed_demo/rw/" + $("#channel").val());

        ws.onopen = function(evt) {
			$("#channel").css("background", "#00ff00");
			document.getElementById("title").innerHTML = "Websockets streaming on channel: " + $("#channel").val();
		};
        ws.onmessage = function(evt) { log("message: " + evt.data); };
        ws.onclose = function(evt) { log("socket closed"); };
        });

    });

    </script>
  </head>

  <body>
    <h1 id="title">Websockets Streaming</h1>
    <label for="channel">channel:</label>
    <input type="text" id="channel" style="background:#ff0000;"/><br />
    <input type="submit" id="open" value="open" />
    <div id="log"></div>


  </body>
</html>
In this webpage, you must associate your connection to a certain channel. In this example, I will use the channel samux. So fill the channel field and press open
If the connection is established:
- we change the background of the channel field from red to green
- we change the title according to the channel
When a message is received: - we extend the div log with this message


So the websocket is opened, now the Mbed part!
1.3 - Sending data from the Mbed: Wifi
Materiel required
For this part you need:
- an Mbed ;)
- a Wifly module like these
- a router
- a sensor (for this tutorial, I will use this accelerometer)
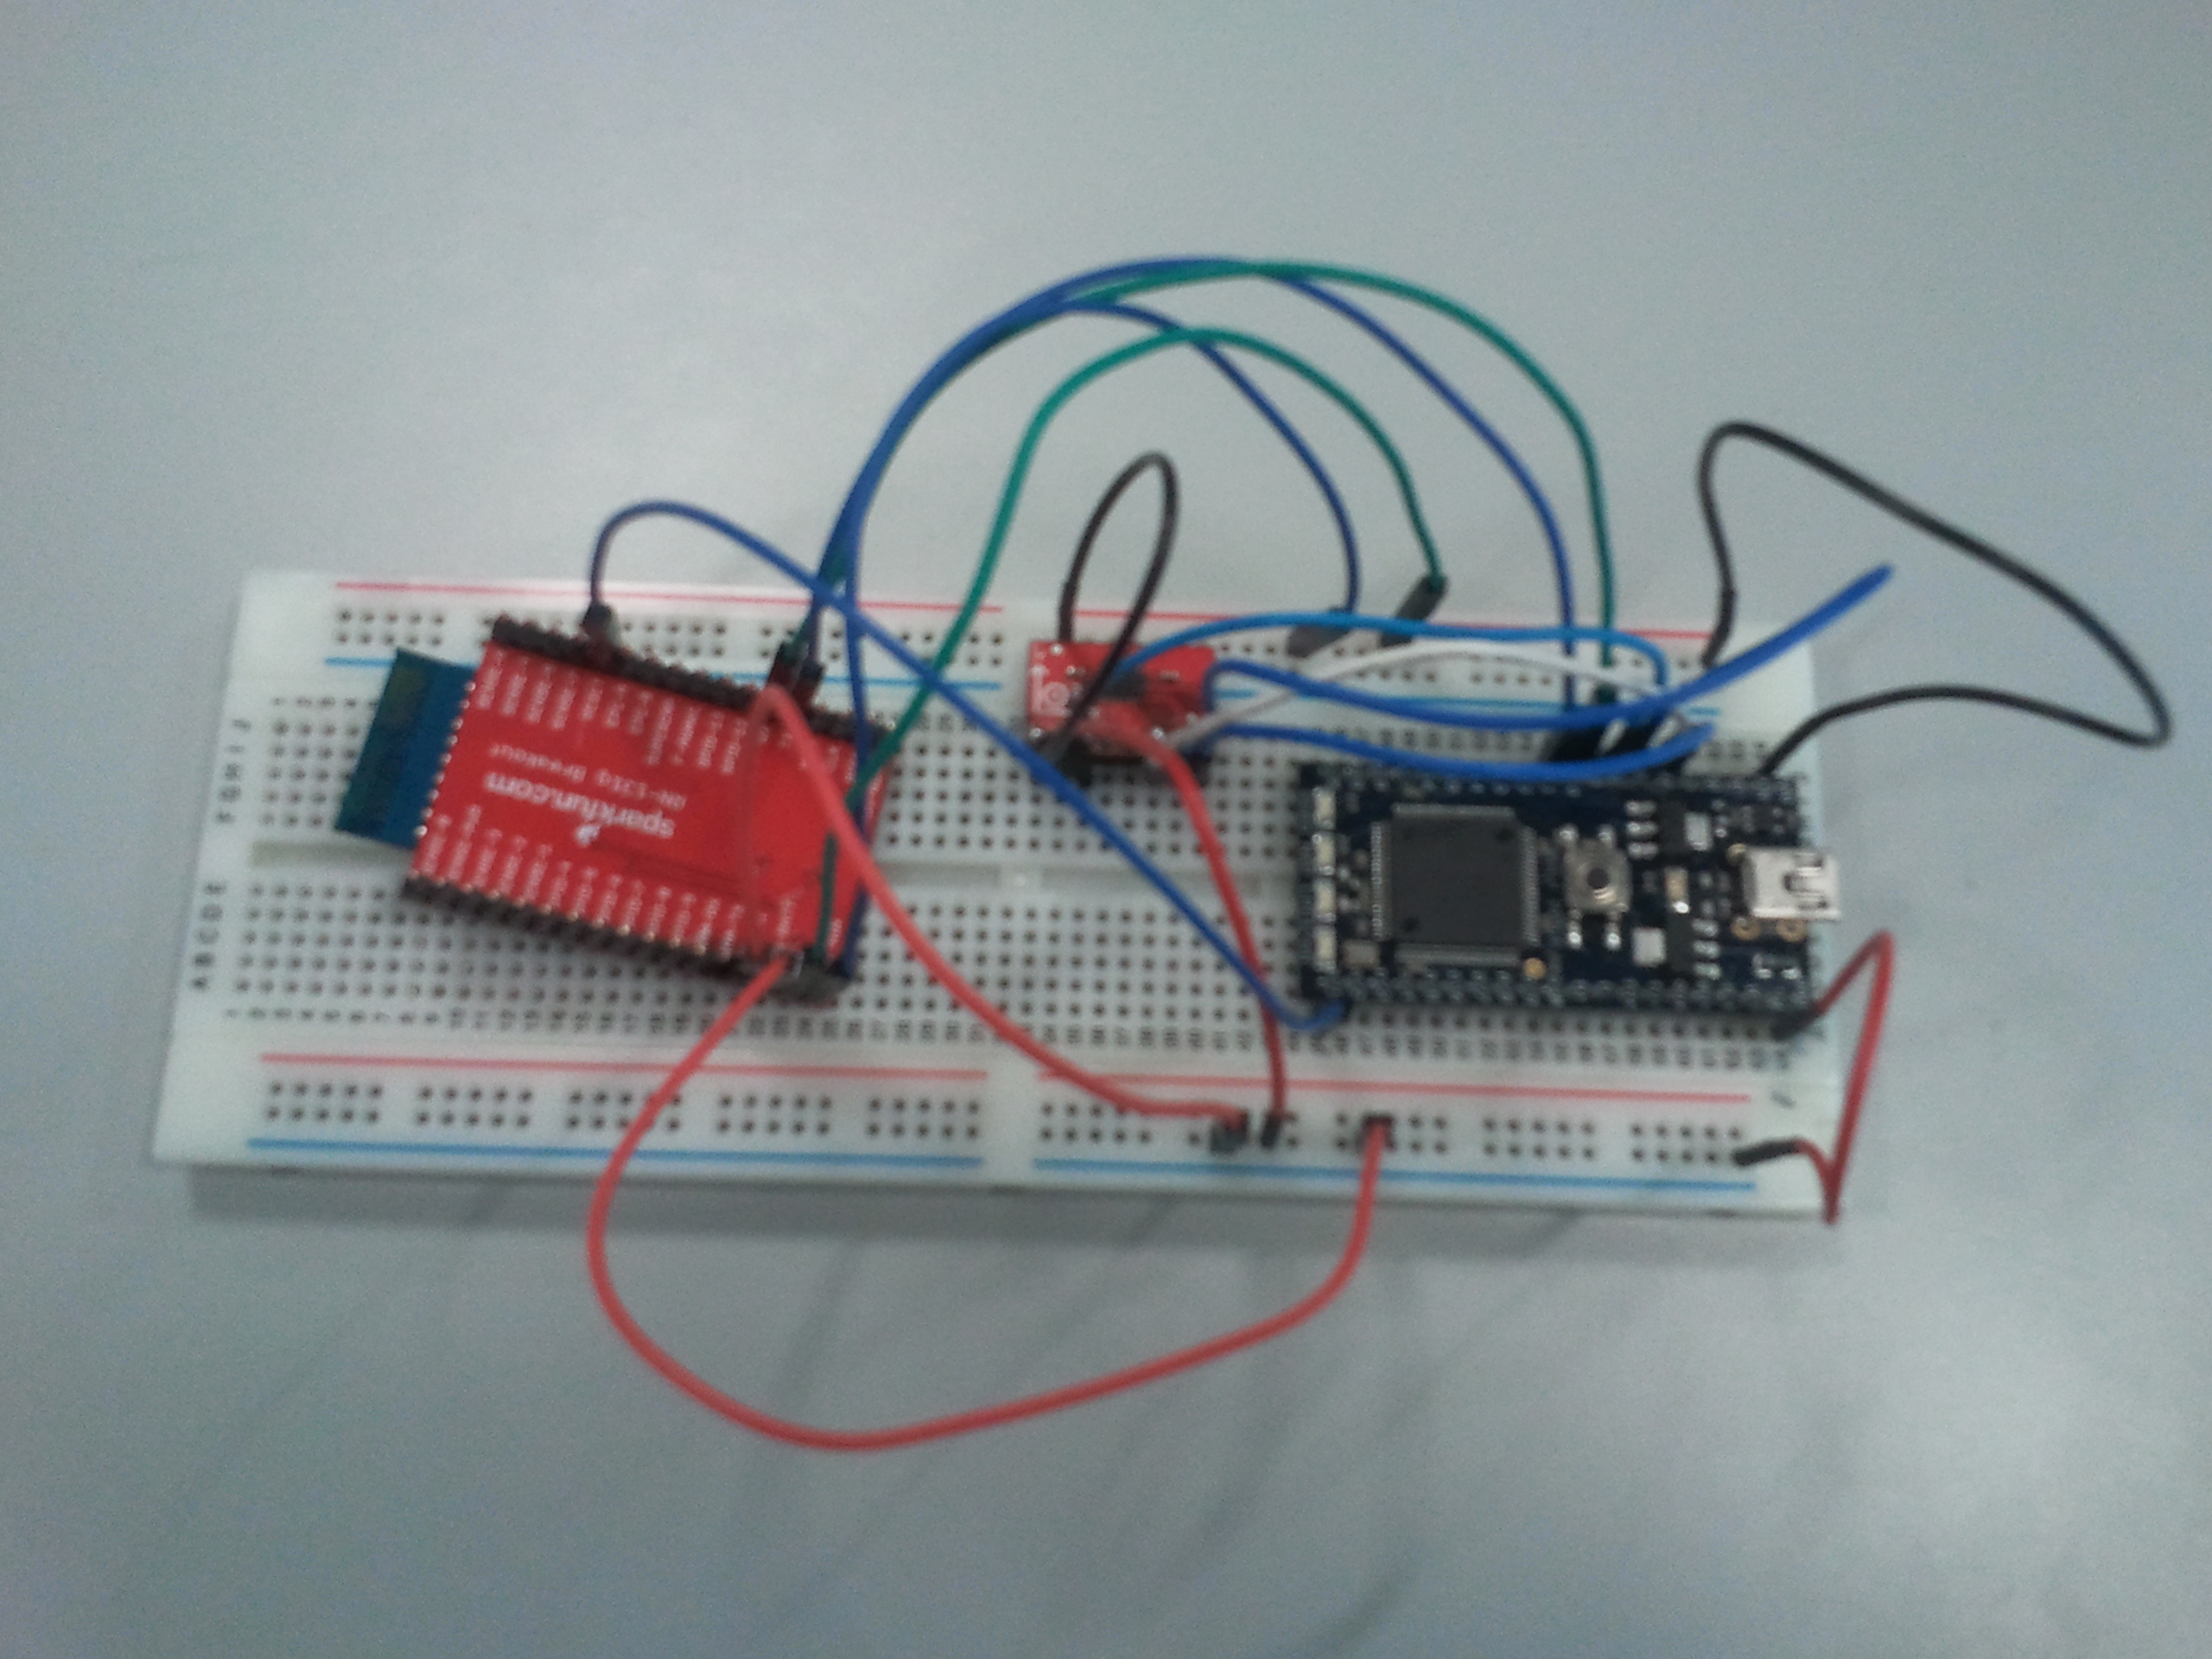
1.3.1 - Schematics:


1.3.2 - Code:
Library required
For this part you need to import these libraries:
- Websocket
- Wifly
- EthernetIf. You must import the program as a library
- DNSResolver
- For the sensor: ADXL345
The main code:
#include "mbed.h"
#include "Wifly.h"
#include "Websocket.h"
#include "ADXL345.h"

Serial pc(USBTX, USBRX);

ADXL345 accelerometer(p5, p6, p7, p8);

Wifly * wifly;
Websocket * ws;

int main() {
    char json_str[100];

    wifly = new Wifly(p9, p10, p21, "NETGEAR", "armbed11", true);
    ws = new Websocket("ws://89.16.167.192:444/mbed_demo/w/samux", wifly);


    pc.printf("\x1B[2J");
    pc.printf("\x1B[H");
    pc.printf("Tuto Websocket Mbed!\r\n");

    int readings[3] = {0, 0, 0};

    pc.printf("Starting ADXL345 test...\r\n");
    pc.printf("Device ID is: 0x%02x\r\n", accelerometer.getDevId());

    //Go into standby mode to configure the device.
    accelerometer.setPowerControl(0x00);

    //Full resolution, +/-16g, 4mg/LSB.
    accelerometer.setDataFormatControl(0x0B);

    //3.2kHz data rate.
    accelerometer.setDataRate(ADXL345_3200HZ);

    //Measurement mode.
    accelerometer.setPowerControl(0x08);


    while (1) {
        while (1) {

            while (!wifly->Join())
                wifly->reset();

            if (!ws->connect())
                wifly->reset();
            else
                break;
        }

        while (1) {
            wait(0.1);

            //we read accelerometers values
            accelerometer.getOutput(readings);

            sprintf(json_str, "{\"id\":\"wifly_acc\",\"ax\":\"%d\",\"ay\":\"%d\",\"az\":\"%d\"}", (int16_t)readings[0], (int16_t)readings[1], (int16_t)readings[2]);
            ws->Send(json_str);
        }
    }
}
This code is very simple:
- accelerometers initialization
- connection to the router
- connection to the websocket server
- send data from accelerometers in a JSON string each 0.01s
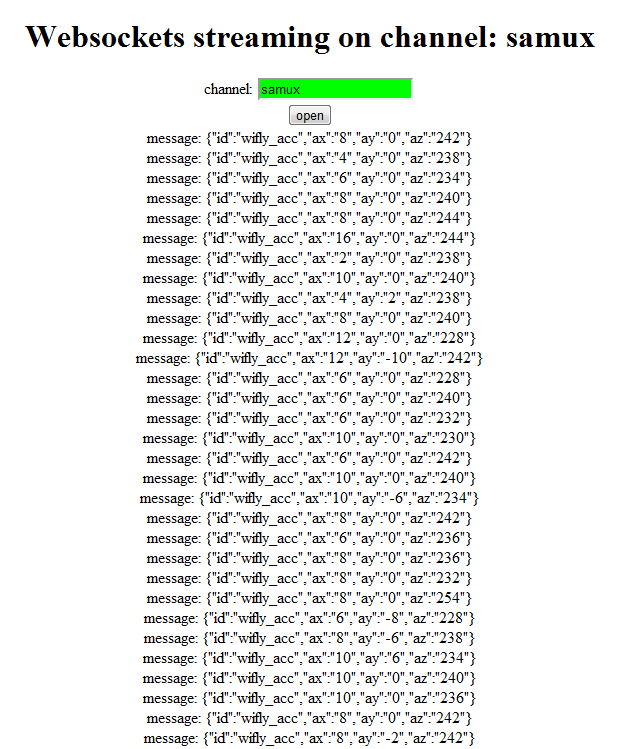
1.3.3 - Demo:

Et Voila! We are able to see on our webpage the data from accelerometers over a wifi network!
1.4 - Sending data from the Mbed: Ethernet
Materiel required
For this part you need:
- an Mbed ;)
- an Ethernet RJ45 jack
- a router
- a sensor (for this tutorial, I will use this accelerometer)
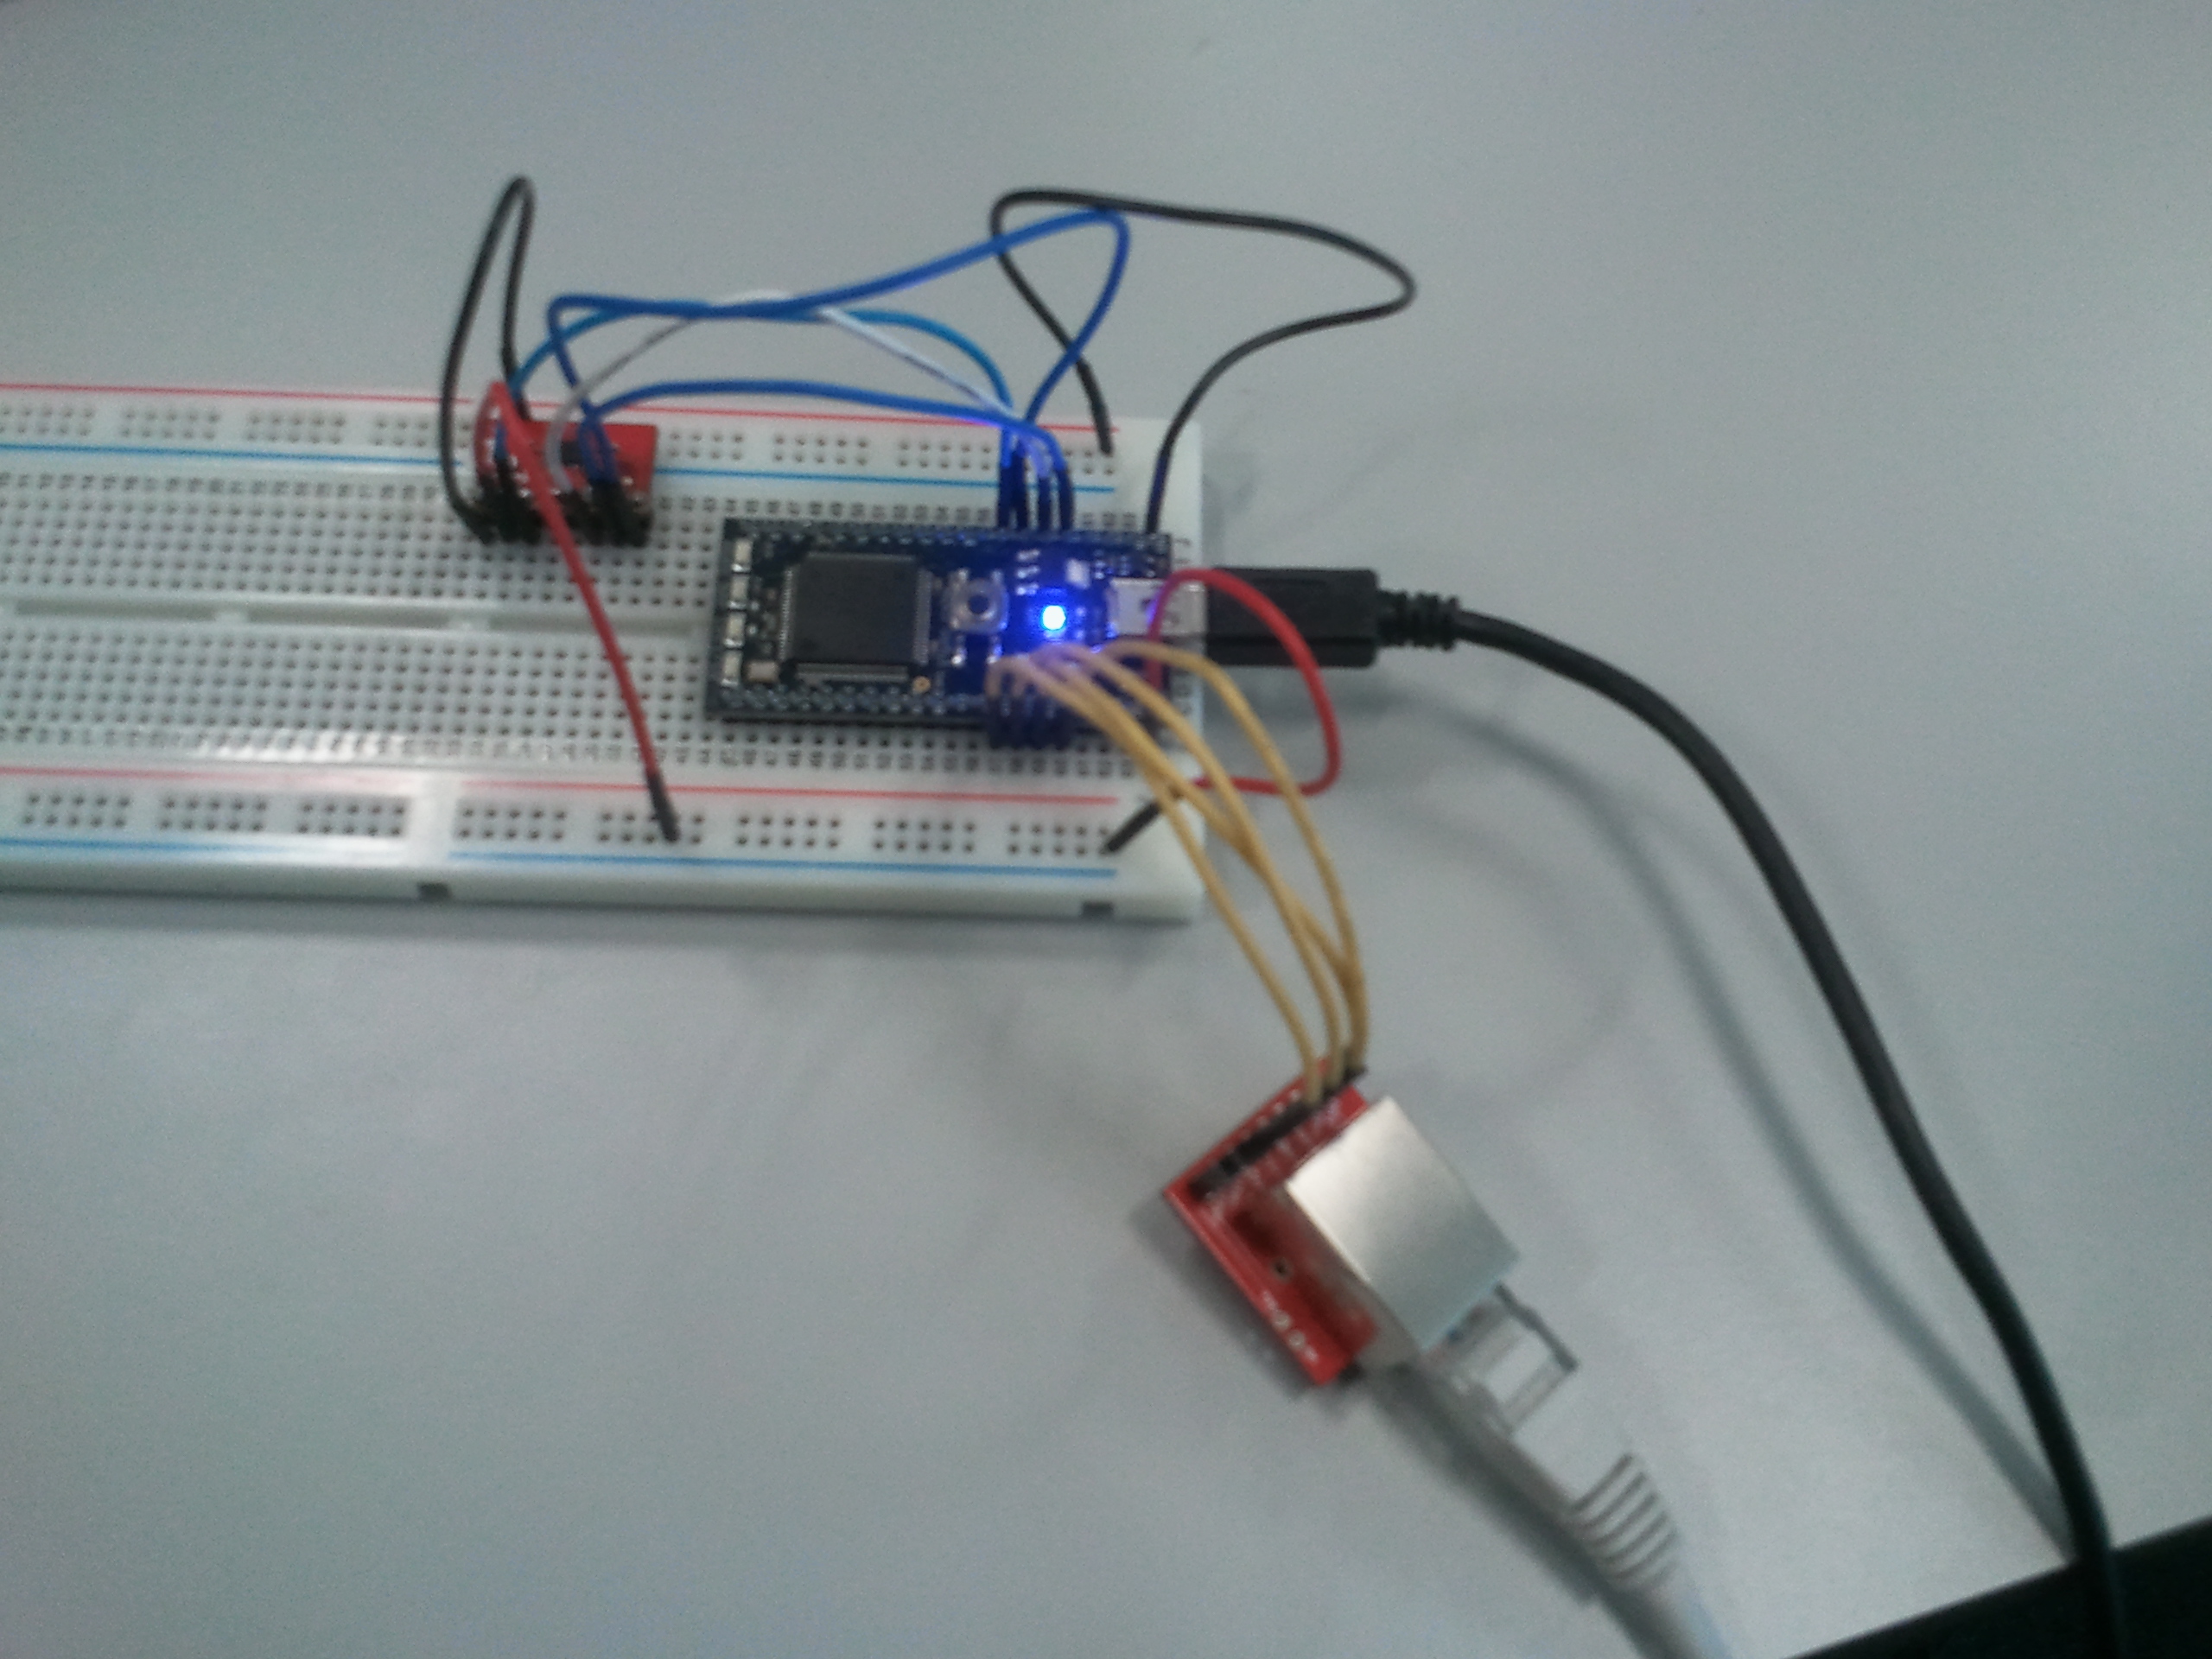
1.4.1 - Schematics:

1.3.2 - Code:
Library required
For this part you need to import these libraries:
- Websocket
- EthernetIf. You must import the program as a library
- DNSResolver
- For the sensor: ADXL345
The main code:
#include "mbed.h"
#include "Websocket.h"
#include "ADXL345.h"

#define MEAN_LENGTH 2

Serial pc(USBTX, USBRX);

ADXL345 accelerometer(p5, p6, p7, p8);

Websocket * ws;

int main() {
    char json_str[100];

    ws = new Websocket("ws://89.16.167.192:444/mbed_demo/w/samux");


    pc.printf("\x1B[2J");
    pc.printf("\x1B[H");
    pc.printf("Tuto Websocket Mbed!\r\n");

    int readings[3] = {0, 0, 0};

    pc.printf("Starting ADXL345 test...\r\n");
    pc.printf("Device ID is: 0x%02x\r\n", accelerometer.getDevId());

    //Go into standby mode to configure the device.
    accelerometer.setPowerControl(0x00);

    //Full resolution, +/-16g, 4mg/LSB.
    accelerometer.setDataFormatControl(0x0B);

    //3.2kHz data rate.
    accelerometer.setDataRate(ADXL345_3200HZ);

    //Measurement mode.
    accelerometer.setPowerControl(0x08);


    while (1) {

        while(!ws->connect())
            pc.printf("cannot connect webasocekt\r\n");

        while (1) {
            wait(0.1);

            //we read accelerometers values
            accelerometer.getOutput(readings);

            sprintf(json_str, "{\"id\":\"wifly_acc\",\"ax\":\"%d\",\"ay\":\"%d\",\"az\":\"%d\"}", (int16_t)readings[0], (int16_t)readings[1], (int16_t)readings[2]);
            ws->Send(json_str);
        }
    }
}
This code is another time very simple:
- accelerometers initialization
- connection to the websocket server
- send data from accelerometers in a JSON string each 0.01s
Note that the websocket API is the same if you are using a wifi module or an ethernet connection
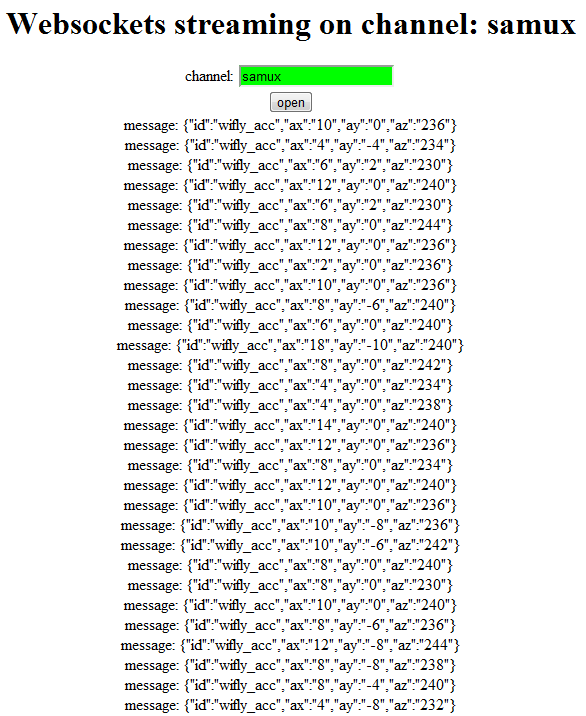
1.4.3 - Demo:

Et Voila! We are able to see on our webpage the data from accelerometers over an ethernet network!