A demo program for the uVGAII board using the mbed cookbook 4DGL library in 640 by 480 VGA mode

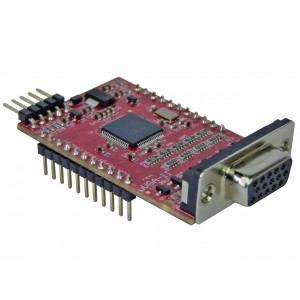
The uVGA II board from 4D Systems
The uVGA II from 4D Systems is a low-cost VGA controller on a breakout board. The existing mbed cookbook 4D SGC library can be used with a couple minor patches for 640 by 480 resolution. They are also available from Sparkfun. They were recently updated/replaced with the newer uVGA III board.
Here is a uVGA II demo program to try:
Import programuVGAII_demo
A demo program for the uVGAII board using the mbed cookbook 4DGL library in 640 by 480 VGA mode
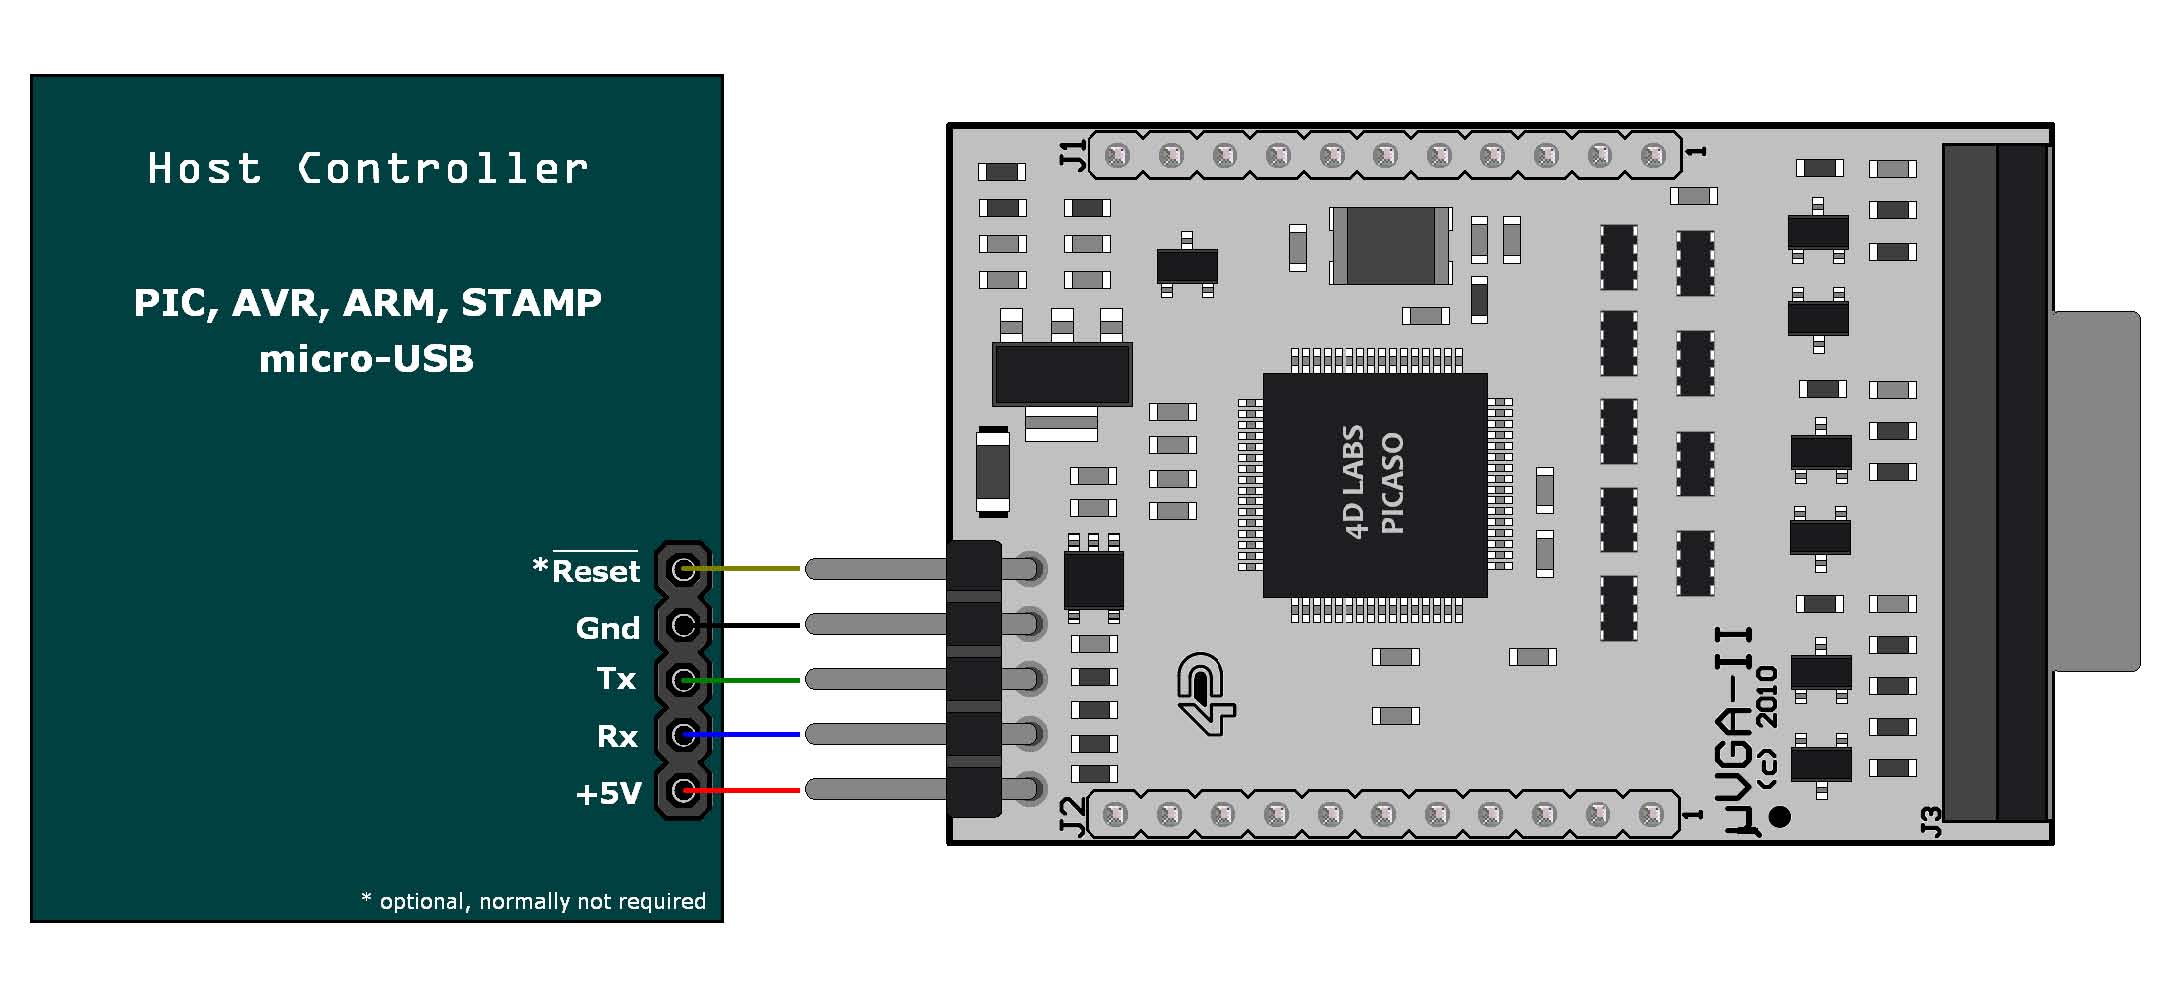
Here is the wiring for the demo program:
| mbed | uVGA II |
|---|---|
| 5V=VU | 5V |
| Gnd | Gnd |
| TX=P9 | RX |
| RX=P10 | TX |
| P11 | Reset |

In the drawing above, the pins are labeled from the mbed's perspective with TX and RX pins already swapped. So mbed TX goes to the middle pin on the connector which is the uVGA II RX pin.
Just plug in any VGA monitor to the DB15 connector and watch the display.

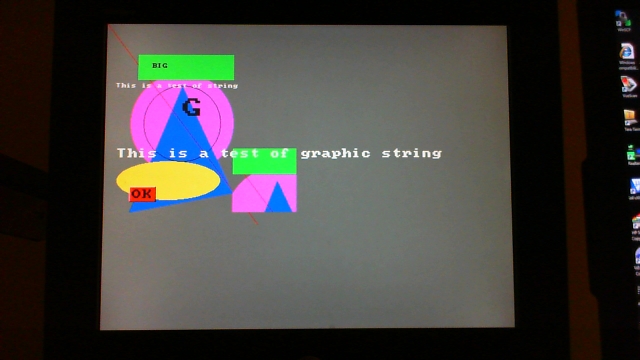
mbed uVGA II demo program output on a VGA monitor in 640 by 480 mode.
Use the demo code as an initial starting point to develop your own display code. The module starts in 320 by 240 graphics mode and a special display command in main.cpp, “ecran.display_control(0x0c, 0x01);” is sent to switch to 640 by 480 mode in the demo code before sending any text and graphics data to the display. The 4DGL library *.h file, TFT_4GL.h, has a SIZE_X and SIZE_Y #define that should be edited and set to the number of pixels in the display, after you have a copy of the library in your local directory. The demo code segment for the text and graphics calls is shown below:
Demo_Graphics_Calls
    ecran.background_color(DGREY);
    ecran.circle(120, 160, 80, 0xFF00FF);
    ecran.triangle(120, 100, 40, 300, 200, 270, 0x0000FF);
    ecran.line(0, 0, 239, 319, 0xFF0000);
    ecran.rectangle(50, 50, 200, 90, 0x00FF00);
    ecran.ellipse(100, 250, 80, 30, 0xFFFF00);
    ecran.pixel(120, 160, BLACK);
    ecran.read_pixel(120, 170);
    ecran.screen_copy(50, 50, 200, 200, 100, 100);
    ecran.pen_size(WIREFRAME);
    ecran.circle(120, 160, 60, BLACK);
    ecran.set_font(FONT_8X8);
    ecran.text_mode(TRANSPARENT);
    ecran.text_char('B', 9, 8, BLACK);
    ecran.text_char('I',10, 8, BLACK);
    ecran.text_char('G',11, 8, BLACK);
    ecran.graphic_char('G', 120, 120, BLACK, 4, 4);
    ecran.text_string("This is a test of string", 2, 12, FONT_8X8, WHITE);
    ecran.graphic_string("This is a test of graphic string", 20, 200, FONT_8X8, WHITE, 2, 2);
    ecran.text_button("OK", UP, 40, 260, 0xFF0000, FONT_8X8, BLACK, 2, 2);
Just about any VGA monitor will work. If you don't have a second monitor, you might have another input source on your PC monitor that you could use. If you plan to buy a monitor, there are a number of nice small VGA monitors (7 to 12 inch) with a touch screen that are sold in the car aftermarket for use in in-car PCs that should work well with this VGA board on mbed projects.

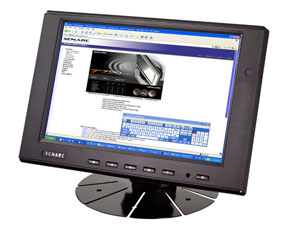
A 7 inch VGA monitor with USB touch input and speakers.
mp3Car has a large assortment of small touch screen LCDs such as this 7 inch LED LCD model 705TSV from Xenarc seen above. A number of them have standard VGA inputs and even internal speakers. This Xenarc monitor runs around $225. Touch input still costs a bit extra, but it is nice to have. The touch screen data typically is sent out over a USB port, so that would take some additional work to use with mbed. At least they seem to have some info on it in this manual. These monitors are so small that they probably need to be attached to something to use the touch input or they move. The uVGA II module does not include code to read a touch screen input, so an mbed interface and driver software would be needed to support touch

 uVGA II
 uVGAII