Getting Started with Sensors
Getting Started with Seeed Studio Grove Sensors
This example will show how to add sensors to your embedded device using the Grove Base Shield V2 board and a Grove temperature sensor. Various other Grove sensors and input/output modules are available with examples in the mbed community. Contained within the example code are 4 other Grove sensors - accelerometer, light sensor, water sensor, and gas sensor.
- First, plug a Grove Shield board into your Nucleo stack
- Next, connect the Grove temperature sensor to connector port A0 of the shield board
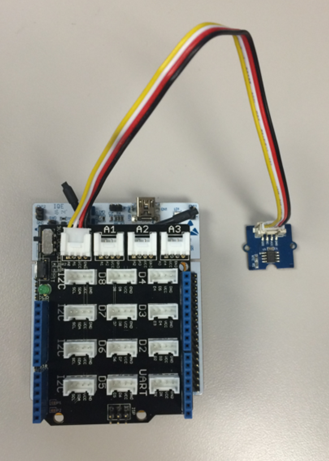
- Connect the STM32F401 Nucleo board to your PC with a USB cable
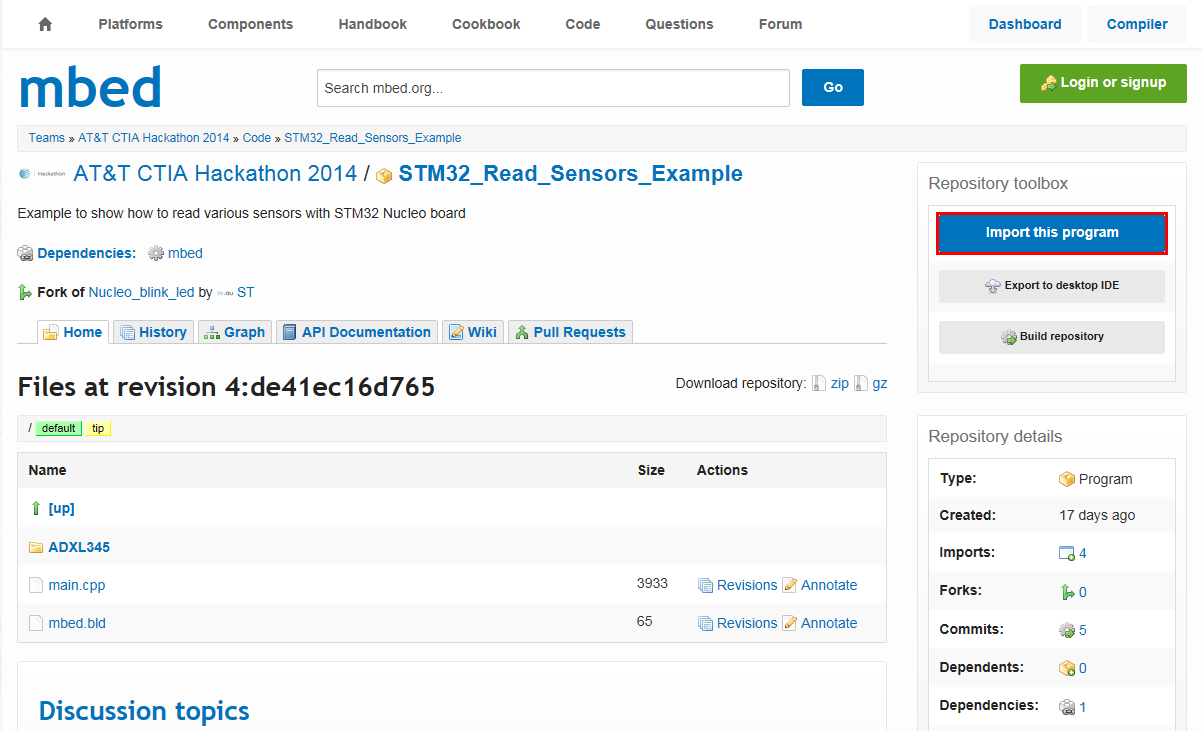
Return to mbed and import the STM32 Read Sensors Example project.
- Go to STM32 Read Sensors Example and click the “Import this program” button
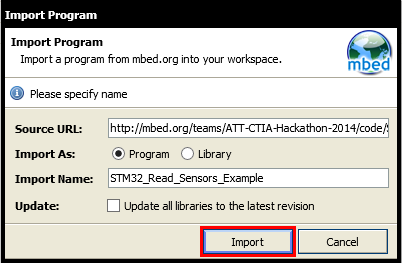
- Click “Import” button on the pop up window shown below
- Open the main.cpp file and uncomment the
#define TEMP_SENSOR
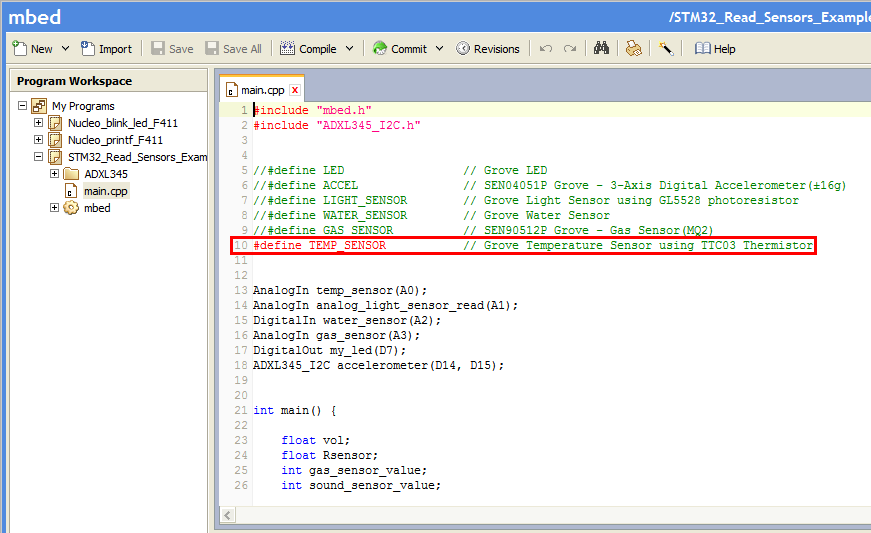
- Compile and load the image onto the F401 Nucleo board
Note
Refer to Getting Started with mbed and the STM32F401 Nucleo Board to learn how to compile and load a program onto the Nucleo board
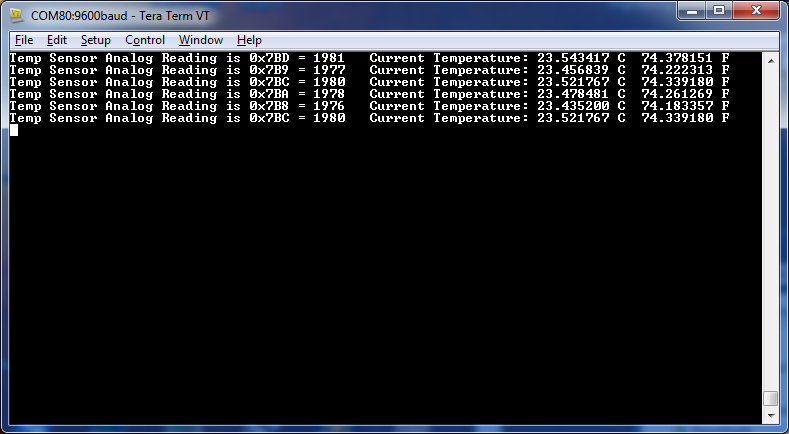
- Open a terminal window to display the status of your WiFi connection. For this example, set the terminal BAUD rate to 9600
Note
Refer to Creating Console Output for setting a terminal emulator
You should now see the temperature readings displayed on your console output.
Feel free to explore the other sensors. Find the Grove sensor needed, attach it to the correct port on the Grove Shield board, and uncomment the corresponding #define.