You are viewing an older revision! See the latest version
5 Steps to Create Your Connected Device
5 Steps to Create Your Connected Embedded Device
Welcome!
ST is proud to be a part of Team mBed™ at the AT&T Hackathon at Super Mobility Week - Code for Car and Home. This overview will show you the steps needed to create a connected embedded device for the AT&T connected car or connected home hackathon.
Step 1==
At the event, swing by the ST table and ask for an STM32F411 Nucleo board and USB cable.

Step 2==
Open your web browser to www.mbed.org, and login. Connect your Nucleo board to your PC, explore the development environment and begin programing the STM32 in the C or C++ programming language.
Step 3==
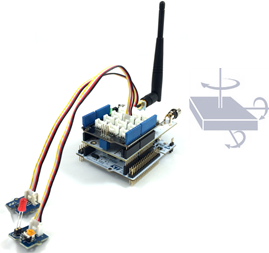
Determine your connectivity options. For easy WiFi connectivity, select one of the WiFi modules recommended for the STM32F411 Nucleo board. Find the corresponding mbed WiFi module libraries and write the code to connect your device.
 __
__ 
Step 4==
Select the sensors and I/O options needed for your application and connect them to your Nucleo board. Write the application code needed for the sensors and user I/O.
Step 5==
Using the mbed AT&T M2X socket library, connect your device to the AT&T M2X cloud services. For information on M2X can be found at https://m2x.att.com.

Configure and write the backend code for your device. Put it all together and voila! Your connected embedded device!
