Cypress Semiconductor
Cypress is a leader in providing best-in-class semiconductors and wireless connectivity technologies for the growing Internet of Things (IoT).
You are viewing an older revision! See the latest version
Cypress products with Mbed OS
Cypress Kits available with Mbed Support
The PSoC® 6 WiFi-BT Pioneer Kit (CY8CKIT-062-WiFi-BT) is an ultra-low power, high-performance, secure hardware platform that enables design and debug of the PSoC 62 MCU and the Murata LBEE5KL1DX Module (CYW4343W WiFi + Bluetooth combo chip).
The PSoC® 6 Wi-Fi BT Prototyping Kit (CY8CPROTO-062-4343W) is a low-cost hardware platform that enables design and debug of PSoC 62 MCUs and the Murata LBEE5KL1DX Module (CYW4343W WiFi + Bluetooth combo chip).
The PSoC® 6 BLE Pioneer Kit (CY8CKIT-062-BLE) is an ultra-low power, high-performance, secure hardware platform that enables design and debug of the PSoC 6 MCU.
Install and configure Mbed CLI
Follow the url to install and configure Mbed CLI according to your OS:
Make sure the Mbed python packages are updated to versions compatible with Cypress PSoC 6 kits using following command:
pip install --upgrade pip 'mbed-ls>=1.7.1' 'pyocd>=0.16'
Board Setup
Make sure to complete the Board setup instructions for your corresponding kit
Compile and Download a program
1. Compile "blinky"
Open Mbed CLI prompt, and create the directory for Mbed examples
mkdir mbed-examples
cd mbed-examples
Import mbed-os-example-blinky code example https://github.com/ARMmbed/mbed-os-example-blinky
mbed import mbed-os-example-blinky
cd mbed-os-example-blinky
Compile the mbed application for one of the supported target boards with one of the supported toolchains
mbed compile -m TARGET -t TOOLCHAIN
where TARGET is one of:
- CY8CKIT_062_WIFI_BT
- CY8CPROTO_062_4343W
- CY8CKIT_062_BLE
and TOOLCHAIN is one of:
- GCC_ARM
- ARM
- IAR
Information
You can add -f to the mbed command to avoid step 2.
mbed compile --m TARGET --toolchain TOOLCHAIN -f
2. Save a program hex (.hex) to the Platform
Hex file is Built:
- CY8CKIT-062-WIFI-BT : BUILD/CY8CKIT_062_WIFI_BT/GCC_ARM/mbed-os-example-blinky.hex
- CY8CPROTO-062-4343W : BUILD/CY8CPROTO_062_4343W/GCC_ARM/mbed-os-example-blinky.hex
Save the program hex file to your Mbed Microcontroller Disk, just like you would with a normal USB disk. The Status LED will flash as the PC writes the file to the Microcontroller disk. The file is now consumed.
3. Press the Reset Button
When the Reset Button in pressed, the microcontroller will be reset and the last programmed application will begin to run.
4. Blinky!
The Microcontroller is now running the program; flashing the LED forever! If you reset the Microcontroller, or disconnect and reconnect the power, the program will simply restart.
Code Examples on Cypress GitHub
Quote:
Cypress also hosts Code examples with mbed on GitHub:
Instructions to build AWS IoT and other examples on GitHub
1. Clone the desired code examples repository
git clone git@github.com:cypresssemiconductorco/AWS_IoT_Publish_Subscribe_Code_Examples.git
2. Change to the application folder (for instance publisher)
cd AWS_IoT_Publish_Subscribe_Code_Examples/publisher/
3. Prepare the cloned working directory for mbed
mbed config root .
4. pull the necessary libraries and its dependencies. This will pull mbed-os, AWS_Iot_Client library and its internal 3rd party dependencies
mbed deploy
5. Configure the AWS parameters such as Thing name, certificates, private key etc. per the user's AWS account
Refer to 'Getting Started with AWS IoT' on the AWS documentation
https://docs.aws.amazon.com/iot/latest/developerguide/iot-gs.html
Using the above reference, fill out the aws_config.h parameters
6.Build and download the publisher app (.hex binary)
mbed compile -t GCC_ARM -m CY8CPROTO_062_4343W -f
The instructions for the other AWS code examples are similar.
Getting Started with Mbed OS
1. Connect your microcontroller to a PC
Use the USB lead to connect your Mbed to a PC. The status light will come on, indicating it has power. After a few seconds of activity, the PC will recognise the Mbed Microcontroller as a standard USB drive.
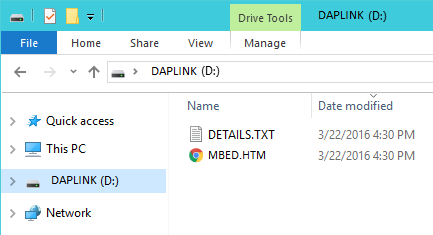 | 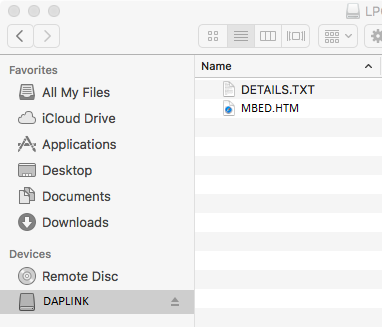 |
| Windows 10 example | Mac OS X example |
2. Click the MBED.HTM link to get logged in
Go to the new USB Drive, and click MBED.HTM to open it in a web browser.
If you do not have an Mbed account, choose "Signup", and create your Mbed Account. Otherwise, log in with your normal username and password.
This will give you access to the website, tools, libraries and documentation.
PC Configuration
Your Mbed Microcontroller can appear on your computer as a serial port. On Mac and Linux, this will happen by default. For Windows, you need to install a driver:
Windows
See Windows-serial-configuration for full details about setting up Windows for serial communication with your Mbed Microcontroller
From a host PC to communicate with Mbed you will need a terminal application. This allows the Mbed Microcontroller to print to your PC screen, and for you to send characters back to your Mbed.
- Terminals - Using Terminal applications to communicate between the Host PC and the Mbed Microntroller
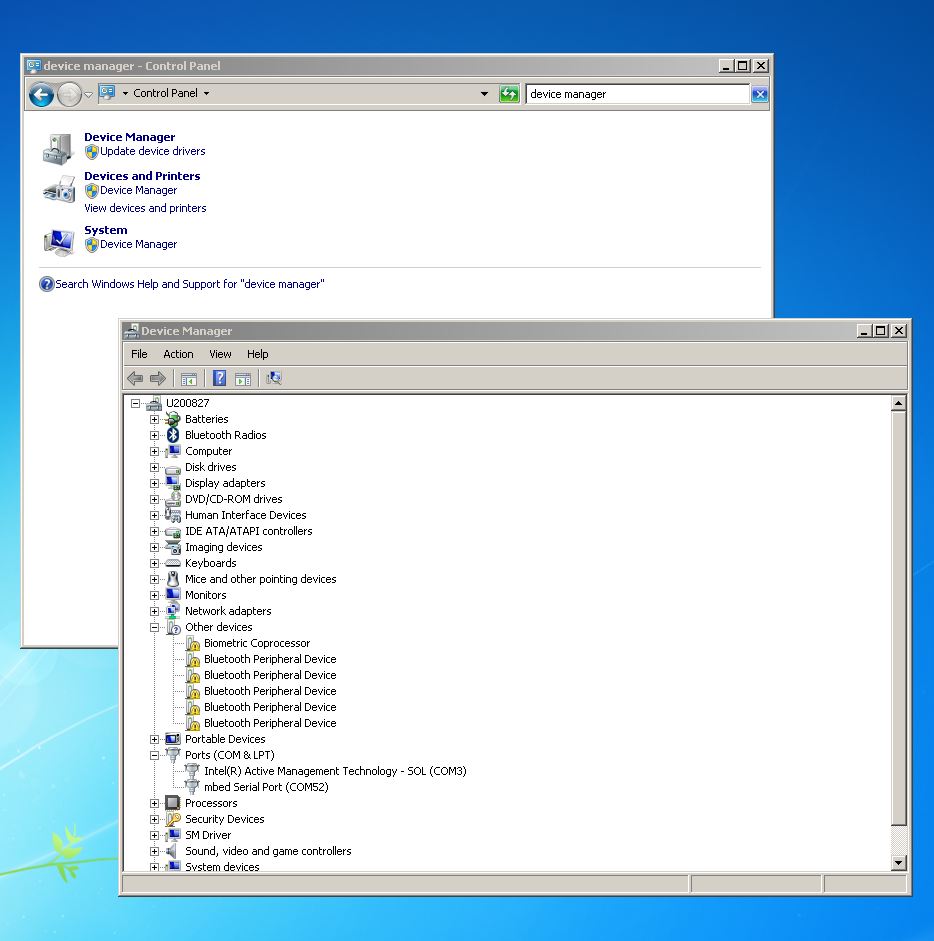
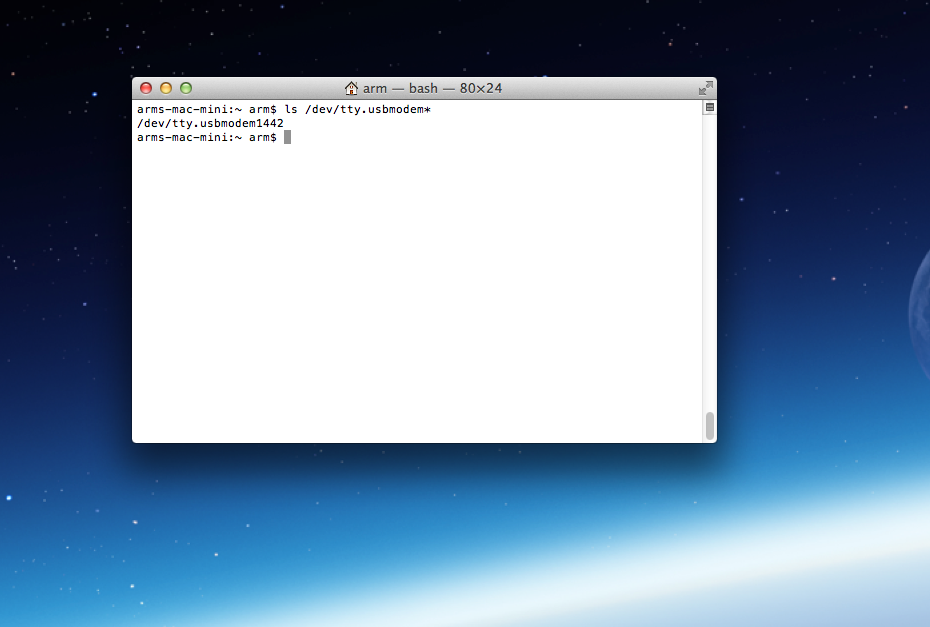
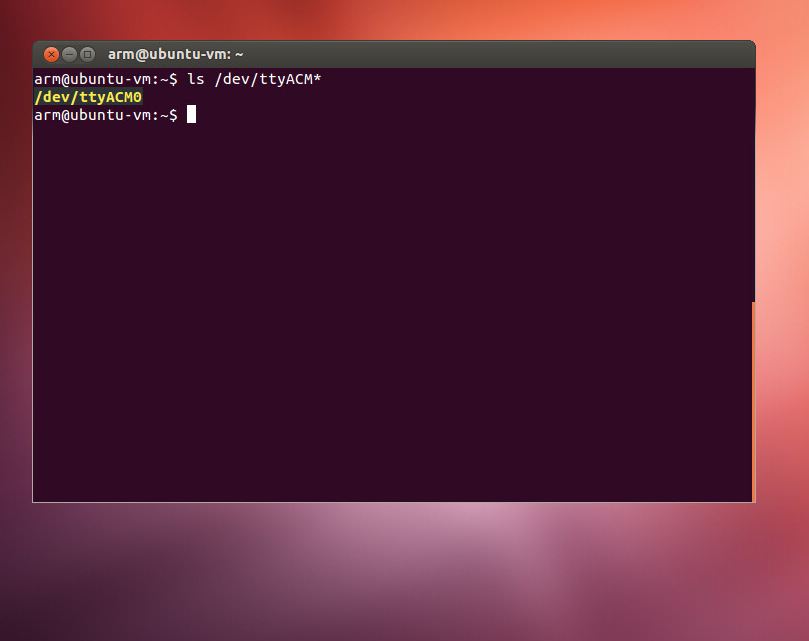
Some terminal programs (e.g. TeraTerm) list the available serial ports by name. However, if you do need to know the identity of the serial port so that you can attach a terminal or an application to it:
