Pubnub demo for AT&T IoT Starter Kit. Functionally similar to the Flow demo.
Dependencies: FXOS8700CQ MODSERIAL mbed

Pubnub demo for AT&T IoT Starter Kit
This demo is functionally similar to the Flow demo, so you can find general information here: https://developer.mbed.org/users/JMF/code/Avnet_ATT_Cellular_IOT/.
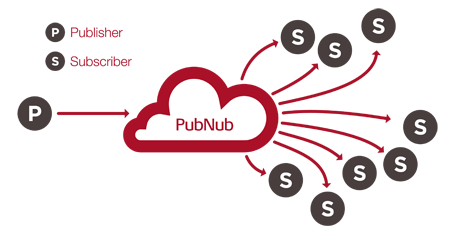
The only difference is that we use Pubnub to publish the measurements and subscribe to receiving the instructions to set the LED.
Settings
Pubnub related settings are:
Pubnub settings in `config_me.h`
PUBNUB_SUBSCRIBE_KEY
PUBNUB_PUBLISH_KEY
PUBNUB_CHANNEL
All are documented in their respective comments.
Pubnub context class
Similar to Pubnub SDKs, we provide a Pubnub context class. It is defined in pubnub.h header file and implemented in pubnub.cpp.
It provides only the fundamental "publish" and "subscribe" methods. They are documented in the header file.
This class is reusable in other code (it is not specific to this demo), it has a very narrow interface to the AT&T IoT cellular modem code. For example of use, you can look at the main() (in main.c).
Sample of published data
Published message w/measurement data
{"serial":"vstarterkit001","temp":89.61,"humidity":35,"accelX":0.97,"accelY":0.013,"accelZ":-0.038}
Don't worry, nobody got burnt, the temperature is in degrees Fahrenheit. :)
Publish a message (from, say, the Pubnub console http://pubnub.com/console) of the form {"LED":<name-of-the-color>} on the channel that this demo listens to (default is hello_world) to turn the LED to that color on the Starter Kit:
Turn LED to red
{"LED":"Red"}
Turn LED to green
{"LED":"Green"}
Turn LED to blue
{"LED":"Blue"}
Diff: config_me.h
- Revision:
- 55:3abf9e3f42e6
- Parent:
- 51:d9e5952545da
- Child:
- 58:c417fbc39c22
--- a/config_me.h	Wed Jul 27 01:58:25 2016 +0000
+++ b/config_me.h	Thu Jul 28 15:52:37 2016 +0000
@@ -32,9 +32,12 @@
 // or you can add the reading of the FXO8700CQ motion sensor on the FRDM-K64F board
 // or if you have a SiLabs PMOD plugged into the shield, you can add its proximity sensor,
 // UV light, visible ambient light and infrared ambient light readings
-#define TEMP_HUMIDITY_ONLY                      1
-#define TEMP_HUMIDITY_ACCELEROMETER             2
-#define TEMP_HUMIDITY_ACCELEROMETER_PMODSENSORS 3
+// If you run the Windows "Sensor Simulator" utility, 8 additional virtual
+// sensors can also be made available via USB.
+#define TEMP_HUMIDITY_ONLY                                      1
+#define TEMP_HUMIDITY_ACCELEROMETER                             2
+#define TEMP_HUMIDITY_ACCELEROMETER_PMODSENSORS                 3
+#define TEMP_HUMIDITY_ACCELEROMETER_PMODSENSORS_VIRTUALSENSORS  4
 static int iSensorsToReport = TEMP_HUMIDITY_ONLY; //modify this to change your selection

 // This is the APN name for the cellular network, you will need to change this, check the instructions included with your SIM card kit: