Using 4D System's TFT Touchscreen
So I have a project where I need to display some pictures on a screen and let the user interact with them. I thought of ways to achieve this when I found a range of TFT screens built by the Austrailian company 4D Systems.
These look really cool and the latest model - the µLCD-32PT(SGC) is a 3.2", with 240 x 320 pixel resolution and has touchscreen functionallity as well!
I found the European supplier - Tigal, who sell the screen for around £55.
There are 2 types of screen, the GFX and SGC versions. They dipict the firmware loaded onto screens processor (4D's PICASO processor). To control it via the mbed you will need the SGC version - but the firmware can be changed quite easily incase you end up with the wrong one!
So I order the screen, and after a few days wait finally get my hands on it.
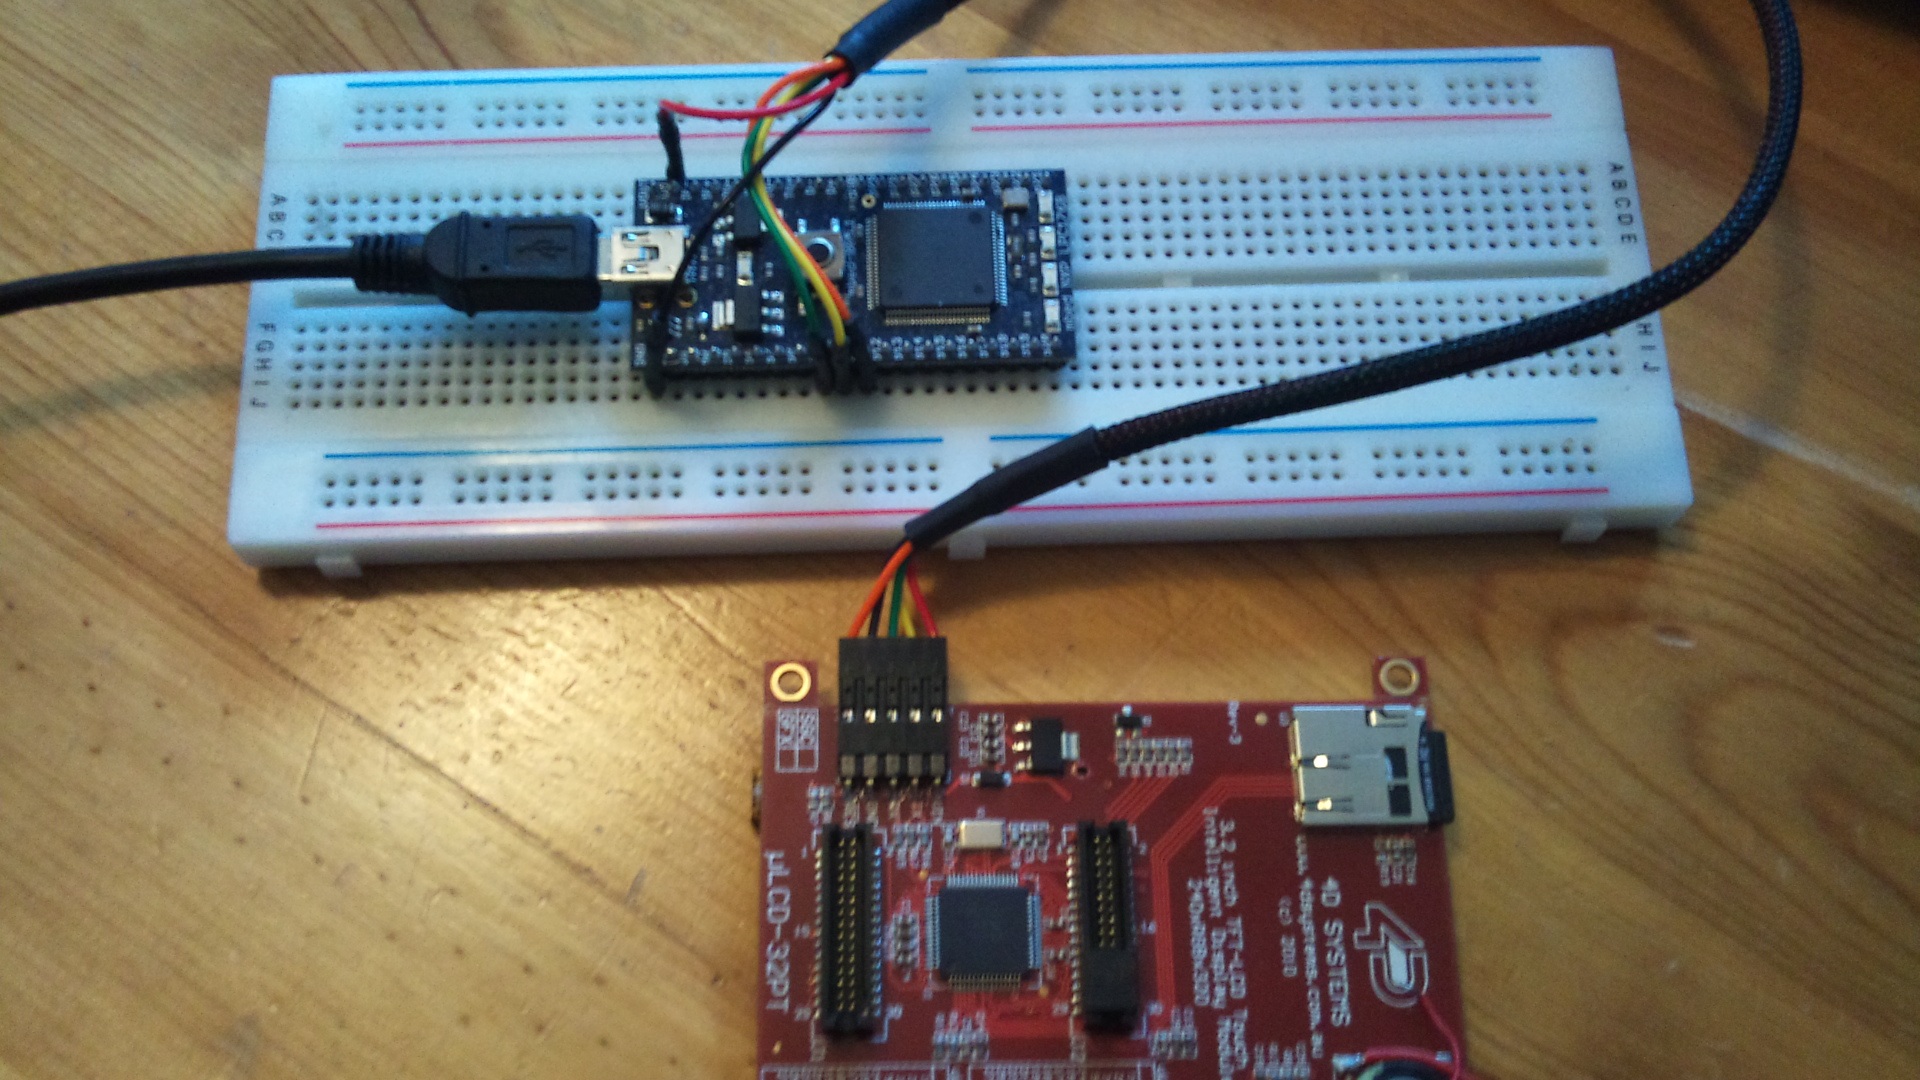
The first thing is to connect it to the mbed. The screen sends and receives commands to and from the host (i.e. the mbed) serially (Tx, Rx), and requires a seperate reset line. The connections are detailed in the table below.
| mbed Pin No. | mbed Desc. | TFT Pin Name | TFT Pin Desc. |
| 39 | Vcc | VIN | Power +5V |
| 10 | Rx | TX | Serial Transmit |
| 9 | Tx | RX | Serial Receive |
| 1 | GND | GND | Ground 0V |
| 11 | RST | /RES | Reset - Active low |
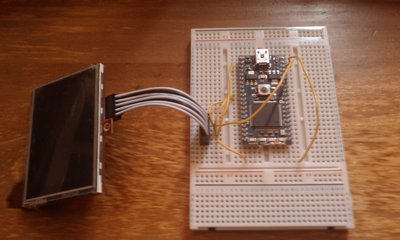
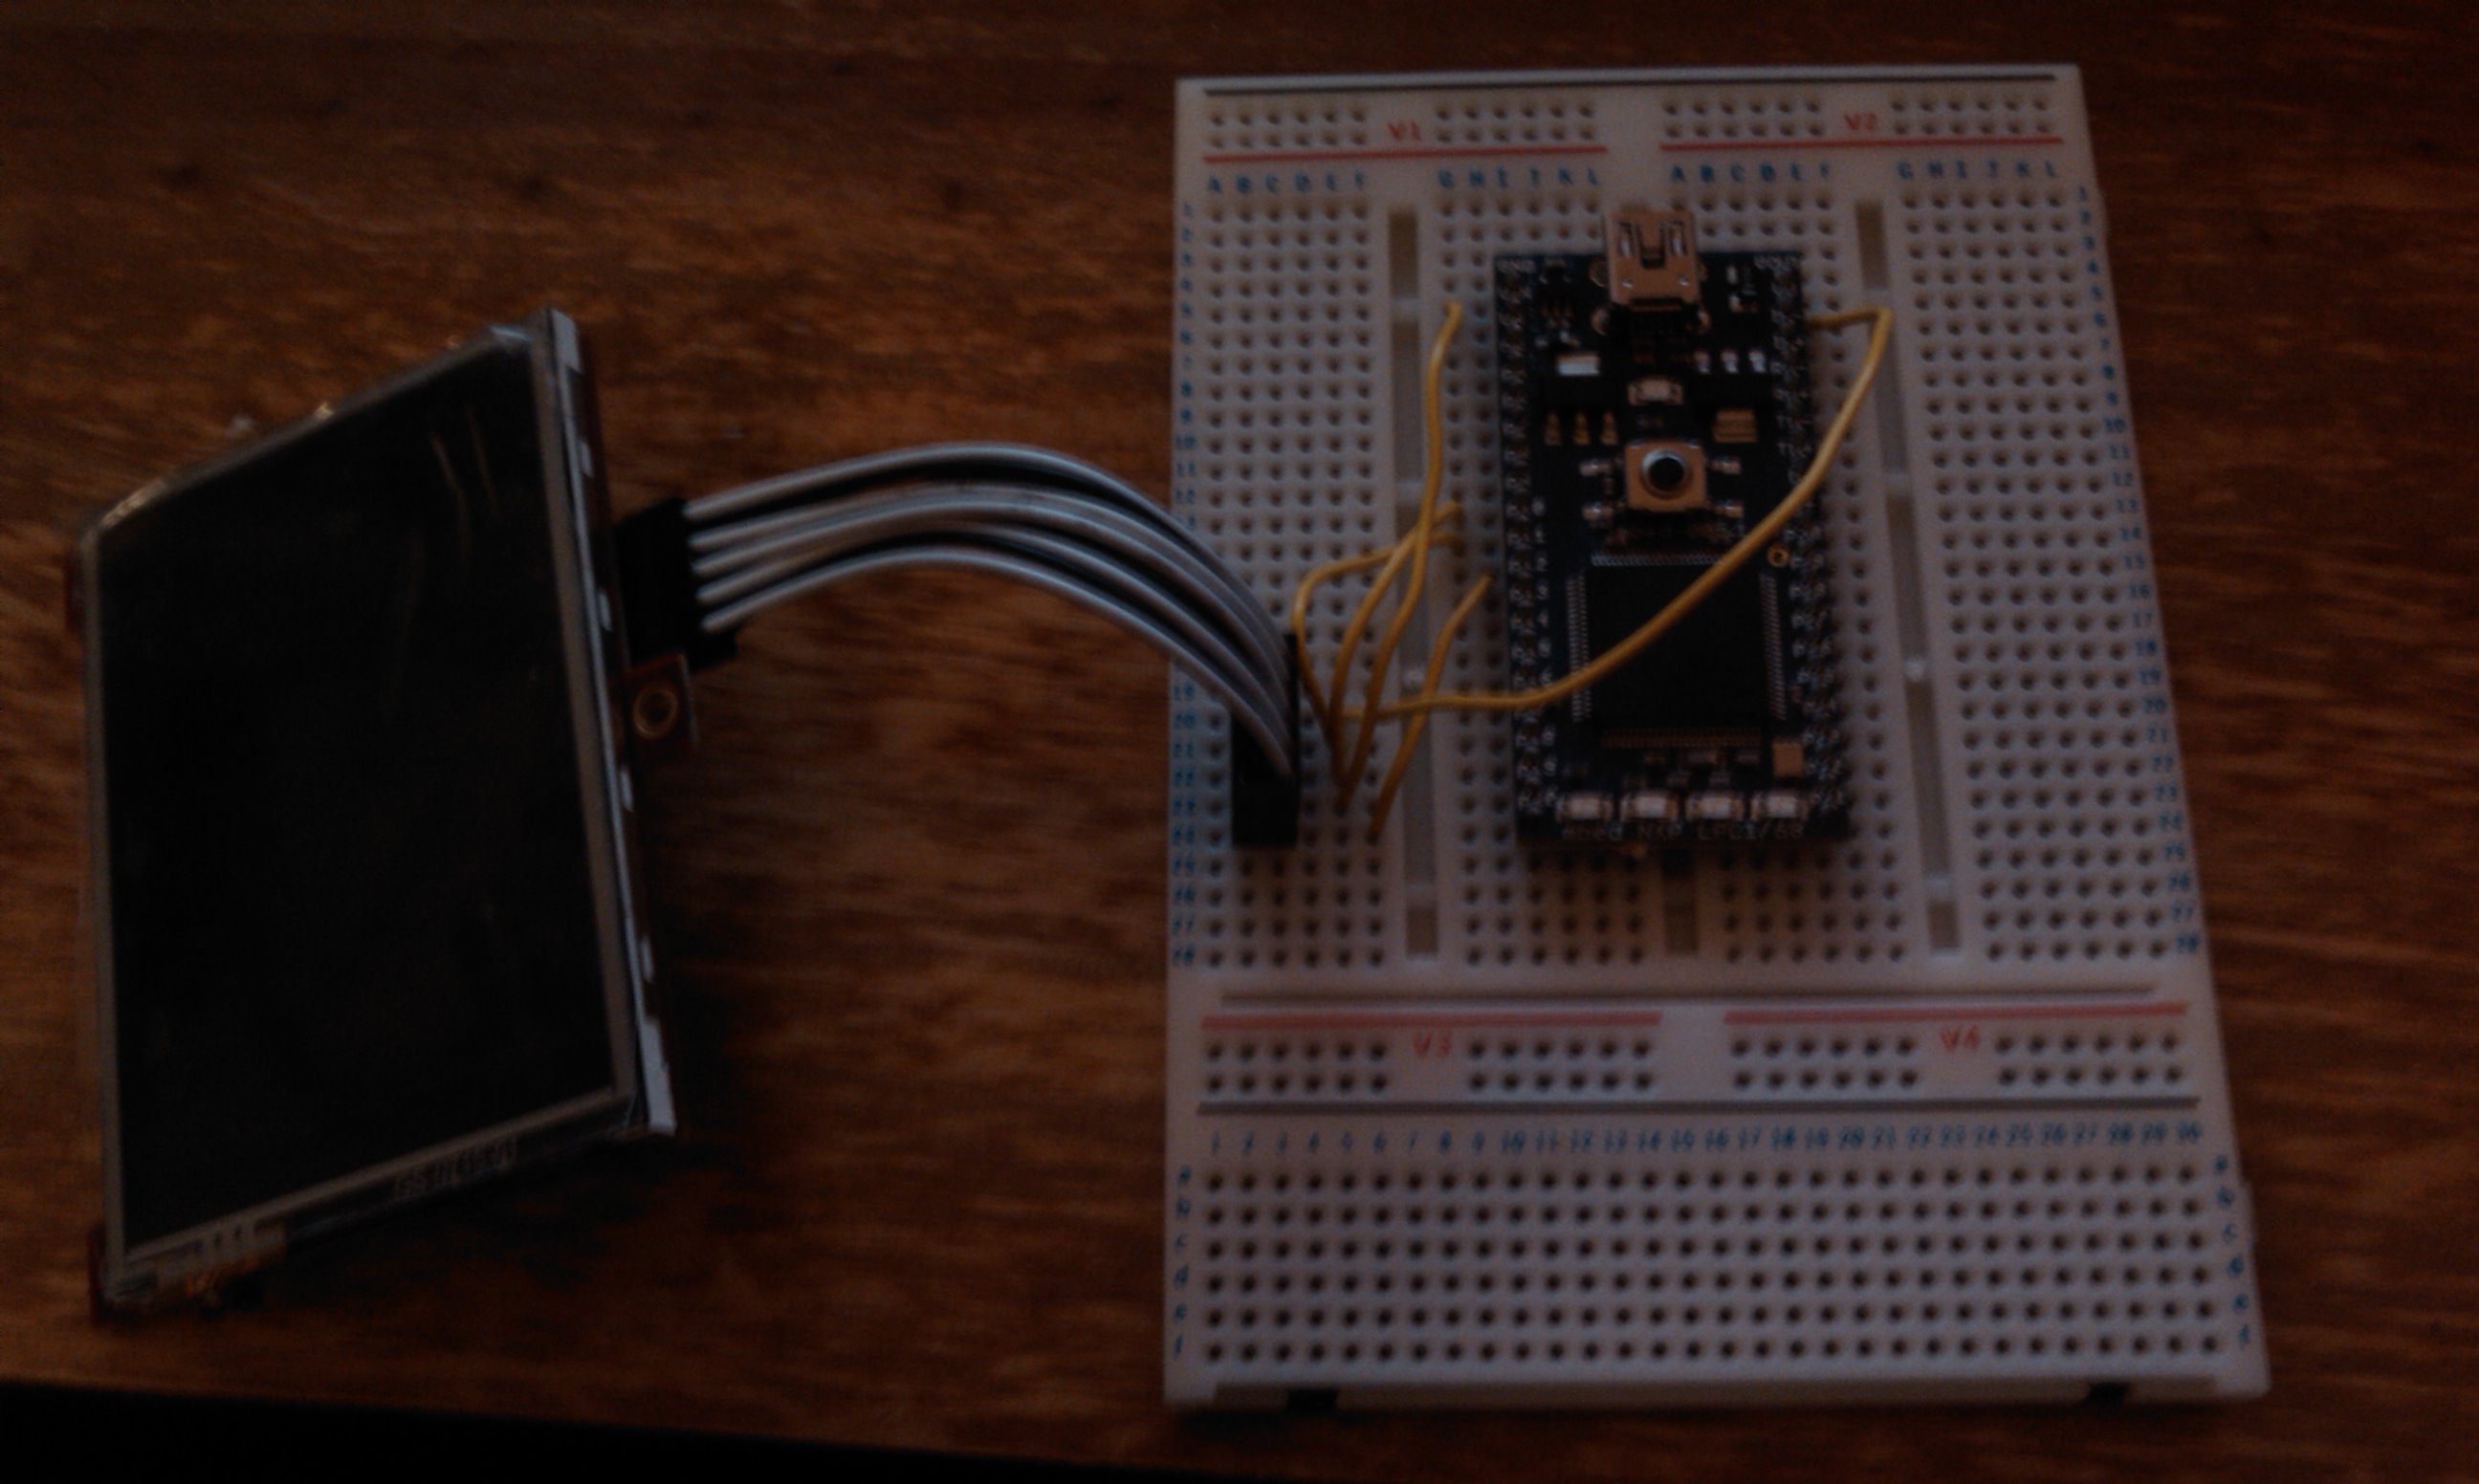
The connection header on the TFT Screen is on a standard 0.1" pitch, so I used a single row 5-way Berg connector to connect to the mbed. When connected up the screen and mbed look like this...
So I guess the next logical thing is to get the screen to display something? Luck for us Stephane ROCHON has made a fantastic class for the mbed which can be found here. Once the 'Hello World' program has been complied and run on the mbed the TFT screen should display something like this...

Which is cool, but I want to display some pictures and some video. So how am I gonna do this?
Well the Aussy boys down under have given us lots of options for doing this. For a picture there are 3 ways to get it displayed on screen.
- Load all the information for each pixel onto the screen serially. This does work (I have done it!) but is a non-starter. The 2 main reasons for this are the mbed doesn't have memory to hold many images (a full screen image with 16-bit colour depth will take 150kb of memory the mbed has 512kb - hence 3 pics tops?) and the speed you can transfer data at is too slow (256k Baud max), meaning that a full screen image will take around 0.6 seconds. This is a no go method - trust me.
- Store the image file on an uSD card in the windows FAT partition and then instruct the screen to call the image using the filename. This is a much better option, but still not ideal. This is bacause as I found out later, video can not be played from the FAT partition of the SD card, mainly because the time it takes to read/write to it is too slow and would result in a poor frame rate. Same rules apply for the image and the display time is slower than method 3 below. Also using this method requires some 3rd party software to partition the SD card (although 4D systems do a free SD card partitioning tool called RMPET - found here which is very good). So this leave us with method 3...
- Store the image on the uSD card in the RAW partition and instruct to screen to call it using a sector address. This seems the quickest and easiest methoid to use but relies on a few things...
Before going any further a few things to remember. Getting the images / video onto the uSD card requires the use of some 4D Systems software tools (all detailled below), and the choice of uSD card appears critical. The one I found that works I got from PC World and is a Kingston 2GB uSD card (SD-C02G). I tried a Samsung one and a ScanDisk one both of which caused problems with the displayed images (streaky lines etc.) so if you do get problems this may be the cause.
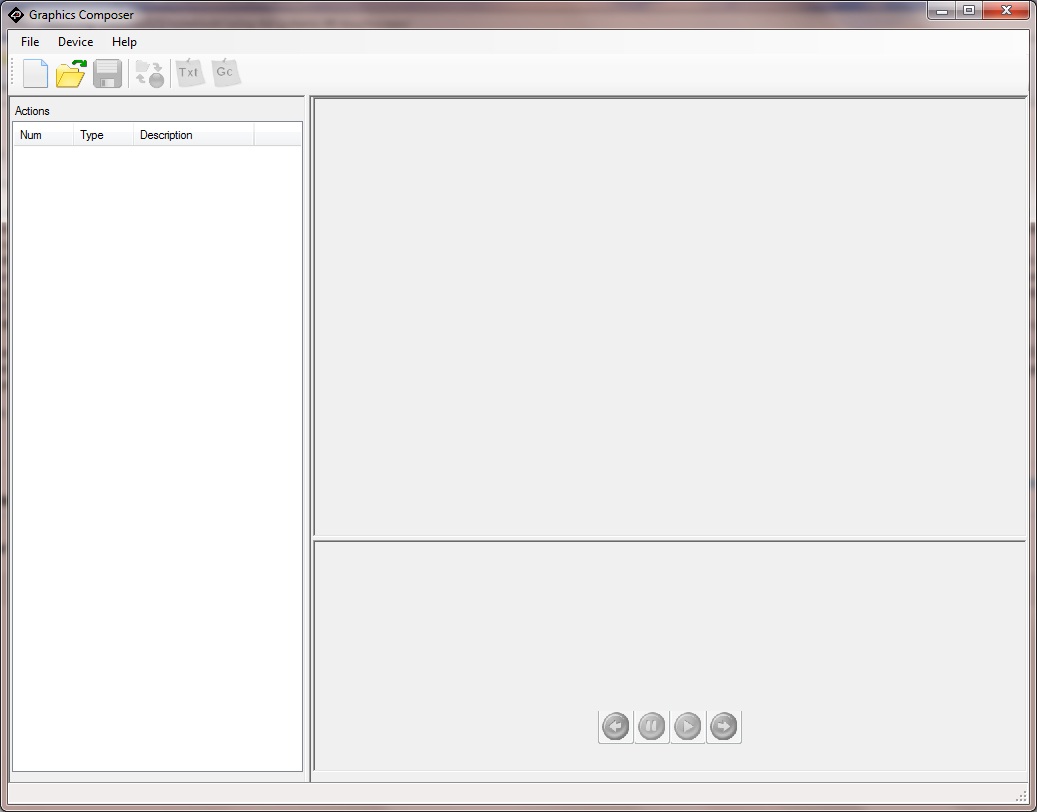
Right let's get started. The first thing you will need is the 'Graphics Composer' software from 4D Systems. It can be downloaded as a .zip file here with the .pdf manual found here. Once you have installed it open it up and you should see a page like this...
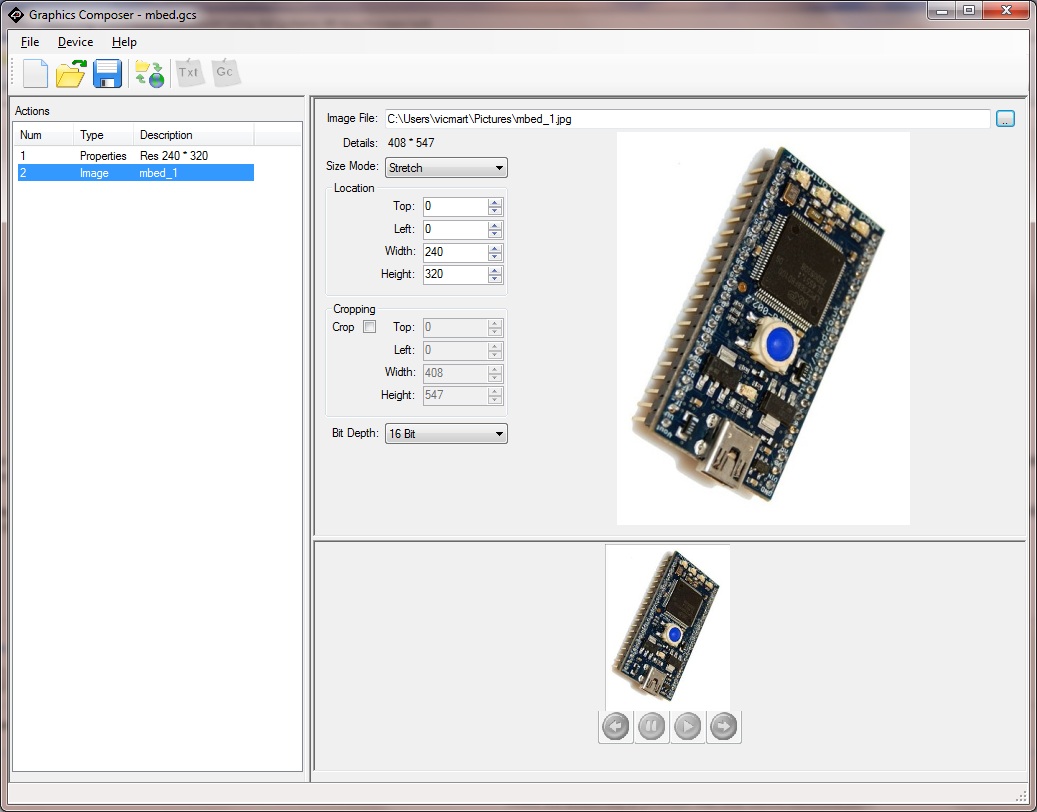
I guess now is a good time to start thinking about what pictures you want to display. In this walkthrough I will be displaying a picture of the mbed. A quick search on Google and I find a suitable image. Save the image to your HDD and then start a new project in GC.
The first thing you will need to do is to set the screen resolution. on the new project click on the word 'Properities' in the 'Actions' pane. Then in the right hand pane set the resolution to X = 240, and Y = 320, and enter it by left clicking back in the 'Actions' pane. To select an image right click in the 'Actions' pane and select 'Add' then 'Image'. This brings up some fields in the right hand pane. Navigate to the image you want to display and set the width and height to the desired dimensions (in this case full screen 240 x 320). When your happy left click in the 'Actions' pane to enter the selections. When this is done the GC screen should look something like this...
So the next thing to do is to get the image on the uSD card. The data will be saved in RAW format, not the FAT format Windows uses. This means that after GC has put the image onto the uSD card windows will not recognise the card anymore (it will try to farmat it when it is inserted).
To set up GC to write to the uSD Card select 'Device' then 'Load Options' from the top menu bar. This brings up a pop up box from which you should select the '4DGL Platform' radio button and then select 'uSD Raw' and the drive letter of the uSD Card from the list of drives. Finally eneter '0' in the 'Sector Offset' box. Click OK to close the pop up. To load the images on the uSD Card click on the 'Load Device' icon (the 4th from the left). After a short time you should get a 'Load successful' message. CG should have created a text file which can be viewed by clicking the 'Gc' icon (far right) and should look something like this...

The important bit to note is the uSD_SetSector value - which for the first image on the uSD Card will always be whatever 'Sector Offset' value was entered earlier.
Close GC (your done with it) and put the uSD Card in place on the display. Now for mbed code.
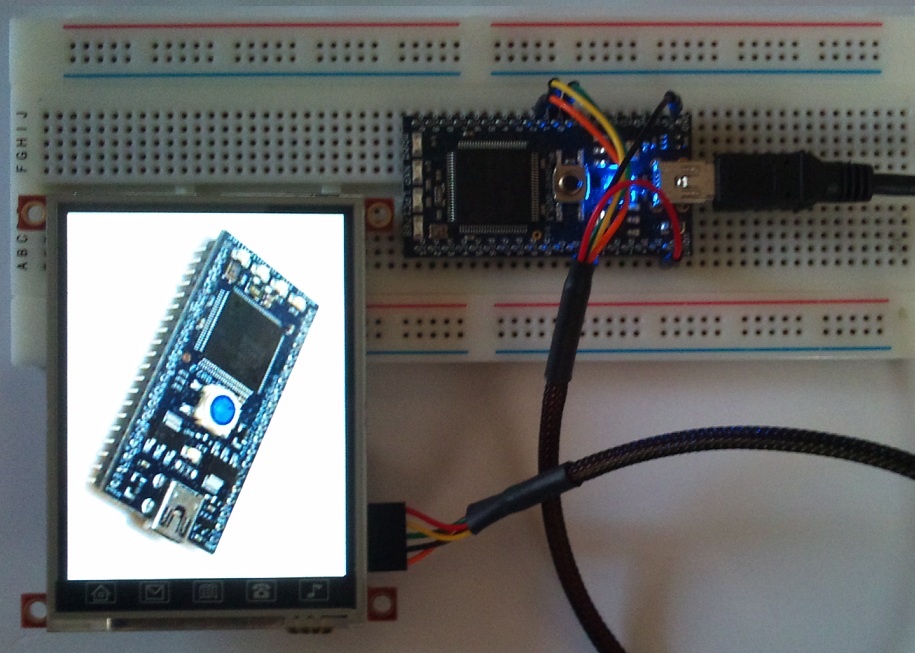
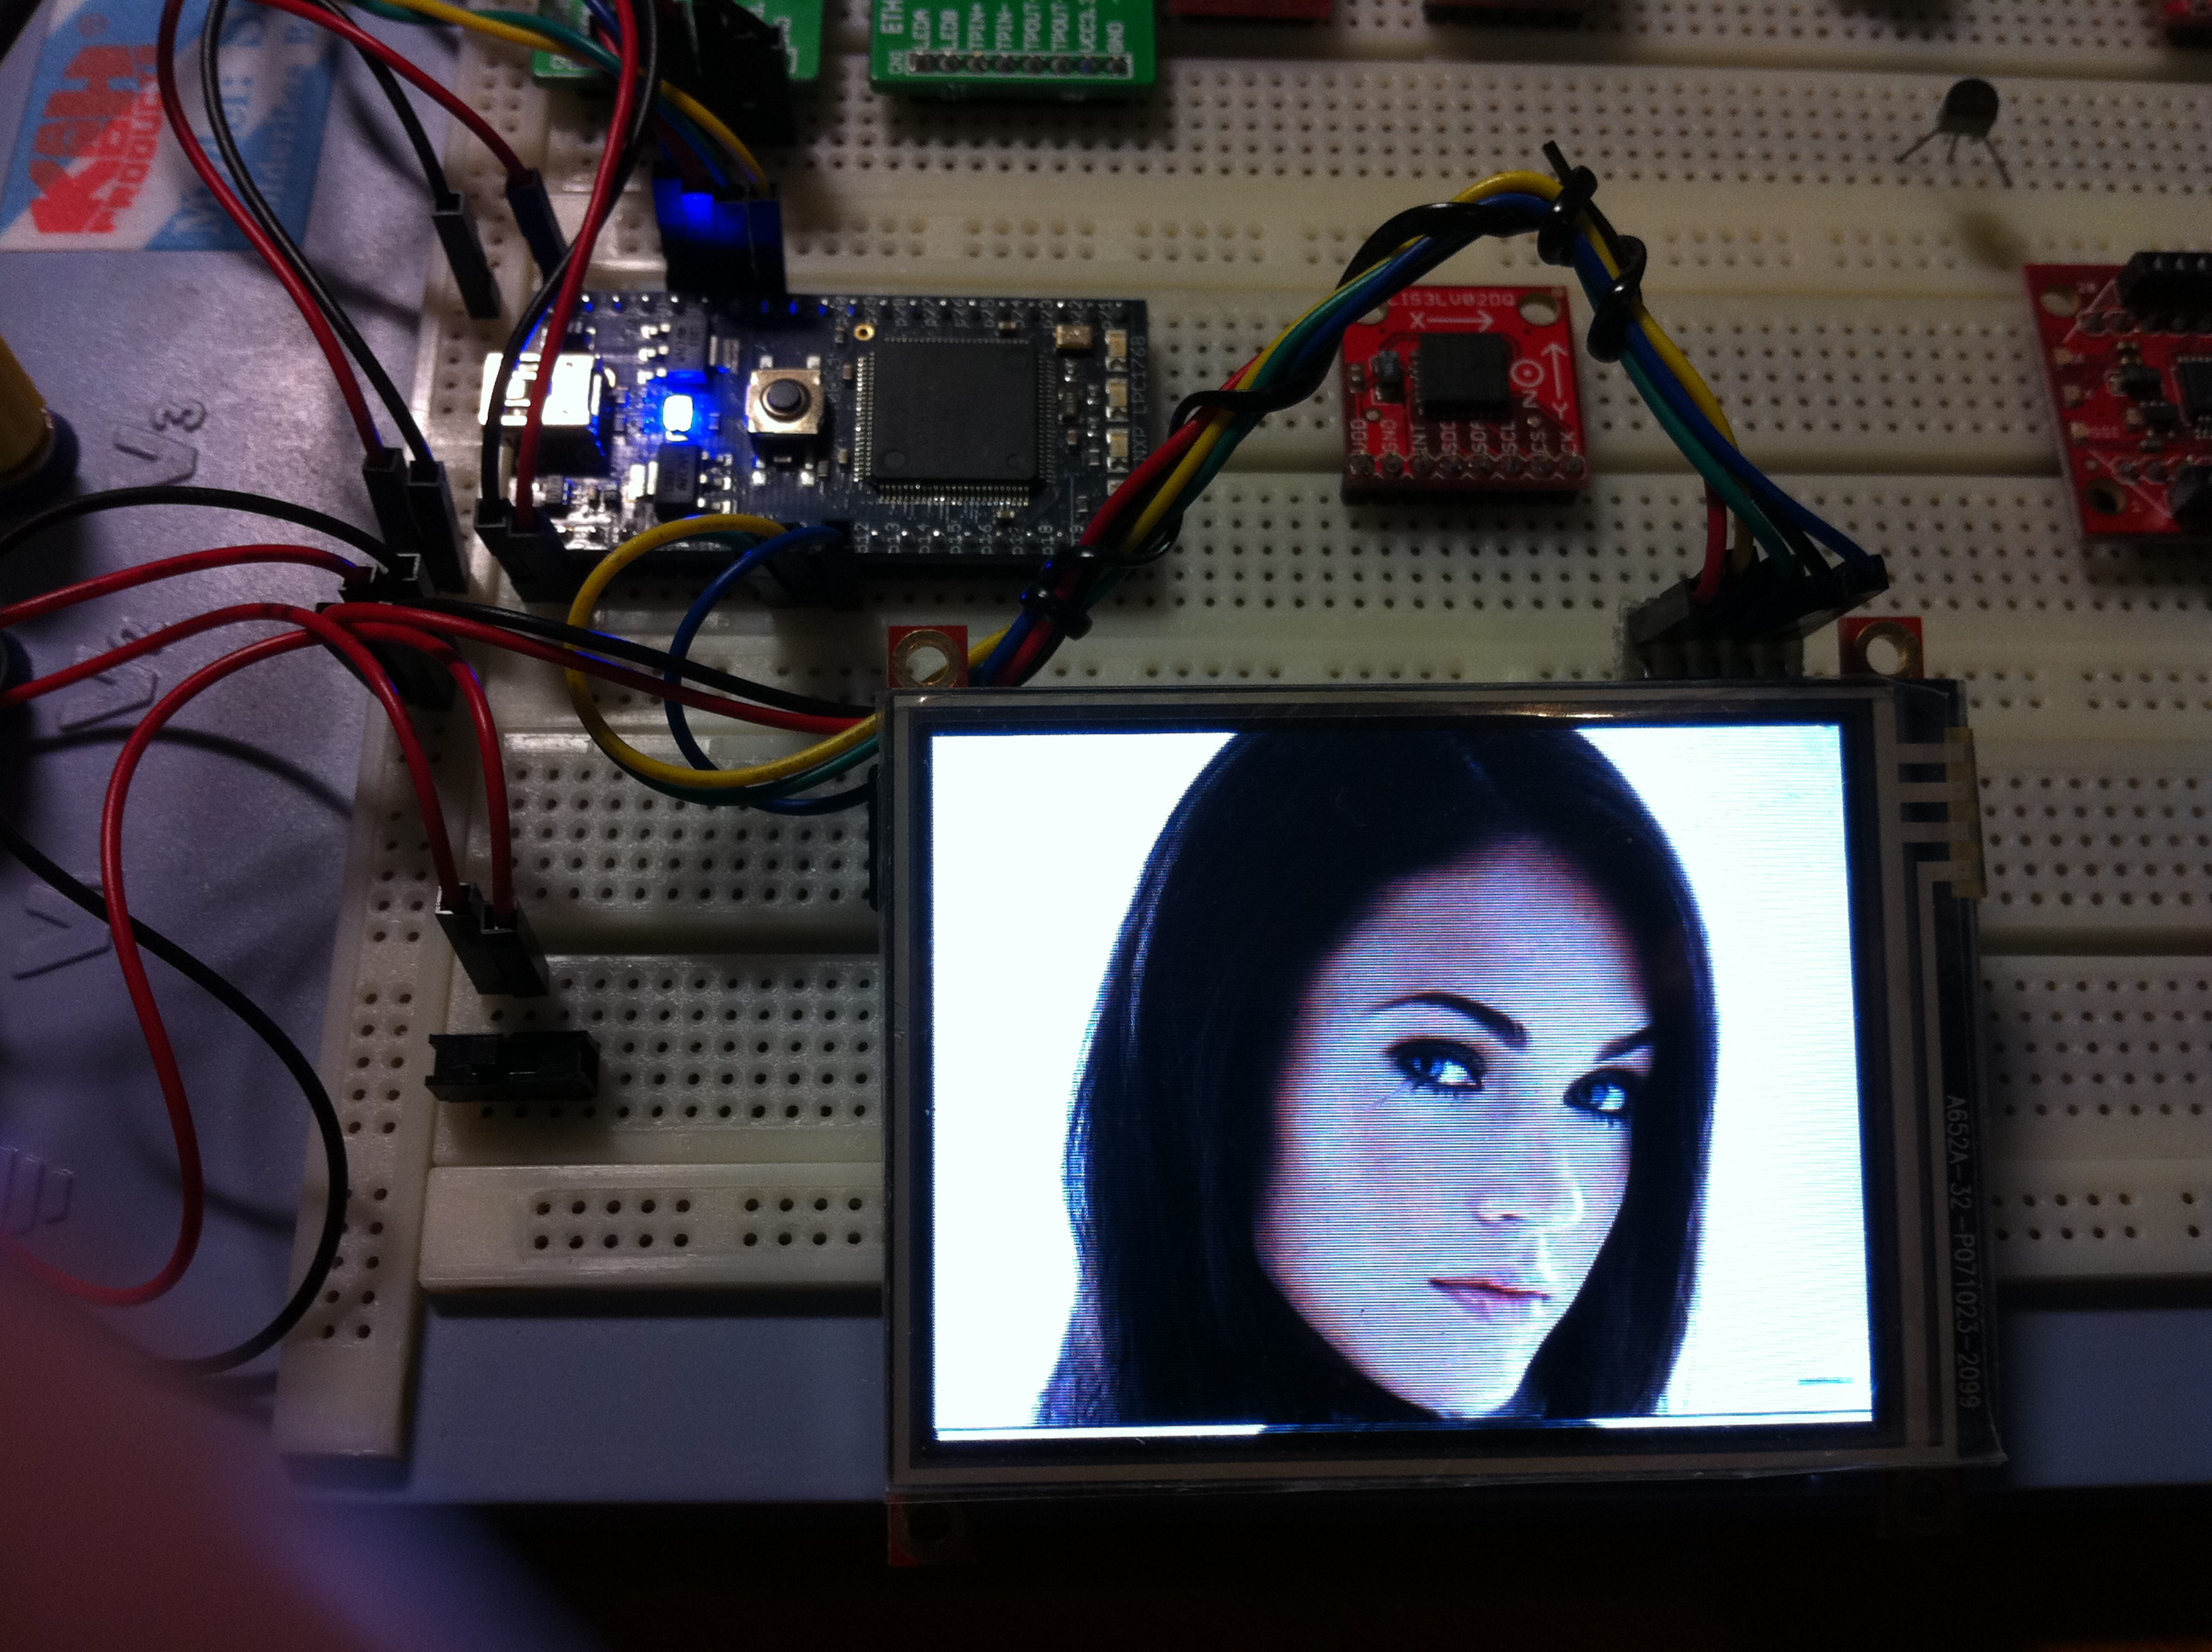
Import the program 4DGLmbed shown here:4DGLmbed When this program is run on the mbed the uLCD-32PT should display the mbed picture as shown below...
So it's as easy as that! With muliple images just add them in GC below the first image in the same way as above and call them based on the sector address shown in the Gc file. Simplez!
16 comments

You need to log in to post a comment
Using 4D System's TFT Touchscreen
Details of how to interface a 3.2" TFT touchscreen to the mbed
Page owner:  Martin Smith
Created 17 Sep 2010.
Last updated 03 Oct 2010
Hello,
I tried your program without success on my screen. After checking the documentation for command 49h, I do not see how it can work as the added function "uSD_Image" in the lib sends 9 bytes and it should send 14. The length, width and color depth are missing.
Any clue ?
Stephane