HTTP Python Server with Mbed Client
Building an HTTP Python Server with Mbed Client
This tutorial will guide you through creating an HTTP Python Server with Embedded Client using the Mbed Connect Cloud board. We first will cover creating the embedded client for the board.
Prerequisites
- An Mbed account - sign up here
- Install the Mbed serial driver (for Windows PCs)
- Python 2.7 - download here
Required Hardware
- Mbed Connect Cloud board
- An active WiFi network
Setup
- Connect the board to your computer via the micro USB port.
- The board mounts as a mass-storage device (like a USB drive). Verify that you can see it (the drive name will be DAPLINK).
- Add the u-blox EVK-ODIN-W2 board to your online Mbed Compiler here
Making the Mbed application
Import the example program. DO NOT CHECK the checkbox next to "Update all libraries to the latest revision".
Import programHTTP-Python-Demo
Demo for Mbed Connect Cloud board and an HTTP Python Server
Last commit 17 Nov 2017 by  Cambridge Hackathon
Printing to the screen
Open main.cpp
Instantiate a C12832 variable to write to the LCD screen on the board. Under 'GLOBAL VARIABLES HERE' add the following code:
C12832 lcd(PE_14, PE_12, PD_12, PD_11, PE_9);
Create a function to print to the LCD screen. Under 'FUNCTION DEFINITIONS HERE' add the following code:
void lcd_print(const char* message) {
    lcd.cls();
    lcd.locate(0, 3);
    lcd.printf(message);
}
Setting up WiFi
We will add some code to initialize the Mbed Connect Cloud board's WiFi module and connect to your local WPA/WPA2 WiFi network.
Open mbed_app.json
We need to tell Mbed the name of our WiFi network's SSID and password.
Under wifi-ssid change the "value" from SSID to your WiFi's name (for example: "\"iotlab\"") and do not remove the quotes.
Under wifi-password change the "value" from PASSWORD to your WiFi's password (for example: "\"abcd1234\"") and do not remove the quotes.
Open main.cpp
The Mbed Connect Cloud board uses the u-blox EVK-ODIN-W2 WiFi module. So to initialize our WiFi connection we need to instantiate a OdinWifiInterface variable. Under 'GLOBAL VARIABLES HERE' add the following code:
OdinWiFiInterface wifi;
Add some code to tell the WiFi module to connect to your wifi network. We will also print to the LCD the status of the WiFi connection. Under 'MAIN CODE HERE' add the following code:
lcd_print("Connecting...");
int ret = wifi.connect(MBED_CONF_APP_WIFI_SSID, MBED_CONF_APP_WIFI_PASSWORD, NSAPI_SECURITY_WPA_WPA2);
if (ret != 0) {
    lcd_print("Connection error.");
    return -1;
}
lcd_print("Successfully connected!");
The MBED_CONF_APP_WIFI_SSID and MBED_CONF_APP_WIFI_PASSWORD are variables defined by the mbed_app.json file we edited previously. NSAPI_SECURITY_WPA_WPA2 tells Mbed OS that our WiFi network has WPA or WPA2 security (so it requires an SSID and password).
Adding button interrupts
We will add some code to instantiate two InterruptIn variables so the SW1 and SW2 buttons on the board can interrupt the main program. We will also create two bool variables that change state (true/false) whenever the buttons are clicked.
Open main.cpp
Under 'GLOBAL VARIABLES HERE' add the following code:
InterruptIn post_button(PF_2);
InterruptIn get_put_button(PG_4);
volatile bool post_clicked = false;
volatile bool get_clicked = false;
volatile bool put_clicked = false;
Add two functions that will be called when either button interrupts the main function. When the post_button (SW1) is clicked, the post_clicked variable will be set to true. When the get_put_button (SW2) is clicked, the get_clicked variable will be set to true. Under 'FUNCTION DEFINITIONS HERE' add the following code:
void send_post() {
    post_clicked = true;
}

void send_get_put() {
    get_clicked = true;
}
Attach the send_post and send_get_put functions to the rising edge of their associated InterruptIn buttons. We will also add a while loop so the program will run indefinitely. Under 'MAIN CODE HERE' add the following code:
post_button.rise(&send_post);
get_put_button.rise(&send_get_put);
while (true) {
    // WHILE LOOP CODE HERE

}
Creating the HTTP Python Server
For this example, in order to send HTTP POST, GET, or PUT requests from our Mbed client code (main.cpp) we need to set up a local Python server to handle these requests. (If you are interested in using an already established database/API for your HTTP requests, check out the IFTTT tutorial here.)
Download the server.py file located in the server folder in the demo repository here.
Open server.py in a local text editor on your computer
This file contains a skeleton Python BaseHTTPServer. If we were to run this Python script as-is from our command-line with python server.py, we would have a running local HTTP server but it would not be able to process HTTP POST, GET, or PUT requests. So, we need to add Python definitions in our MyHandler class to handle these requests. You can read more about Python's BaseHTTPServer here.
We will first create a definition for the HTTP POST request in the MyHandler class. Under 'HTTP REQUESTS HERE' add the following code:
    def do_POST(self):
        content = b"POST: Hello, Mbed!"
        self.send_response(200)
        self.send_header('Content-type', 'text/plain')
        self.send_header('Content-Length', len(content))
        self.end_headers()
        self.wfile.write(content)
        return
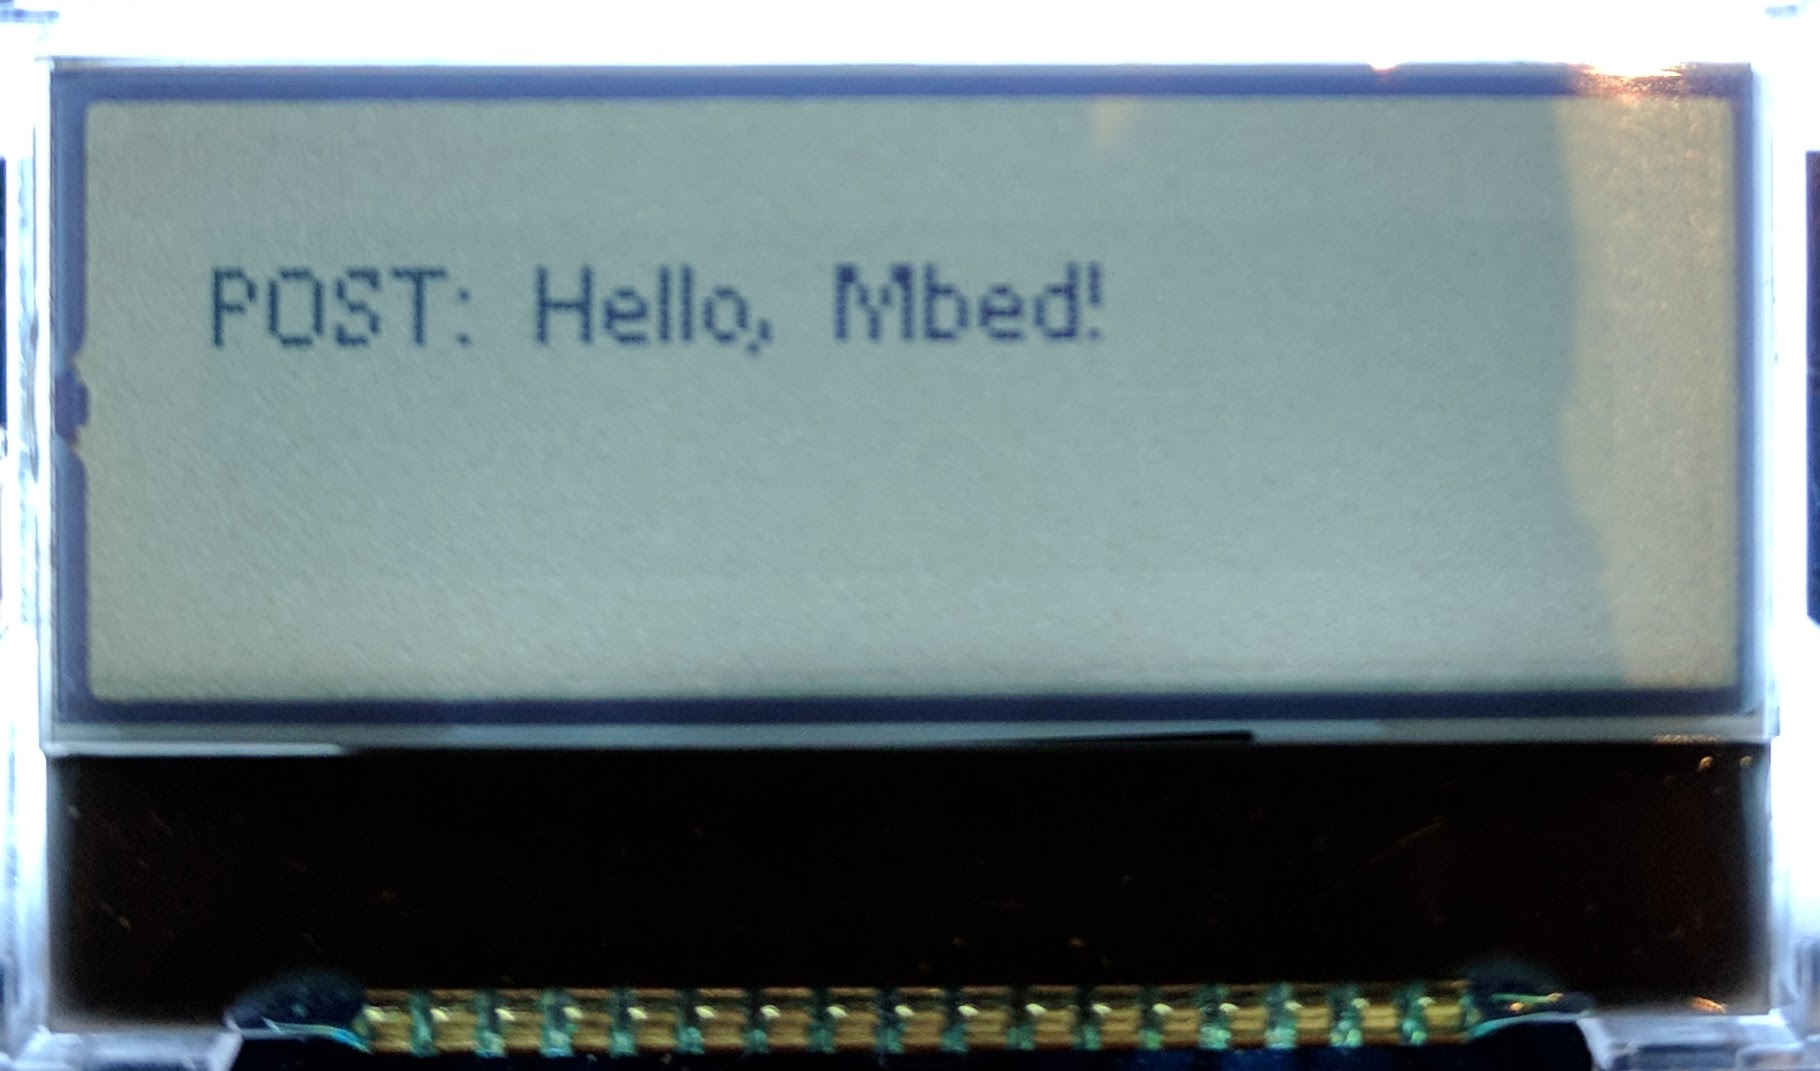
The definition do_POST allows the local server to process incoming POST requests, and send the response "POST: Hello, Mbed!". This response is always sent, regardless of the data in the incoming POST request.
Create similar definitions for the HTTP PUT and GET requests in the MyHandler class. Under 'HTTP REQUESTS HERE' add the following code:
    def do_GET(self):
        content = b"GET: Hello, Mbed!"
        self.send_response(200)
        self.send_header('Content-type', 'text/plain')
        self.send_header('Content-Length', len(content))
        self.end_headers()
        self.wfile.write(content)
        return

    def do_PUT(self):
        content = b"PUT: Hello, Mbed!"
        self.send_response(200)
        self.send_header('Content-type', 'text/plain')
        self.send_header('Content-Length', len(content))
        self.end_headers()
        self.wfile.write(content)
        return
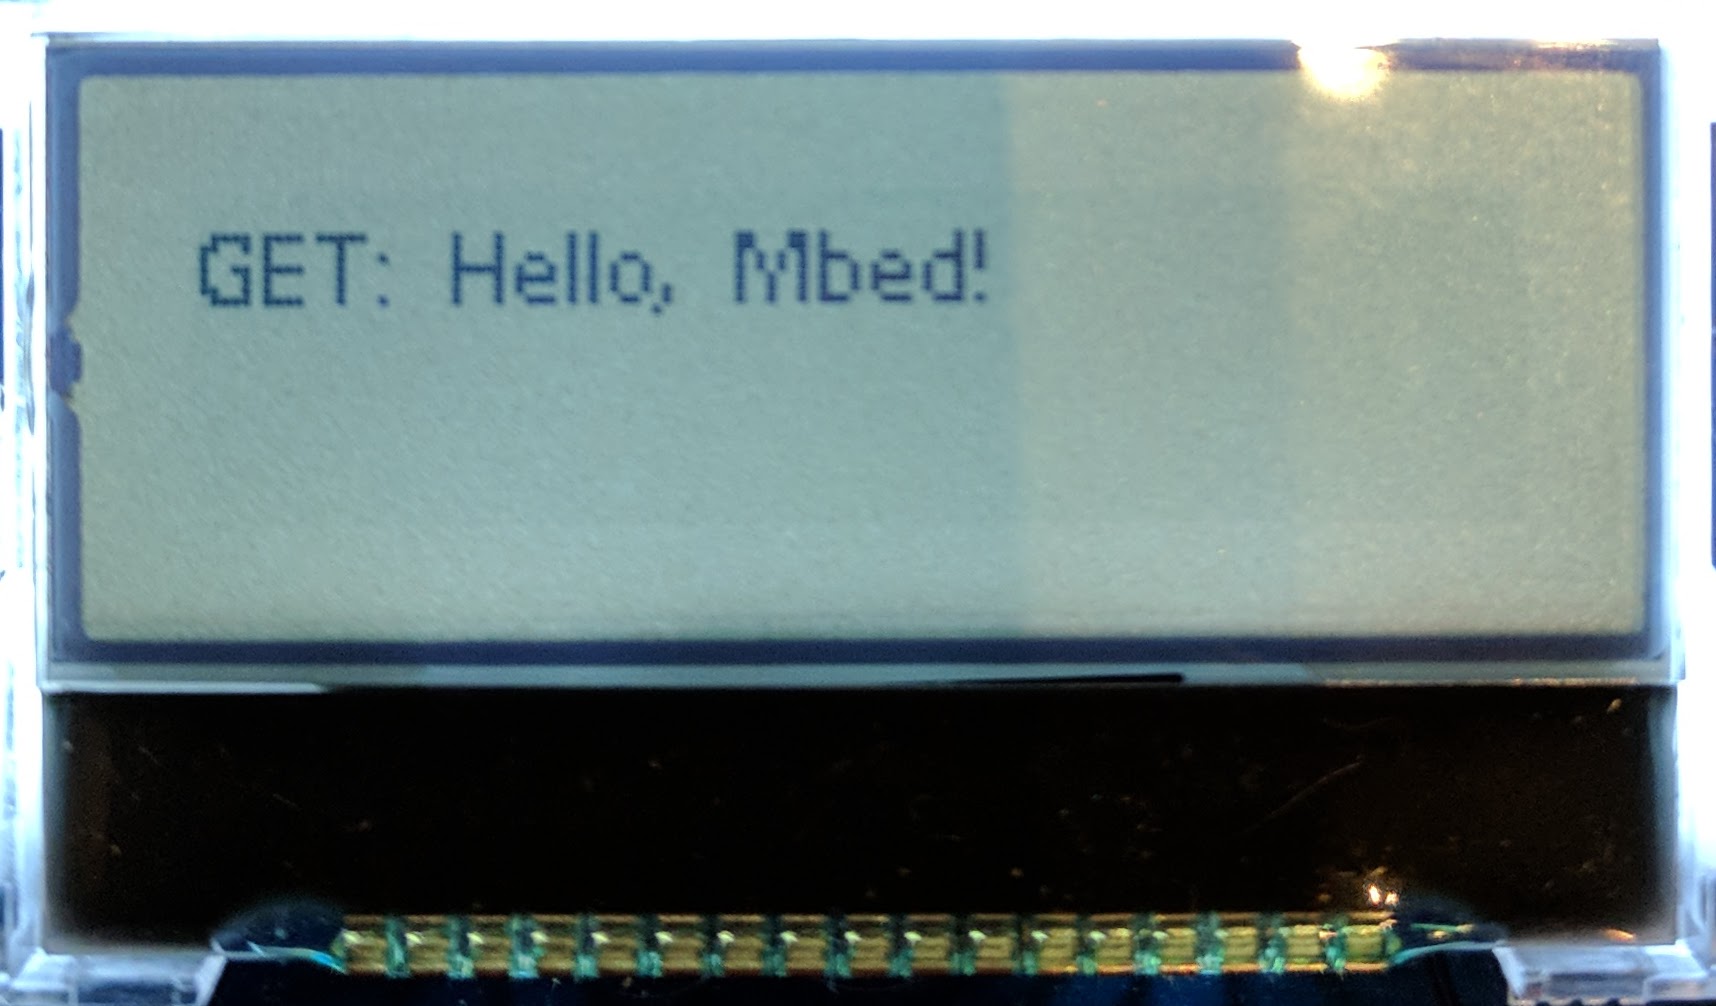
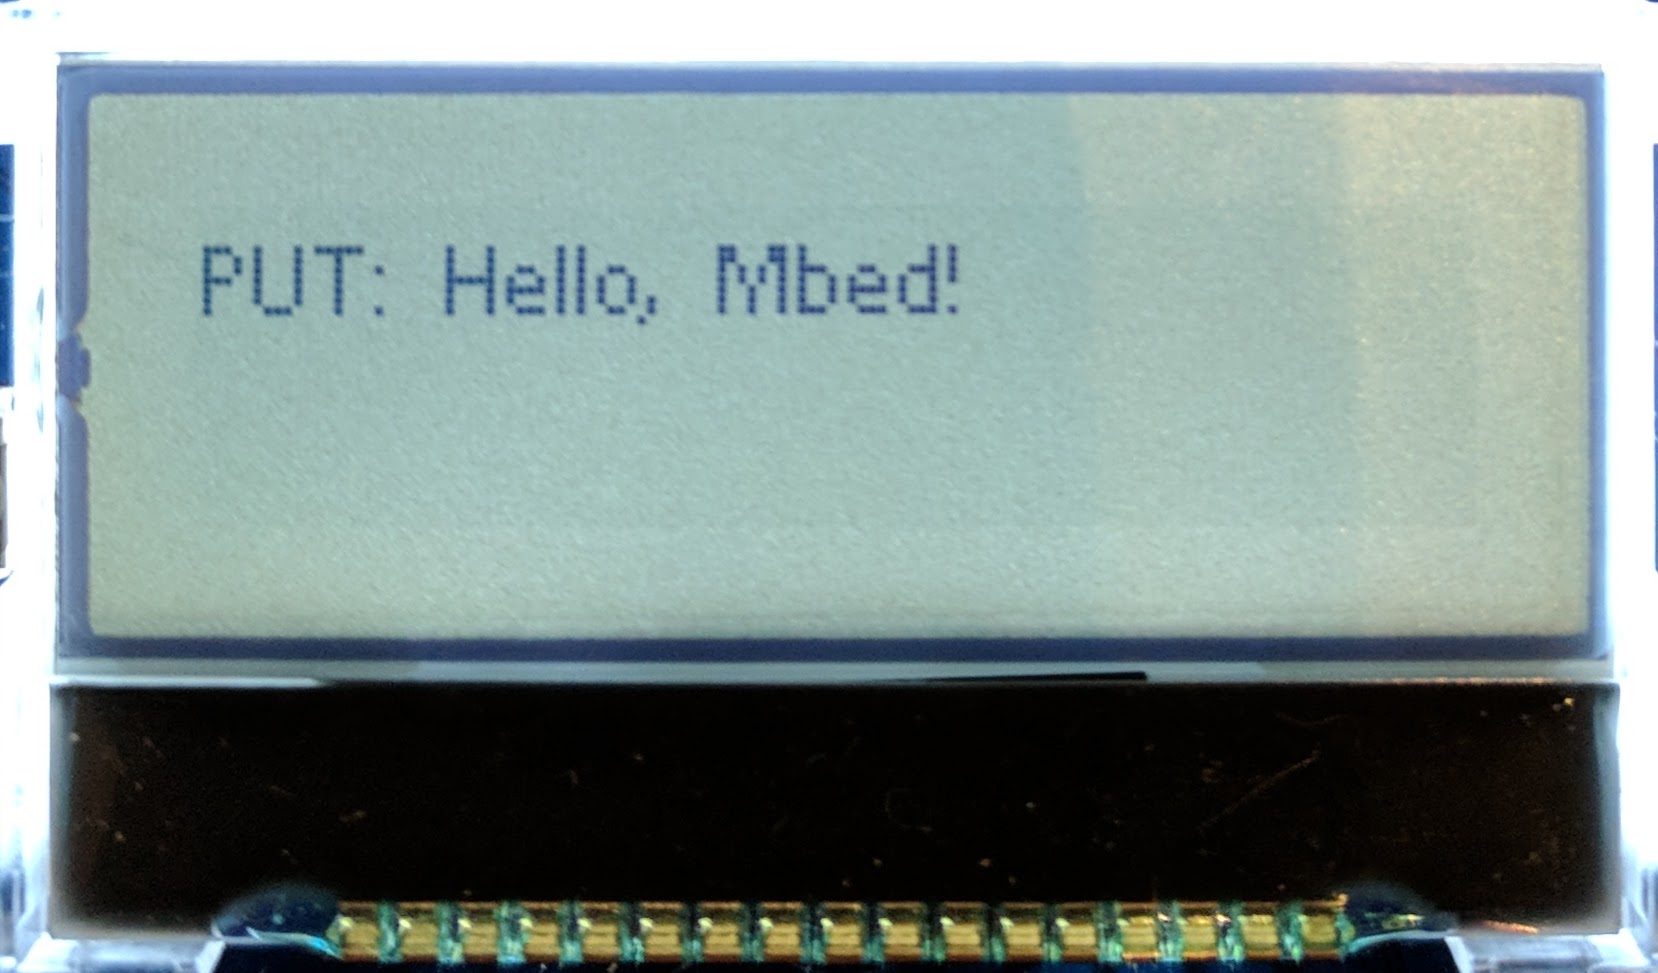
Similarly to do_POST, the do_GET and do_PUT definitions allow the local server to process incoming GET and PUT requests, and send the responses "GET: Hello, Mbed!" or "PUT: Hello, Mbed!" respectively. These responses are always sent, regardless of the data in the incoming GET or PUT requests.
If you want to read data from the mbed you can add the following code to any of the request functions:
        post_data = self.rfile.read(content_length)
        print(post_data)
Now that we have completed our server.py implementation, we need to start up the local server. Open a command-line window and navigate to the directory location of where you have saved your server.py file. Then, once you are in the directory with the server.py file, type in the following command and press enter on your keyboard: python server.py.
For example, on my computer I receive the following output from python server.py:
$ python server.py
HTTP server running on port 8080
Your IP address is:  192.168.0.77
Save the IP address that the Python script printed in your command-line, we will be using that address to process the Mbed Client's HTTP requests. Do not exit/close this command-line window or your local server will be terminated (and your HTTP requests will not go through).
Sending HTTP requests
Earlier we set up our button interrupts for the Mbed client in main.cpp. Now we need to write code that sends the HTTP POST, GET, or PUT requests to our local HTTP Python Server from the main function when these buttons are pressed.
Open main.cpp
First we will write code to send an HTTP POST request after a clicking the post_button (SW1). Whenever the post_button is clicked, the boolean variable's post_clicked state gets changed from false to true. When post_clicked is true, we will send an HTTP POST request to our local server. Under 'WHILE LOOP CODE HERE' add the following code:
if (post_clicked) {
    post_clicked = false;
    NetworkInterface* net = &wifi;
    HttpRequest* request = new HttpRequest(net, HTTP_POST, "http://IP_ADDRESS_HERE:8080");
    request->set_header("Content-Type", "application/json");
    const char body[] = "{\"post\":\"request\"}";
    HttpResponse* response = request->send(body, strlen(body));
    lcd_print(response->get_body_as_string().c_str());
    delete request;
}
On line 4 we need to change the HttpRequest*'s address to include your computer's IP address. Copy the IP address printed onto the command-line from our server.py script previously and paste it over "IP_ADDRESS_HERE". For example, my IP address is 192.168.0.77, so my line 4 would look like the following:
HttpRequest* request = new HttpRequest(net, HTTP_PUT, "http://192.168.0.77:8080");
We will now add similar code for the HTTP POST and GET requests. Because there are only two buttons on the board, the second button will send both a POST and a GET request to our local server. Whenever the get_put_button is clicked, the boolean variable's get_clicked state gets changed from false to true. Then, inside the get_clicked if statement, we will change the put_clicked state from false to true. When get_clicked is true, we will send an HTTP GET request to our local server. Then, after waiting 2000ms we will send a PUT request because put_clicked's state is now true. Under 'WHILE LOOP CODE HERE' add the following code:
if (get_clicked) {
    get_clicked = false;
    put_clicked = true;
    NetworkInterface* net = &wifi;
    HttpRequest* request = new HttpRequest(net, HTTP_GET, "http://IP_ADDRESS_HERE:8080");
    request->set_header("Content-Type", "application/json");
    const char body[] = "{\"get\":\"request\"}";
    HttpResponse* response = request->send(body, strlen(body));
    lcd_print(response->get_body_as_string().c_str());
    delete request;
}

wait_ms(2000);

if (put_clicked) {
    put_clicked = false;
    NetworkInterface* net = &wifi;
    HttpRequest* request = new HttpRequest(net, HTTP_PUT, "http://IP_ADDRESS_HERE:8080");
    request->set_header("Content-Type", "application/json");
    const char body[] = "{\"put\":\"request\"}";
    HttpResponse* response = request->send(body, strlen(body));
    lcd_print(response->get_body_as_string().c_str());
    delete request;
}
Remember, as we did for the POST request, we need to change both HttpRequest* request variables to include your local IP address. Replace the "IP_ADDRESS_HERE" in lines 4 and 18 above with your local IP address we copied from the output of the server.py script in our command-line earlier.
We are now finished creating our Mbed Client code and HTTP Python Server code. Follow the steps below to compile and run your application, and make sure your server.py server is still running in your command-line.
Compile and run
- Select the u-blox EVK-ODIN-W2 target board in the upper right hand corner
- Press "Compile"
- Wait for a binary to be downloaded
- Drag the binary to the DAPLINK disk
- Press the board's reset button
- The WiFi connection status should now be displaying on the board, once you see "Successfully connected!" you can press the buttons (SW1 or SW2) and see the HTTP response from our local server displayed on the LCD screen.
You should see the following HTTP responses on the LCD screen after clicking the SW1 or SW2 buttons:
And your command-line should have a similar output:
$ python server.py
HTTP server running on port 8080
Your IP address is:  192.168.0.77
192.168.0.86 - - [14/Nov/2017 13:46:16] "POST / HTTP/1.1" 200 -
192.168.0.86 - - [14/Nov/2017 13:46:20] "GET / HTTP/1.1" 200 -
192.168.0.86 - - [14/Nov/2017 13:46:22] "PUT / HTTP/1.1" 200 -
Publishing changes
- Right click the project folder
- Select "Publish"
- Write a commit message in the "Revision Commit" menu
- Press OK
- Select "Fork..." in the "Publish Repository" menu
- Write a Description
- Press OK
You have now successfully created an HTTP Python Server with Mbed Client!