IoTBot
ShadowBot with WiFi Control, Hall-effect Sensors, and Collision-Avoidance
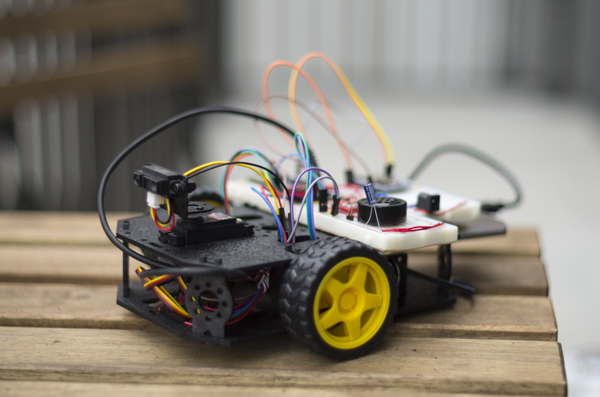
The IoTBot is a WiFi-enabled rover built from the Shadow Robot kit. It is controlled from a web interface running on the Adafruit Huzzah ESP8266 WiFi module and implements a pair of Hall-effect sensors on the motors to keep the wheels spinning at the same speed. Additionally, it uses a Sharp IR Proximity Sensor to detect walls in front of the robot and prevent it from crashing.
Parts
Shadow Robot
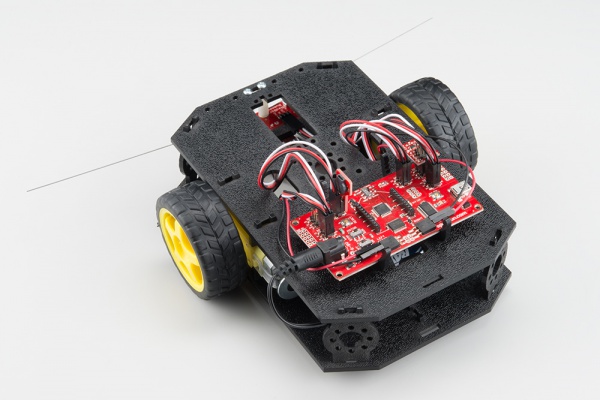
https://www.sparkfun.com/products/13301
Mbed LPC1768
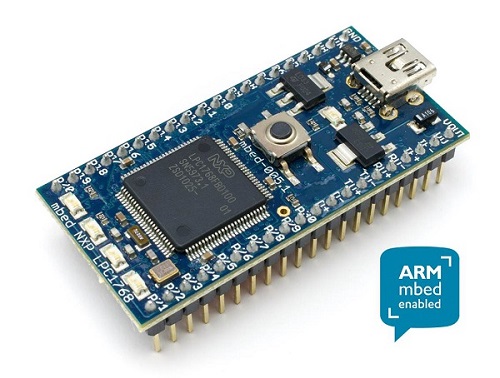
https://www.sparkfun.com/products/9564
Adafruit HUZZAH ESP8266
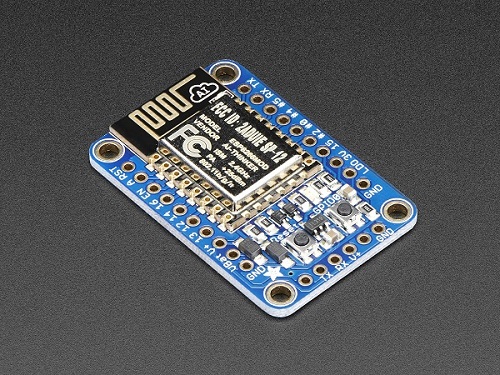
https://www.adafruit.com/product/2471
TB6612FNG Dual Motor Driver Carrier
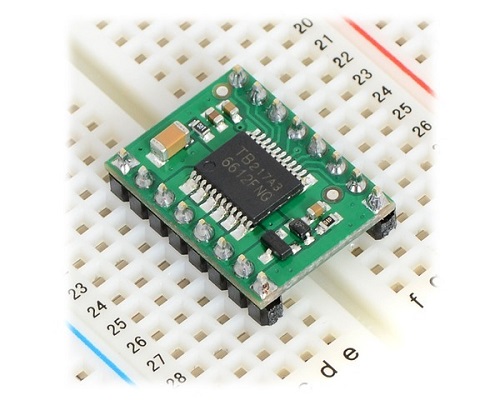
http://www.pololu.com/product/713
Hall-Effect Wheel Encoder
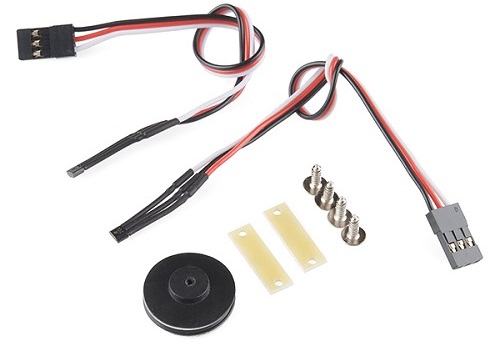
https://www.sparkfun.com/products/12629
Sharp IR Proximity Sensor
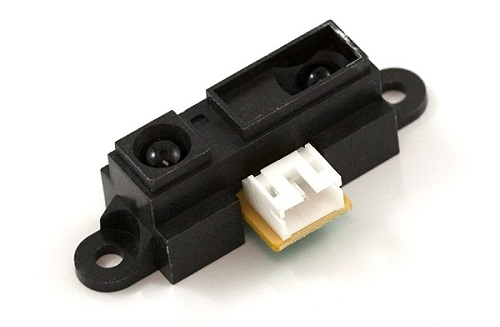
https://www.sparkfun.com/products/242
Sparkfun TPA2005D1 Mono Amplifier
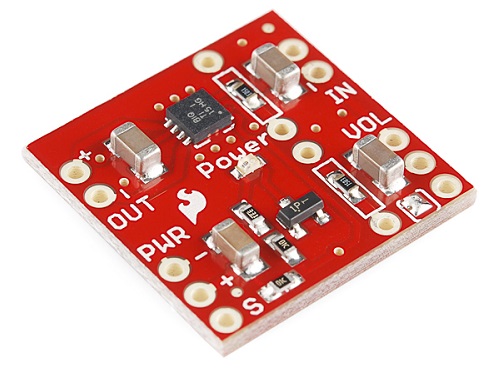
https://www.sparkfun.com/products/11044
Construction and Wiring
A guide to constructing the Shadow Robot kit is available on Sparkfun's Assembling the Robot Chassis page. This page also includes links to the motors, wheels, and battery pack used for the motors and WiFi module.
A wiring guide for the H-bridge module is available on the older Magician Robot Kit's wiki page.
A wiring guide for the TPA2005D1 amplifier is available on its wiki entry, as well.
Wiring the Adafruit Huzzah WiFi module is also fairly straightforward; a guide is available on the Huzzah wiki page. When the module is on the robot, it is powered by a 6V battery pack (4x 1.5V AA), so the following wiring is used:
| Huzzah | mbed LPC1768 | 6V external battery pack >=500MA |
| gnd | gnd | gnd |
| TX | RX - p27 | |
| RX | TX - p28 | |
| Vbat | 6V DC | |
| RST | p26 (optional) |
Programming the WiFi Module
The Adafruit Huzzah is typically controlled by sending Lua commands over the Mbed's serial interface to the ESP8266 SoC on the Huzzah module. However, this results in relatively slow performance and highly convoluted code. A better solution is to program the ESP8266 directly with the Arduino IDE. A setup guide to get the Huzzah working with the Arduino IDE is available on Adafruit's website. Setting up the IDE is identical on both a Windows PC and a Mac; just make sure to use at least version 1.6.2 of the IDE. As of November 2016, the latest version is 1.6.4.
Once the IDE is set up, write your code in the IDE and compile/flash the ESP8266 as per Adafruit's instructions.
Code
Since the Mbed compiler does not support the ESP8266, code for the Adafruit Huzzah is available on Github:
https://github.com/tanmaniac/ESP8266_IoT_Robot_Control
Code for the Mbed LPC1768 is available at the following project link:
Import program4180_L4_IoTBot
The IoTBot is a WiFi-enabled rover built from the Shadow Robot kit. It is controlled from a web interface running on the Adafruit Huzzah ESP8266 WiFi module and implements a pair of Hall-effect sensors on the motors to keep the wheels spinning at the same speed. Additionally, it uses a Sharp IR sensor to detect walls in front of the robot and prevent it from crashing.
Operation
Once the robot has been constructed, power the WiFi board and H-bridge driver by connecting them to a 6V battery pack (e.g., 4 1.5V AA batteries). The WiFi board can be powered and run independent of the Mbed board, since its firmware has been flashed from the Arduino IDE. Power the Mbed with another external battery pack, since the speaker amplifier will pull too much power for everything to be connected to the same power source. I used a small smartphone external battery pack from Samsung. Many modern battery packs are capable of powering 2A devices at 5V, but the Mbed can only output around 400 mA from its 5V output.
The code for the WiFi module uses an mDNS library that allows a user to connect to the chip without needing to figure out the module's IP address. Once everything is powered up and the WiFi module has connected to your WiFi network, access the WiFi control page by navigating to http://espwebsock.local/ - the mDNS library will resolve the request from your router.
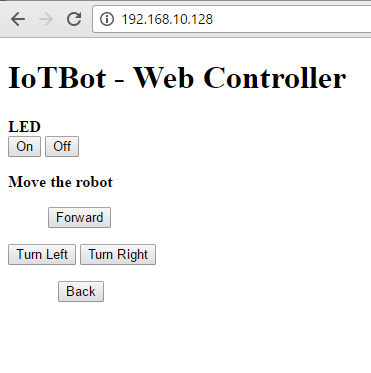
Entering the IP address of the WiFi module may work better in very complex enterprise networks that prevent DNS resolving.
Click the "On" button under "LED" to test the operation of the WiFi module. If everything is working correctly, the red LED on the Huzzah board will light up and LED1 on the Mbed will toggle.
You can now drive the robot around with the controls on the web page. The speaker will beep if the robot gets close to a wall, and the robot will execute an emergency stop if it gets too close. In this situation, the robot will only move backward away from the wall.
Please log in to post comments.
