Etch A Sketch
By Milo Pan
Overview
The objective of this project is to emulate an "Etch A Sketch" toy using the mbed and the 4DGL uLCD screen. Shown below, the Etch A Sketch is a popular kids toy which consists of a flat gray screen in a plastic red frame with two knobs on the front of the frame in the lower corners. Twisting the knob moves a stylus that displaces aluminum powder on the back of the screen, leaving a solid line. One knob moves the the stylus horizontally, and the other moves it vertically. The user can then create lineographic images.

Design
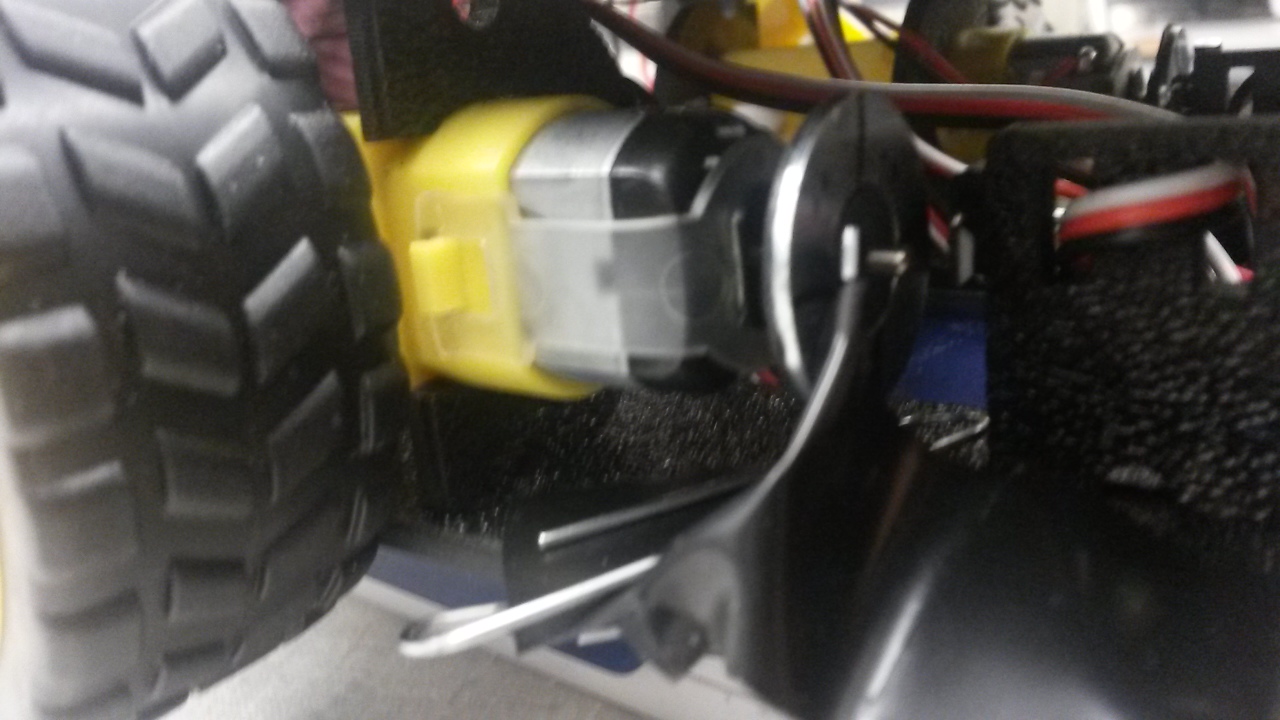
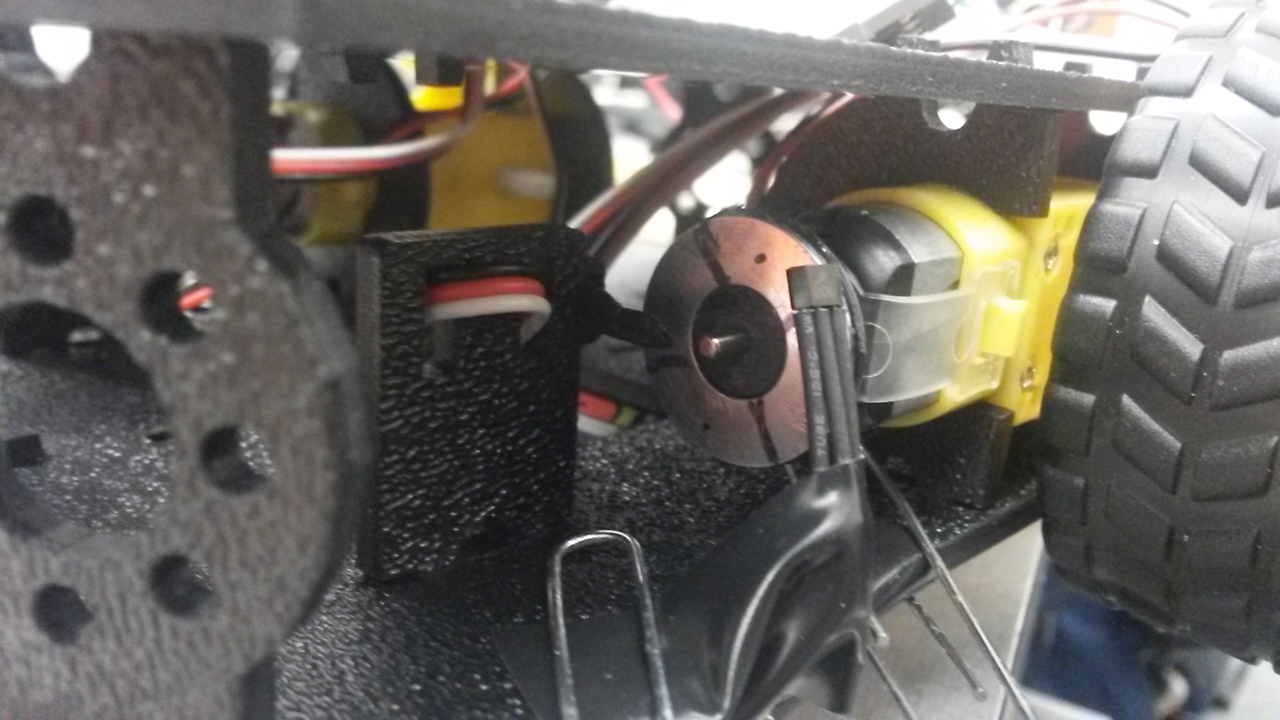
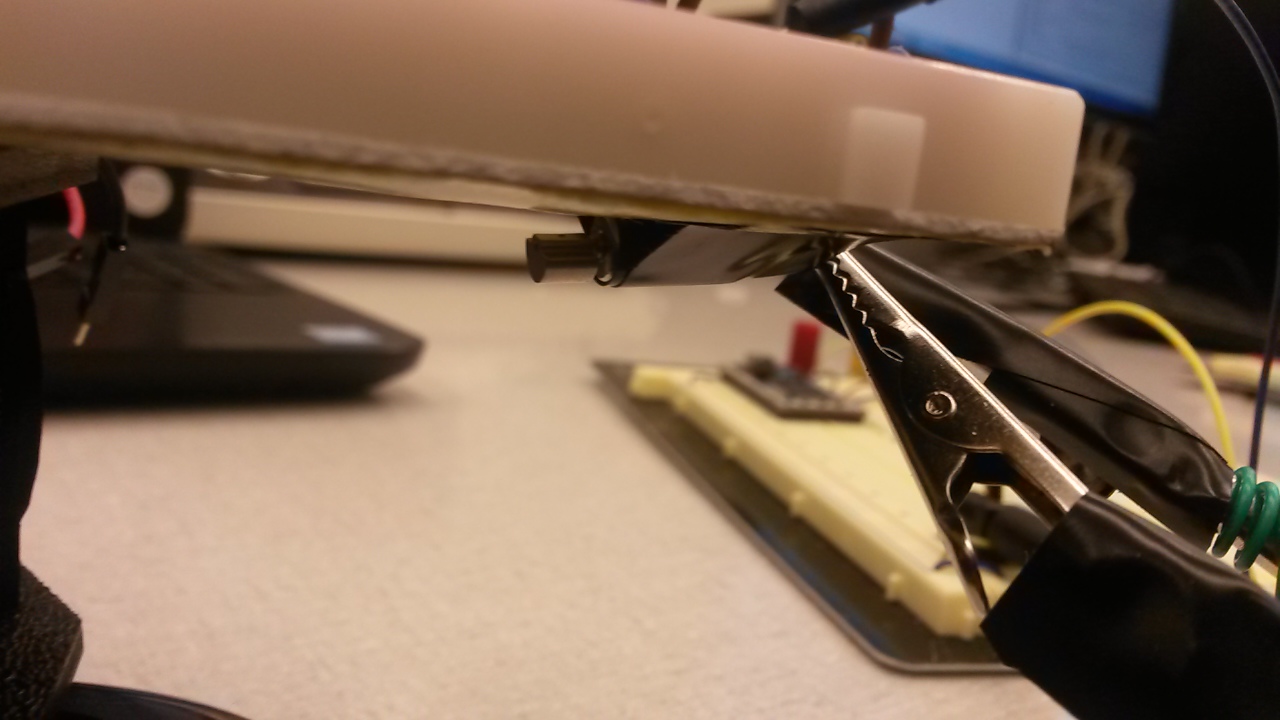
Initially, potentiometers seemed to be a good choice for knobs; however, they have a limited range of motion, reducing the size and/or resolution of drawings. A rotary encoder was the most logical choice. When trying to use a single hall sensor on a wheel (attached to an unused motor) of the Sparkfun robot kit, I realized that setup would only count forward and would thus not be able to distinguish the direction of turns. Two hall effect sensors on a wheel would give more information about the wheel's position. When reading the outputs of the two sensors, I saw four different states: 00, 10, 11, and 01. When referring to Aaron Berk's QEI library, this pattern matched with X4 encoding. When integrating his code into mine, I was able to record counts and distinguish counterclockwise from clockwise rotation. For two wheels, I needed to use a total of four hall effect sensors. For each wheel, the sensors had to be the same distance from the rotating magnetic disk to count at the same rate.
To implement drawing, I scaled the number of counts down by 20; the LCD screen is 128 x 128, with (64, 64) being the center, so counts of +/- 1280 would bring the cursor to the edge of the screen. Drawing is done pixel by pixel, directly accounting for the counts in each wheel.
The rest of the project is straightforward. One button clears the screen; I chose not to include shaking like the actual game since my wiring setup was not the most stable. Another button enables and disables the drawing function on the screen to allow the user to draw with more freedom. A Bluetooth module allows the user to use his/her phone to control the color of the "ink", making for more colorful drawings. Finally, a vibration motor from a toothbrush produces haptic feedback in the form of a short buzz whenever the user turns a knob.
Wiring and Connections
Note
The buttons use internal pull-ups.
Top VIew

Side View

Buttons
| mbed | button 1 (cls) | button 2 (pen) |
|---|---|---|
| p21 | Input | |
| p22 | Input | |
| GND | GND | GND |
Bluetooth
| mbed | Adafruit BLE |
|---|---|
| GND | GND |
| Vu (5V) | Vin |
| NC | RTS |
| GND | CTS |
| p27 | TXO |
| p28 | RXI |
Hall Effect Sensors
| mbed | LeftSensor1 | LeftSensor2 | RightSensor1 | RightSensor1 |
|---|---|---|---|---|
| GND | GND | GND | GND | GND |
| 5V | 5V | 5V | 5V | 5V |
| p13 | Signal | |||
| p14 | Signal | |||
| p25 | Signal | |||
| p26 | Signal |
Left side sensors

Right side sensors

Motor
| mbed | Motor | CSD18532 (MOSFET) | External 5V Supply |
|---|---|---|---|
| p20 | Gate (p1) | ||
| GND | Source (p3) | GND | |
| Blue | Drain (p2) | ||
| Red | 5V |
The vibration motor

uLCD Screen
| mbed | uLCD |
|---|---|
| GND | GND |
| Vu (5V) | 5V |
| p9 | RX |
| p10 | TX |
| p11 | Reset |
Code
The included interrupts make the code neater and help the game function smoothly.
main.cpp
#include "mbed.h"
#include "uLCD_4DGL.h"

//left wheel parameters
InterruptIn leftchA(p26);
InterruptIn leftchB(p25);
int leftChanA;
int leftChanB;
int leftCurrState;
int leftPrevState;
int leftChange;
volatile int count1 = 0;

//right wheel parameters
InterruptIn rightchA(p13);
InterruptIn rightchB(p14);
int rightChanA;
int rightChanB;
int rightCurrState;
int rightPrevState;
int rightChange;
volatile int count2 = 0;

//etch a sketch cursor positions
int x;
int y;
int oldx;
int oldy;

uLCD_4DGL uLCD(p9,p10,p11);

//clearing screen control
InterruptIn cls(p21);
DigitalOut led1(LED1);      //flashes to indicate clear

//drawing control
InterruptIn pen(p22);
bool capOn = true;
DigitalOut led2(LED2);      //on when drawing is turned off

//bluetooth color control
Serial bluemod(p28, p27);
int color = 0xFF0000;       // default red
volatile char bred = 0;
volatile char bgreen = 0;
volatile char bblue = 0;
Ticker t;

//toothbrush motor vibrates during usage
DigitalOut haptic(p20);

/*
*   example 01 <- 11
*   change = (11&01 = 01) ^ (01&10 = 00>>1) = 1
*   example 10 -> 00
*   change = (10&01 = 00) ^ (00&10 = 00>>1) = 0
*   Implemented barebones version of "QEI.h" by Aaron Berk for the sake of
*   understanding the concept of X4 encoding
*   00 01 11 10 00
*   4 different states
*/

/*
*   Calculate the number of pulses recorded by the left wheel
*/
void encode1() {
    leftChange = 0;
    leftChanA  = leftchA.read();
    leftChanB  = leftchB.read();
    leftCurrState = (leftChanA << 1) | (leftChanB);
    if (((leftCurrState ^ leftPrevState) != 0x3) && (leftCurrState != leftPrevState)) {
        leftChange = (leftPrevState & 0x1) ^ ((leftCurrState & 0x2) >> 1);
        if (leftChange == 0) {
            leftChange = -1;
        }
        count1 += leftChange;
    }
    leftPrevState = leftCurrState;
}

/*
*   Calculate the number of pulses recorded by the right wheel
*/
void encode2() {
    rightChange = 0;
    rightChanA  = rightchA.read();
    rightChanB  = rightchB.read();
    rightCurrState = (rightChanA << 1) | (rightChanB);
    if (((rightCurrState ^ rightPrevState) != 0x3) && (rightCurrState != rightPrevState)) {
        rightChange = (rightPrevState & 0x1) ^ ((rightCurrState & 0x2) >> 1);
        if (rightChange == 0) {
            rightChange = -1;
        }
        count2 += rightChange;
    }
    rightPrevState = rightCurrState;
}

/*
*   Clear the LCD screen with a pushbutton
*/
void clear() {
    uLCD.cls();
    led1 = 1;
    wait(0.1);
    led1 = 0;
    wait(0.1);
}

/*
*   Toggle the drawing on the LCD screen
*/
void cap() {
    capOn = !capOn;
    if(!capOn) {
        led2 = 1;
    } else {
        led2 = 0;
    }
}

/*
*   Change the color of the Etch A Sketch 'ink' using bluetooth input
*/
void colorChange() {
    while(bluemod.readable()) {
        if(bluemod.getc()=='!') {
            if(bluemod.getc()=='C') {
                bred = bluemod.getc();
                bgreen = bluemod.getc();
                bblue = bluemod.getc();
                if (bluemod.getc()==char(~('!' + 'C' + bred + bgreen + bblue))) {
                    color = (bred << 16 | bgreen << 8 | bblue);
                }
            }
        }
    }
}

/*
*   Set up pull-ups, initial states, and interrupts on the two wheels and
*   hall sensors
*/
void setupEncoder() {
    leftchA.mode(PullUp);
    leftchB.mode(PullUp);
    rightchA.mode(PullUp);
    rightchB.mode(PullUp);

    leftChanA = leftchA.read();
    leftChanB = leftchB.read();
    rightChanA = rightchA.read();
    rightChanB = rightchB.read();

    leftCurrState = (leftChanA << 1) | (leftChanB);
    leftPrevState = leftCurrState;
    rightCurrState = (rightChanA << 1) | (rightChanB);
    rightPrevState = rightCurrState;

    leftchA.rise(&encode1);
    leftchA.fall(&encode1);
    leftchB.rise(&encode1);
    leftchB.fall(&encode1);

    rightchA.rise(&encode2);
    rightchA.fall(&encode2);
    rightchB.rise(&encode2);
    rightchB.fall(&encode2);
}

int main() {
    //set up features
    setupEncoder();
    cls.mode(PullUp);
    cls.fall(&clear);
    pen.mode(PullUp);
    pen.fall(&cap);
    t.attach(&colorChange, 0.0625);

    //set up LCD
    uLCD.baudrate(300000);
    uLCD.background_color(BLACK);
    uLCD.cls();

    //set up cursor positions
    //for the wheels, +/- counts of 1280 will get you to the edge of screen
    x = 64;
    y = 64;
    oldx = x;
    oldy = y;
    uLCD.pixel(x, y, color);

    while(1) {
        //converting counts to LCD coordinates
        oldx = x;
        oldy = y;
        x = 64+count1/20;
        y = 64+count2/20;
        //if cursor moves, motor vibrates
        if(x!=oldx || y!=oldy) {
            haptic = 1;
            wait(0.05);
        } else {
            haptic = 0;
        }
        //if pen is activated, draw is
        if(capOn) {
            uLCD.pixel(x, y, color);
        }
    }
}
Main Program
uLCD library
Import library4DGL-uLCD-SE
Fork of 4DGL lib for uLCD-144-G2. Different command values needed. See https://mbed.org/users/4180_1/notebook/ulcd-144-g2-128-by-128-color-lcd/ for instructions and demo code.
Complete project code
Import programEtch_A_Sketch_uLCD
Etch a Sketch on the uLCD screen with wheel encoders as the knobs.
Demo
Screen

Video
Further Improvements
- Add shaking to clear
- Add stable enclosure
- Bigger screen
- User interface with current color, coordinates, etc.
Please log in to post comments.
