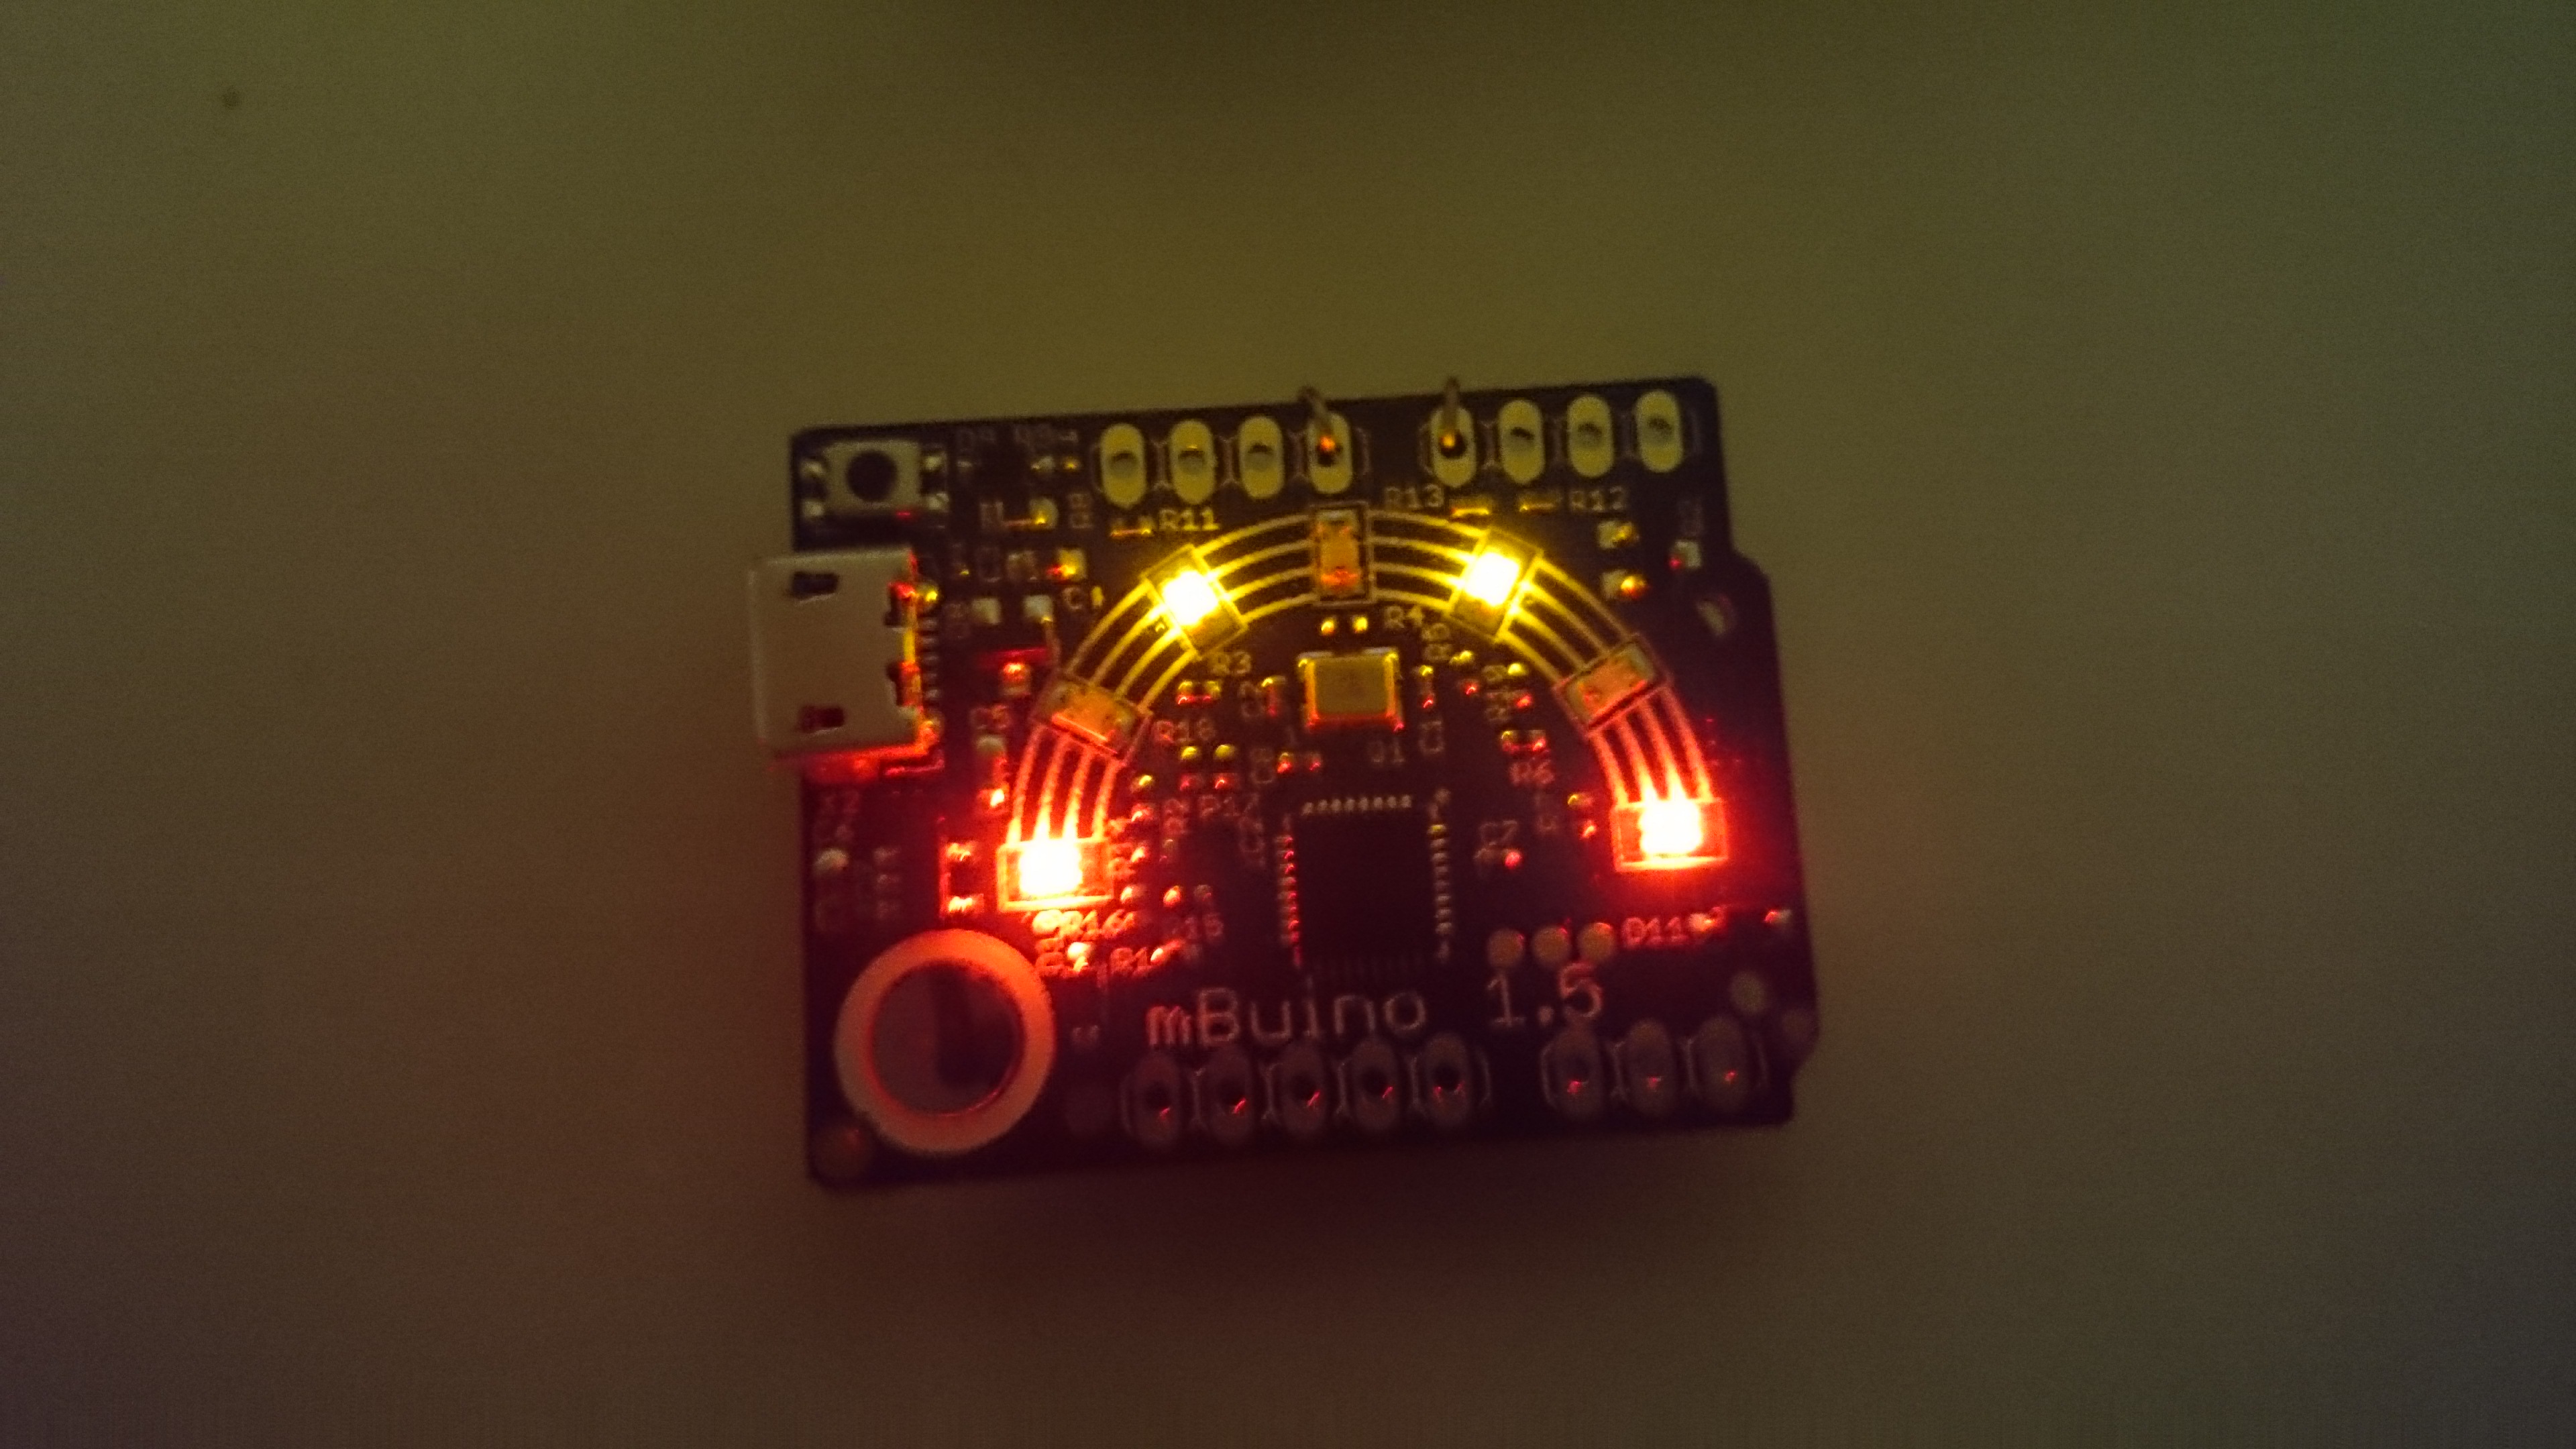
Electronic dice application for the mBuino platform. Notes: The mBuino starts in Demo mode. In Demo mode the LEDs are lighted, showing sweeps and demo rolls. Connect a button or tilt-switch between P0.4 and GND. No soldering required! When the switch is triggered mBuino goes into Roll mode. In Roll mode mBuino starts with rapid flickering LEDs. Each subsequent switch trigger will perform a roll of the dice, of which the result is shown for ten seconds unless the switch is triggered for another roll. To preserve power, Power down mode is entered after inactivity in Demo mode or Roll mode. Press any button to revive.
Fork of mBuino_Dice by
mBuino_Dice
The hardware: No soldering required
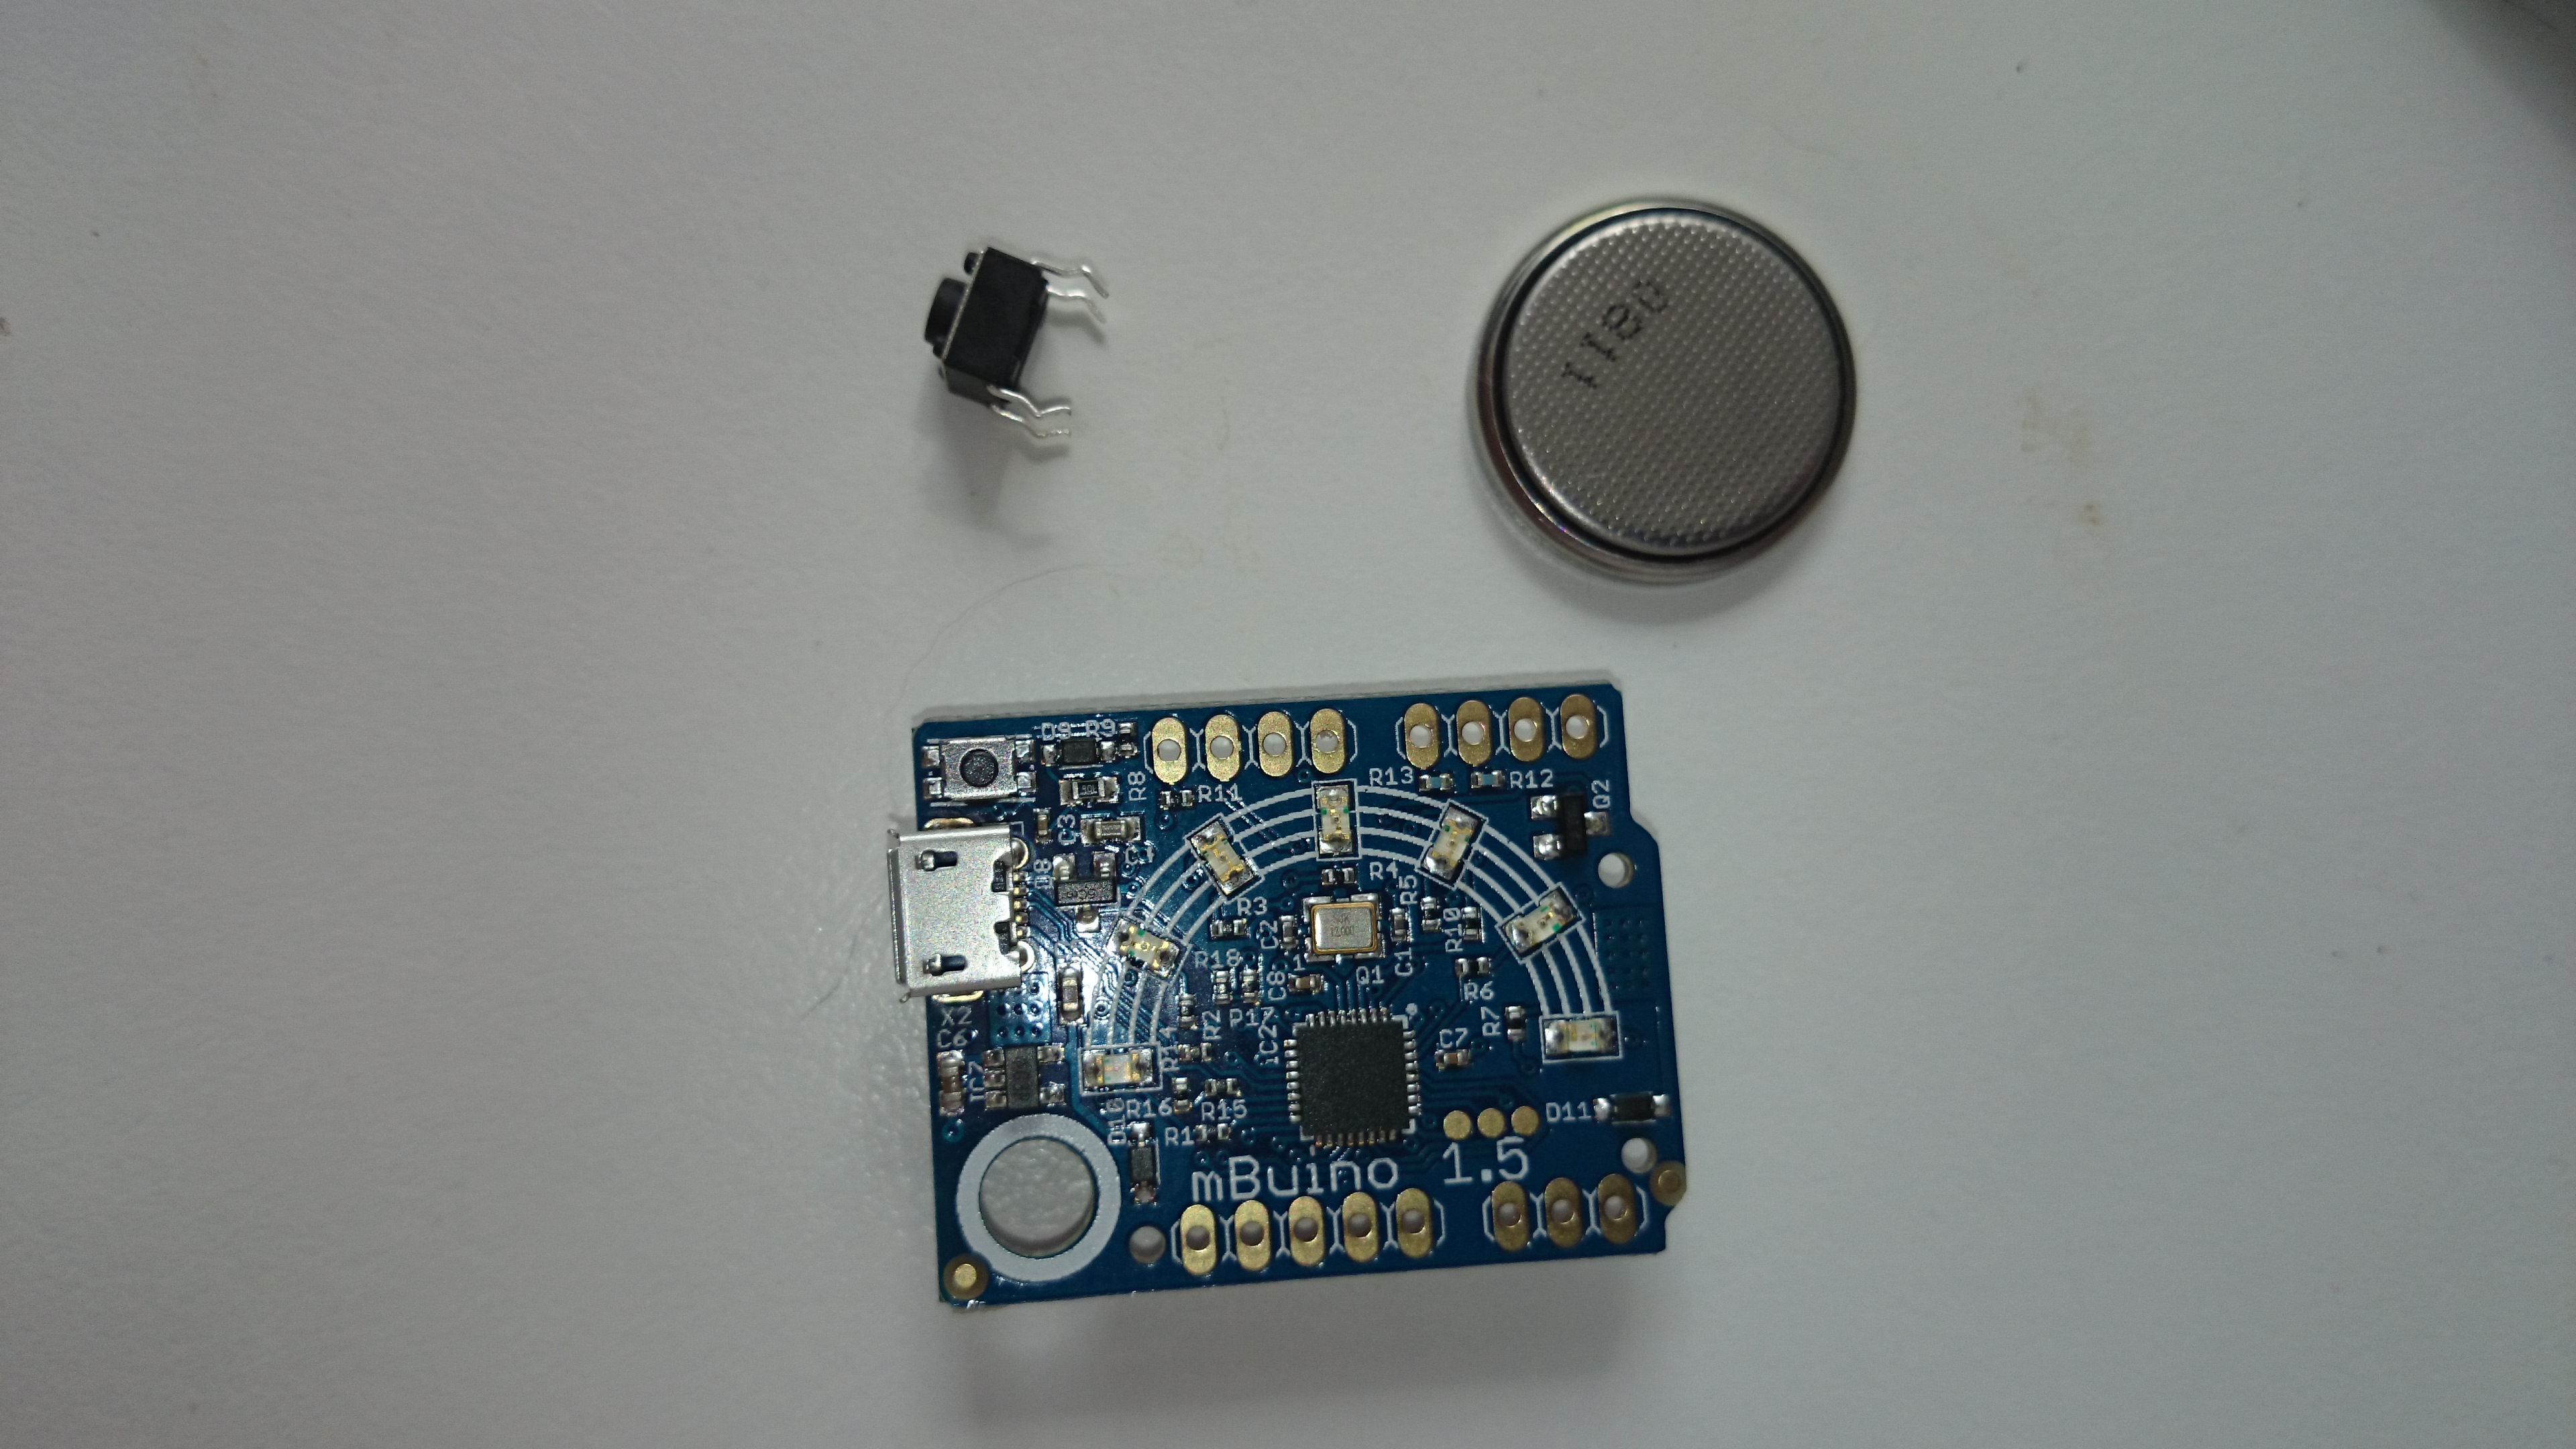
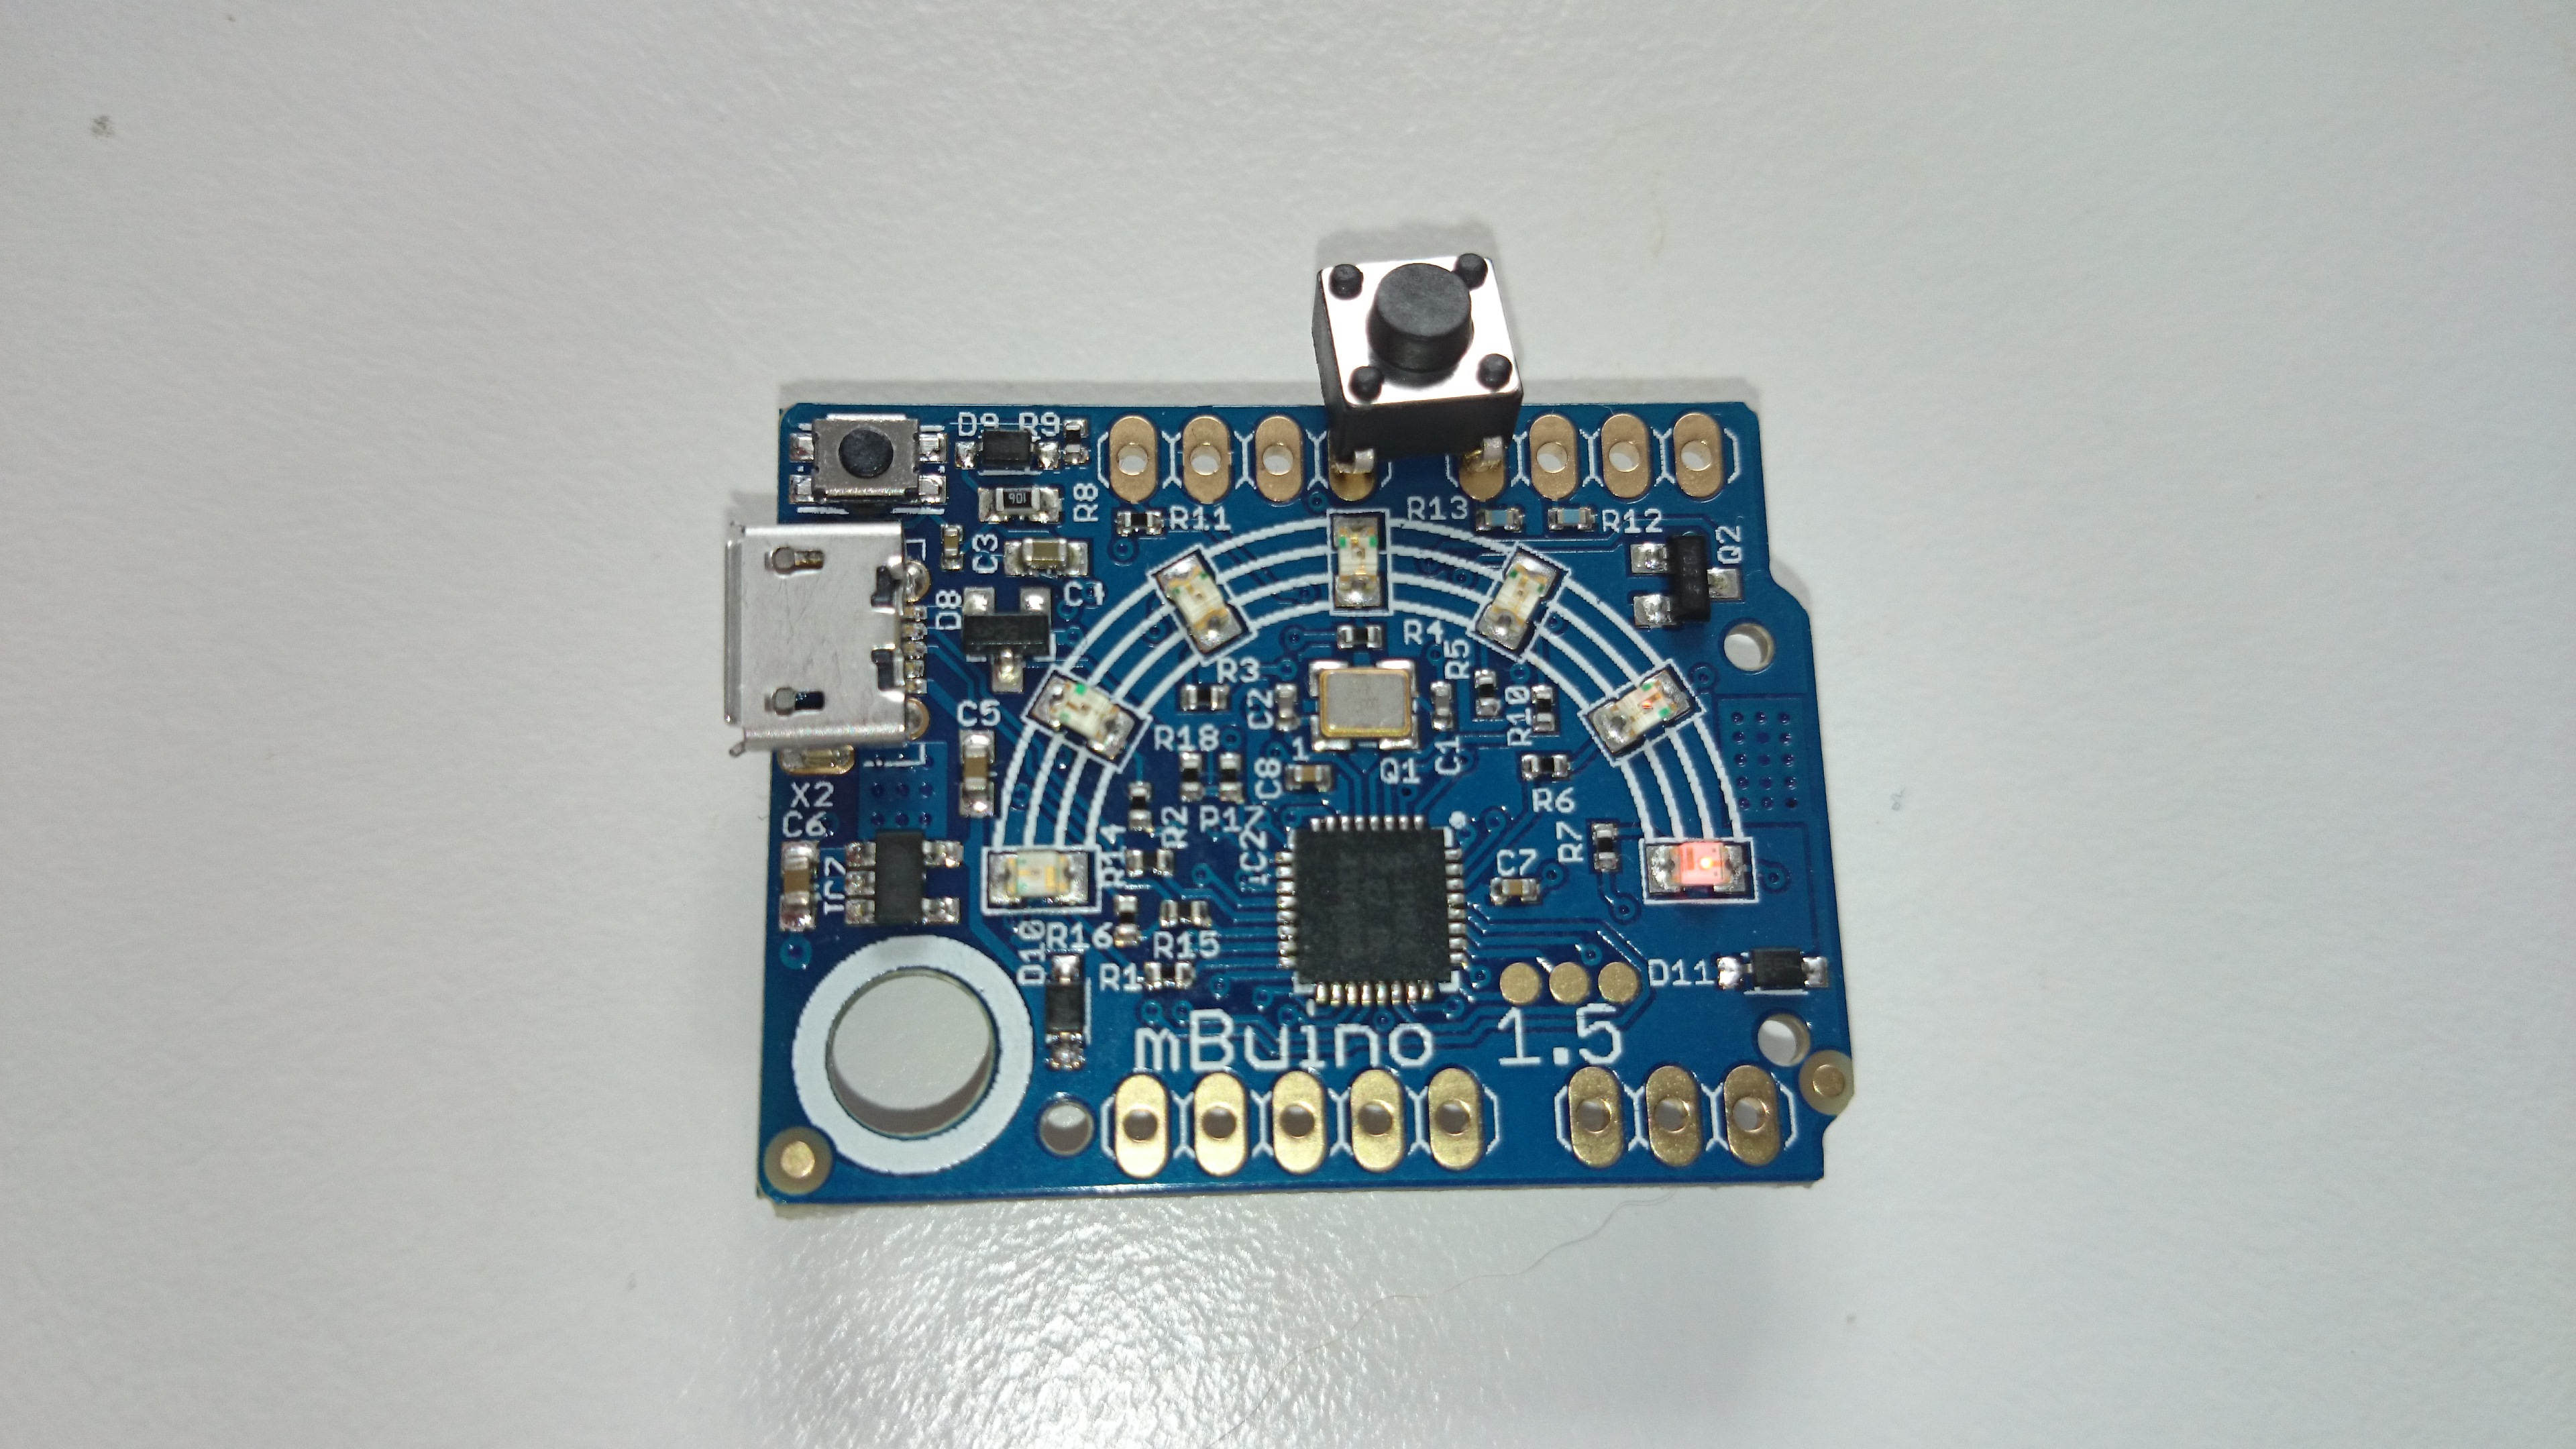
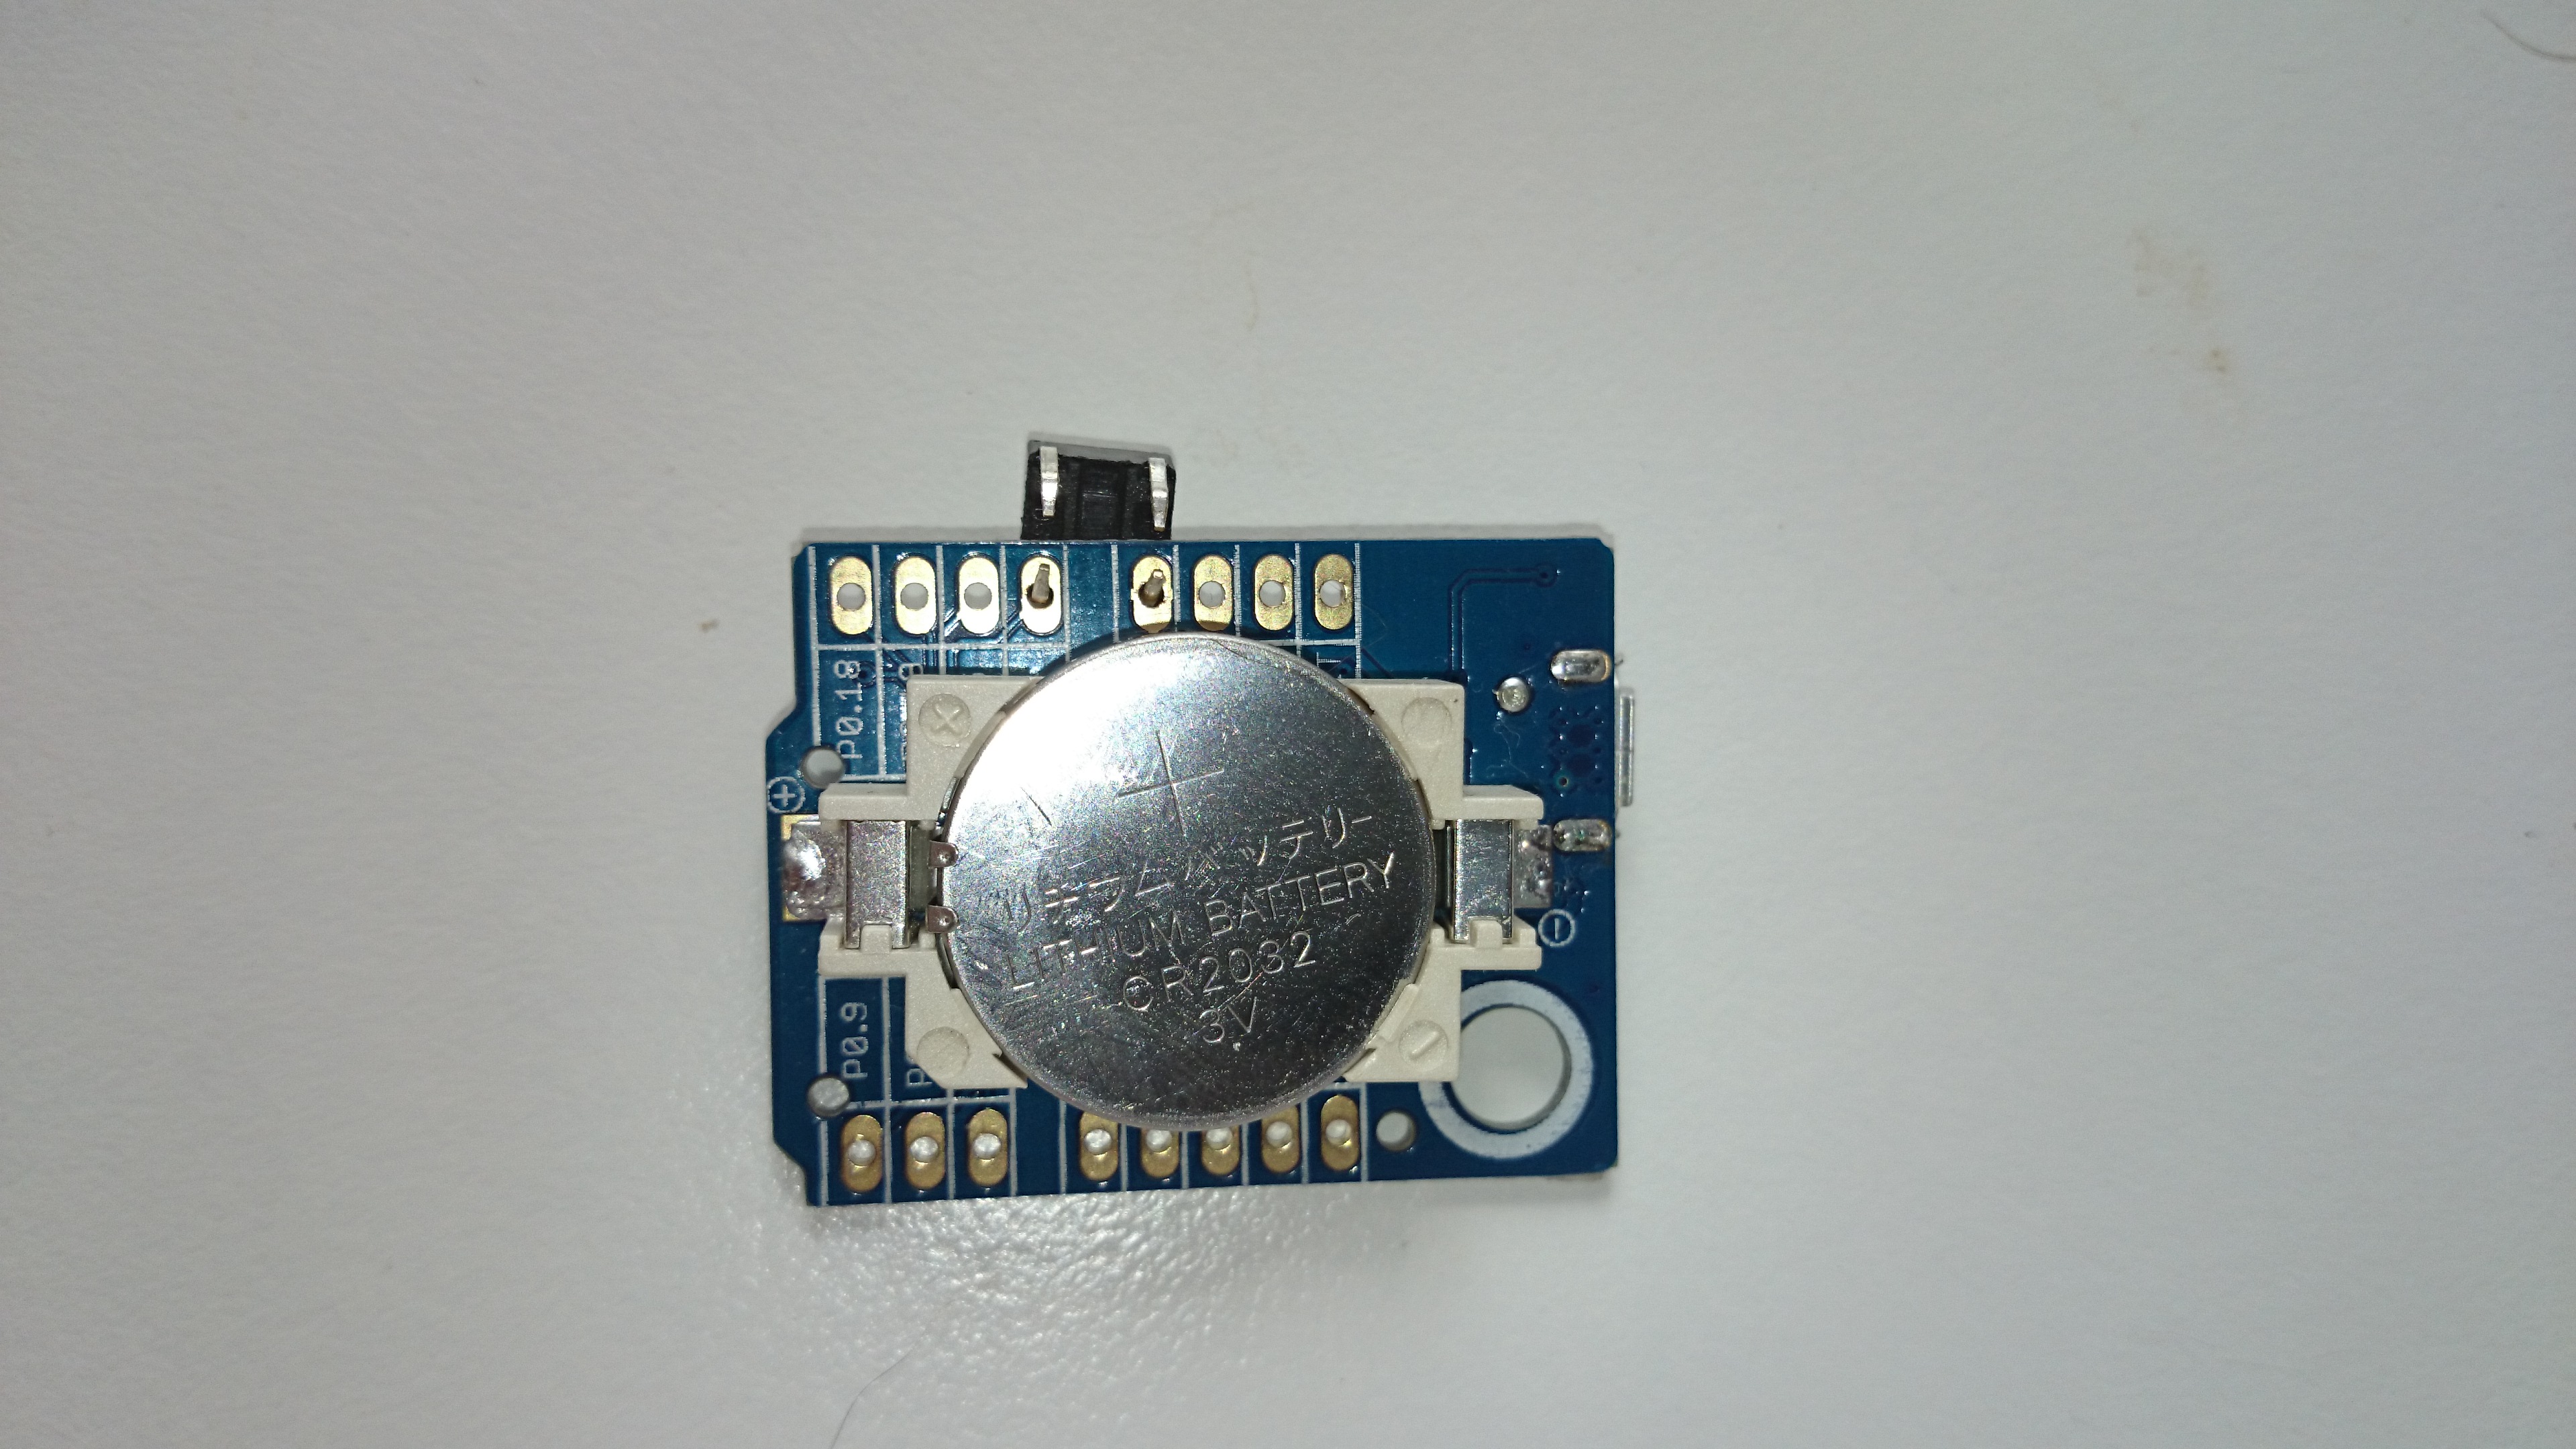
As you can see in the picture gallery below, this is a very simple mBuino project, requiring only one extra component: a switch such as a push button or a tilt switch.
Push button
The push-button I used fits neatly between P0.4 and GND. By just bending the legs flat to the PCB, the button attached sturdy enough to make a usable connection.
Tilt switch
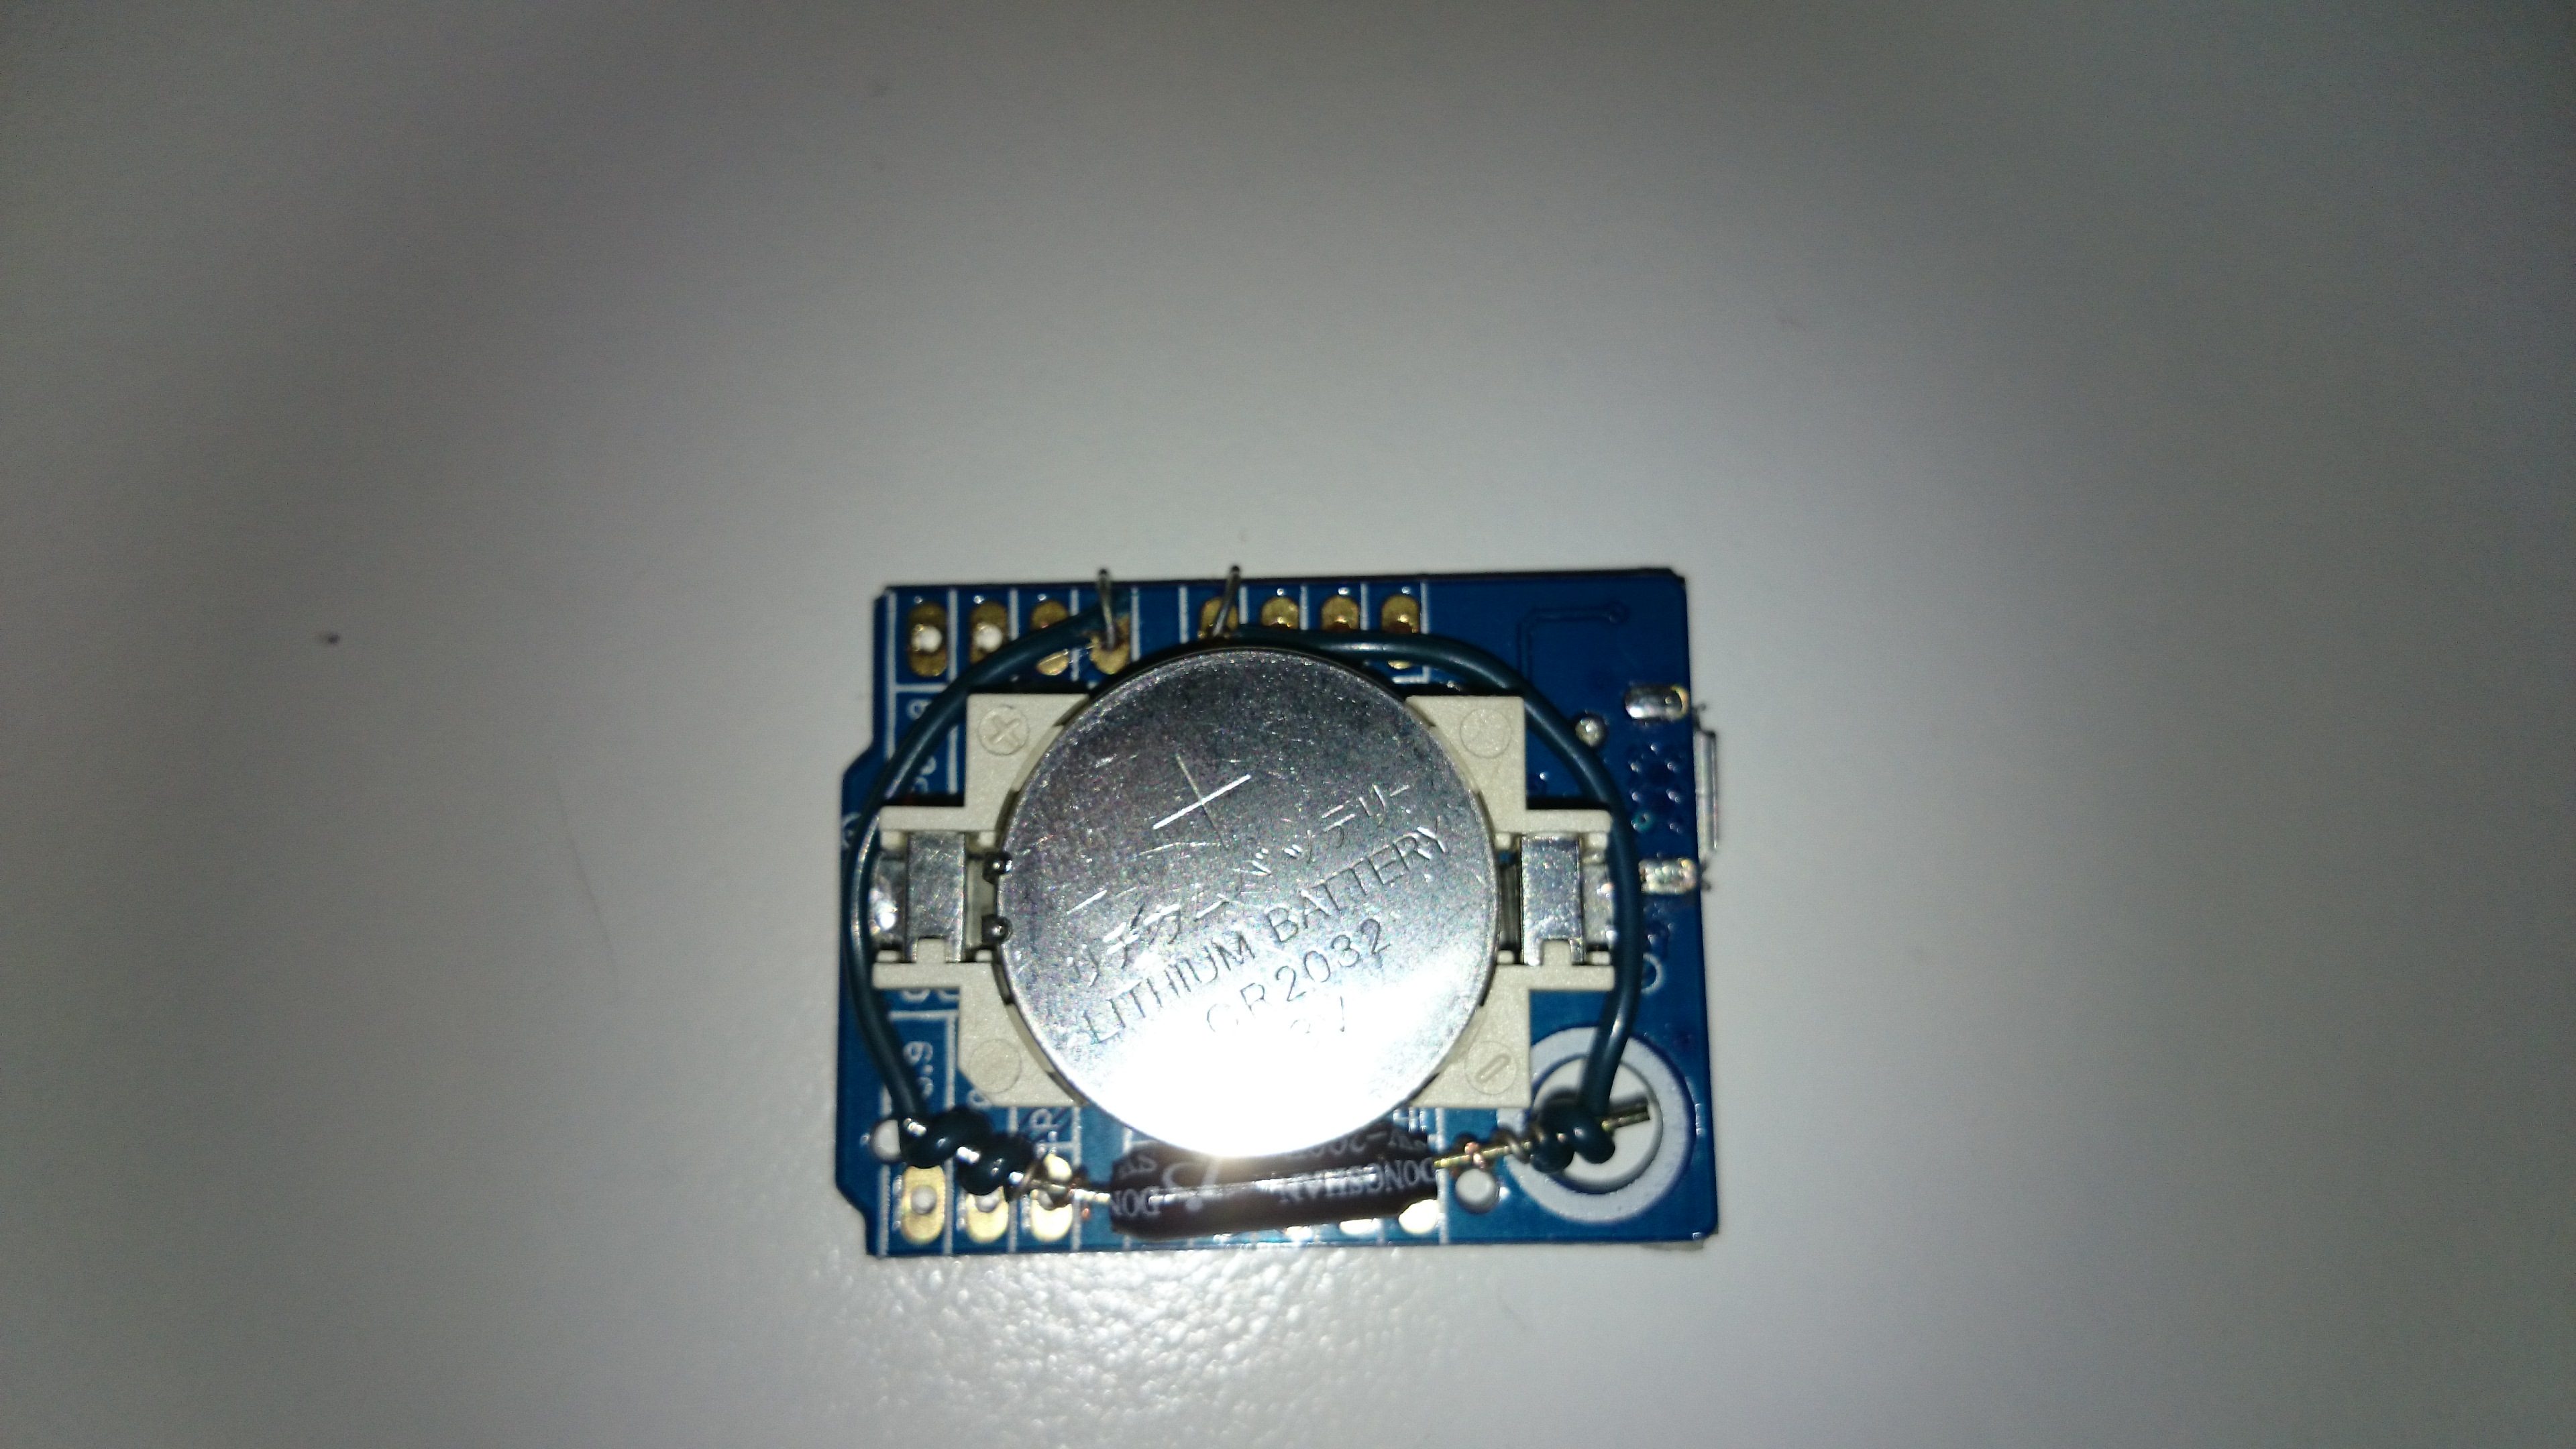
The tilt switch version is much more fun. No pushing, just a shake to roll the dice! In the tilt switch version two short wires were used to connect the switch. The wires were twisted around the legs of the tilt switch without any soldering! By adjusting the horizontal level of the switch you can make the dice react more sensitively to small movement.
For a production version, I would of course make it all a bit more durable by soldering the connections and using hot glue to keep everything in place. But going that route, I would also want to make a nicely fitting box, perhaps use other LEDs in a traditional dice-eye position and add an on-off switch...

