Bluetooth-Controlled LIDAR Robot w/ Live-Streaming Raspberry Pi
 Brandon Weiner.
0
replies
Brandon Weiner.
0
replies
Brandon Weiner
Carlos Tallard
Description of Project
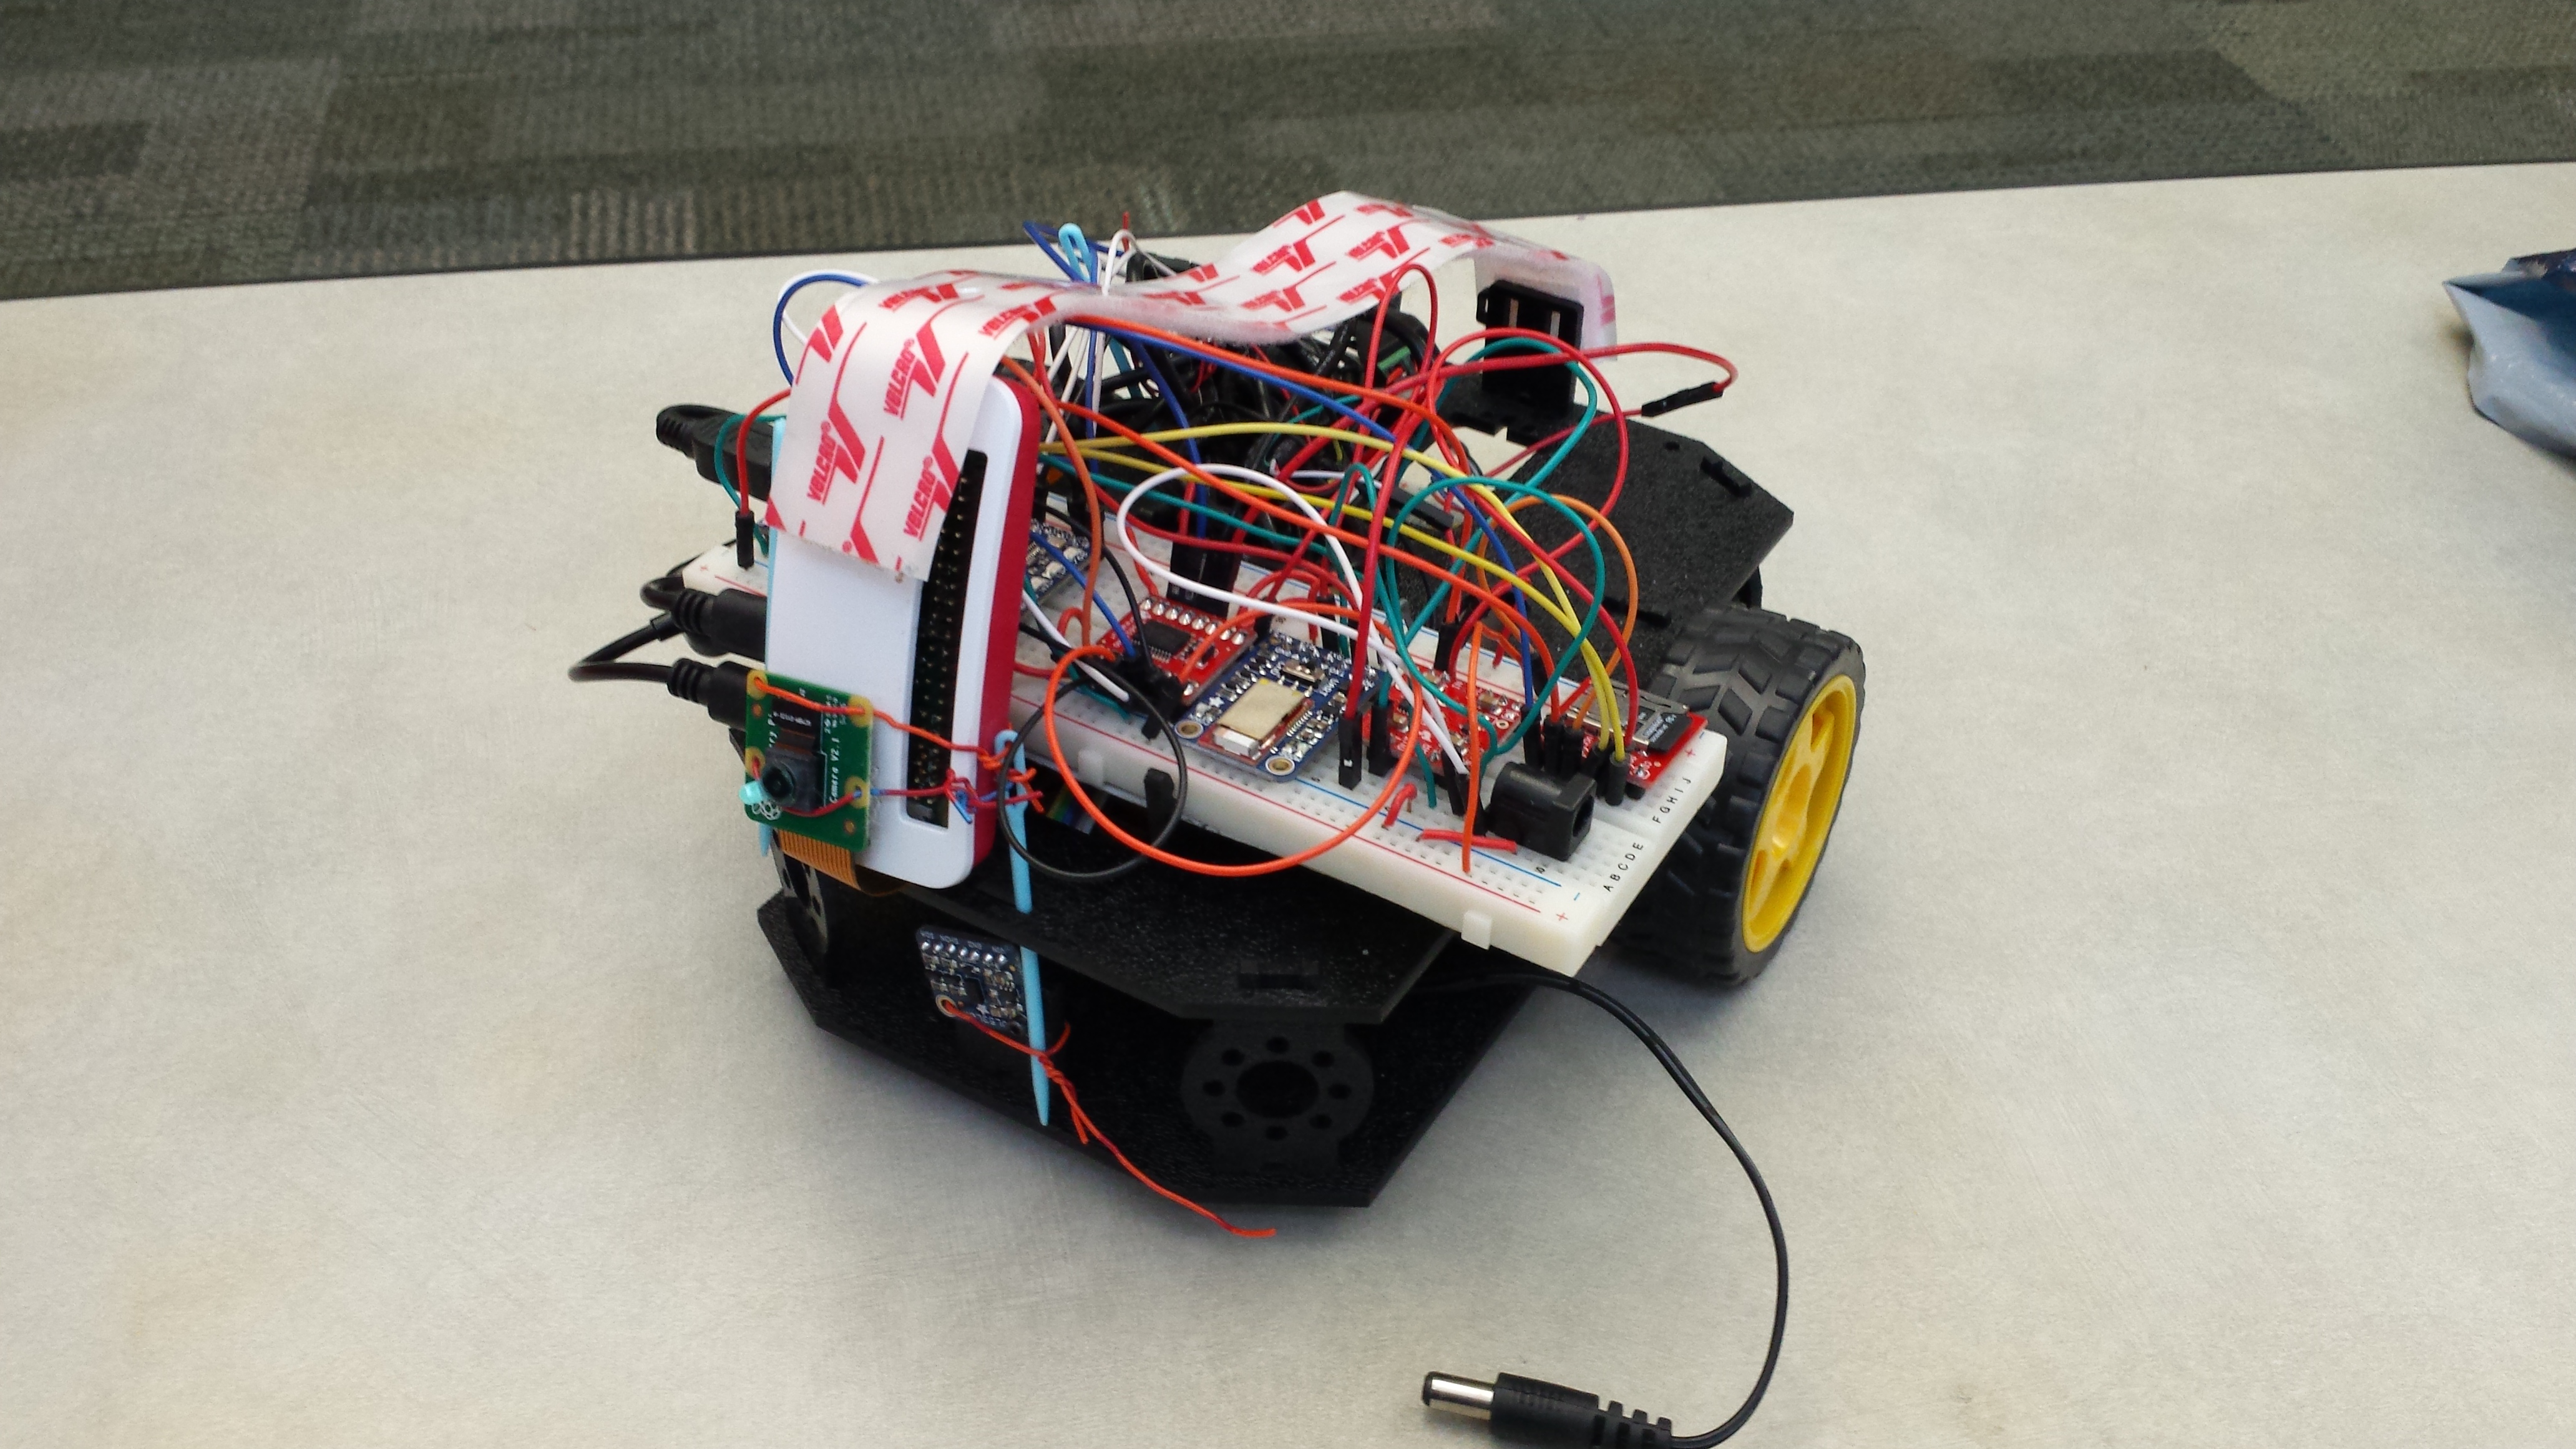
The purpose of this project is to create a Bluetooth controlled robot with a variety of features. A user is able to control its movement through the use of an Android/iPhone app. As the robot is moving, it senses how far away it is to objects using a LIDAR sensor attached to its front. As the robot detects objects, it will produce a varying loud sound that changes in volume as the robot moves closer or farther away. This robot also utilizes a Raspberry Pi Zero W with an attached Raspberry Pi Camera to livestream video feedback on what it sees, as well as the LIDAR sensor values, to a web page.
List of Components Needed
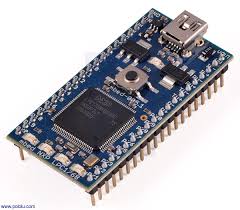
- mbed
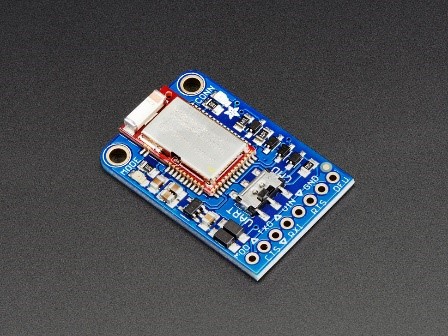
- Adafruit Bluefruit LE UART Friend module ( https://os.mbed.com/users/4180_1/notebook/adafruit-bluefruit-le-uart-friend---bluetooth-low-/
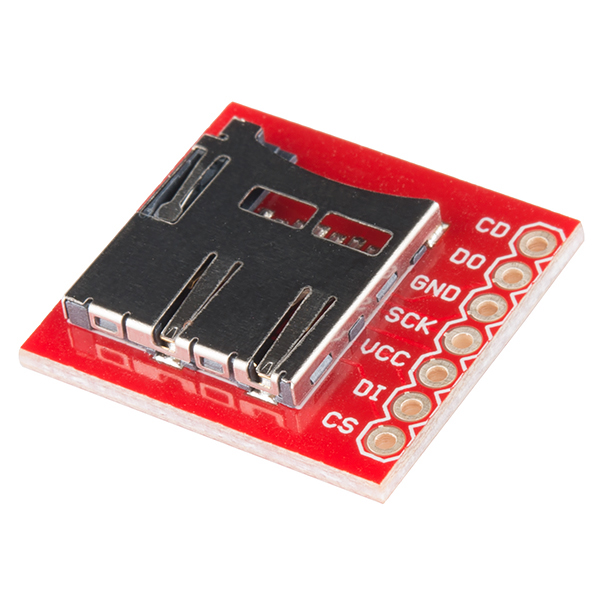
- uSD card breakout https://www.sparkfun.com/products/544
- uSD card
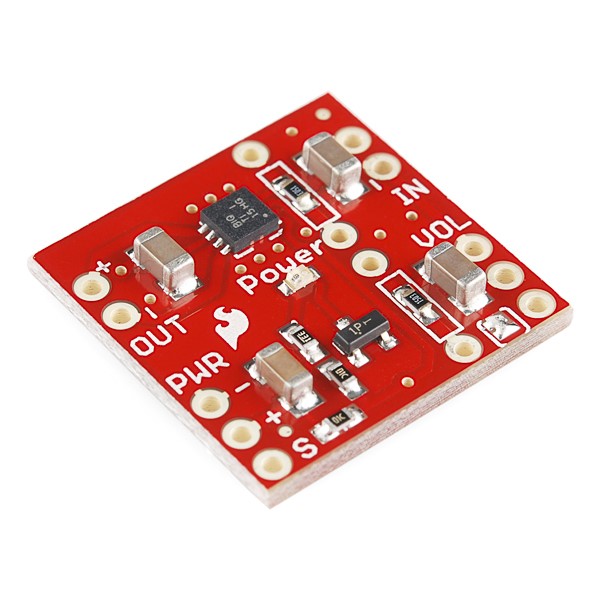
- TPA2005D1 Class D Audio Amp https://os.mbed.com/users/4180_1/notebook/tpa2005d1-class-d-audio-amp/
- Speaker https://www.sparkfun.com/products/11089
- VL53L0X LIDAR TOF sensor. https://www.adafruit.com/product/3317

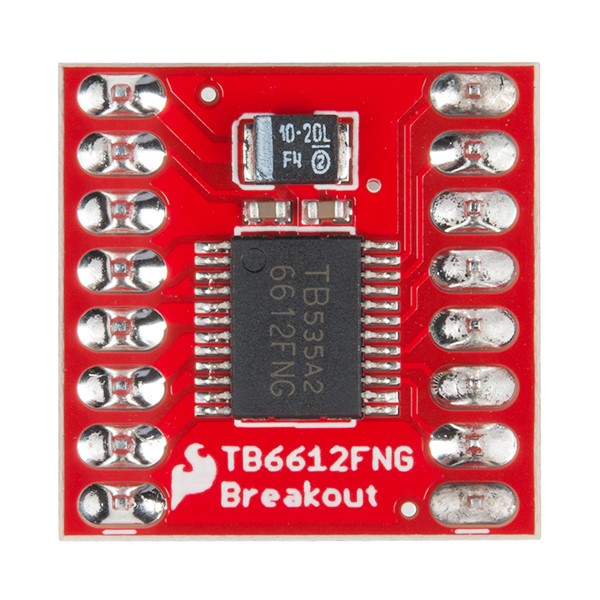
- TB6612FNG Dual H-Bridge https://os.mbed.com/users/4180_1/notebook/relays1/
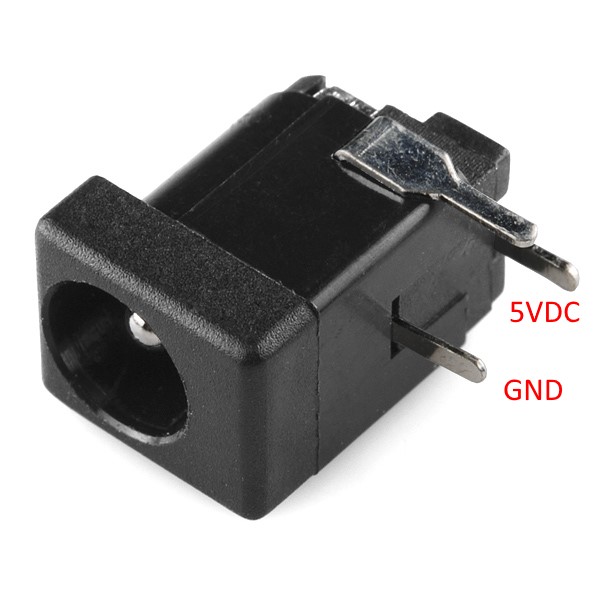
- 5VDC 2A AC adapter, the barrel jack adapter
- Adafruit Bluefruit LE UART Friend module ( https://os.mbed.com/users/4180_1/notebook/adafruit-bluefruit-le-uart-friend---bluetooth-low-/
- Sparkfun RedBot with Shadow Chassis (includes external battery pack, motors, and wheels) https://learn.sparkfun.com/tutorials/assembly-guide-for-redbot-with-shadow-chassis

- Adafruit Bluefruit LE Connect app https://play.google.com/store/apps/details?id=com.adafruit.bluefruit.le.connect&hl=en
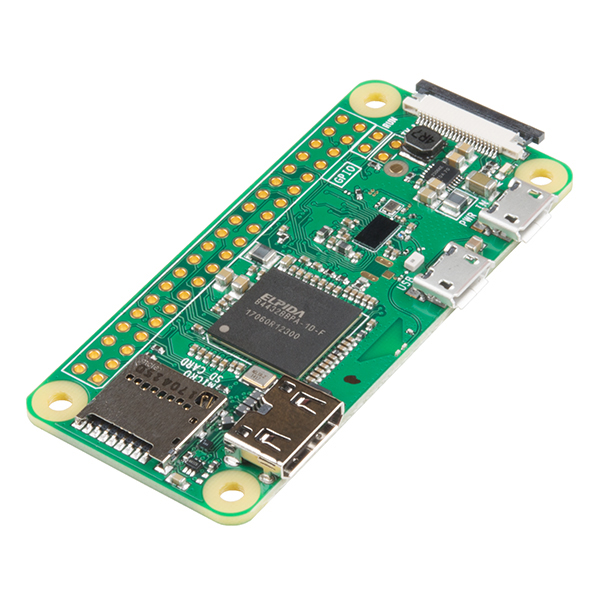
- Raspberry Pi Zero W https://www.sparkfun.com/products/14277
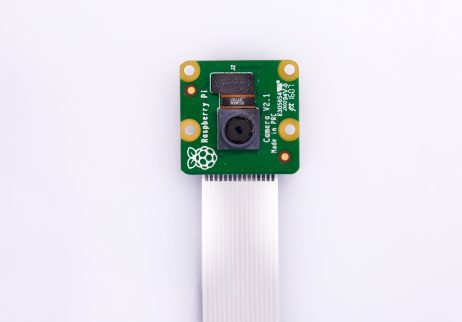
- Pi Camera https://www.raspberrypi.org/products/camera-module-v2/
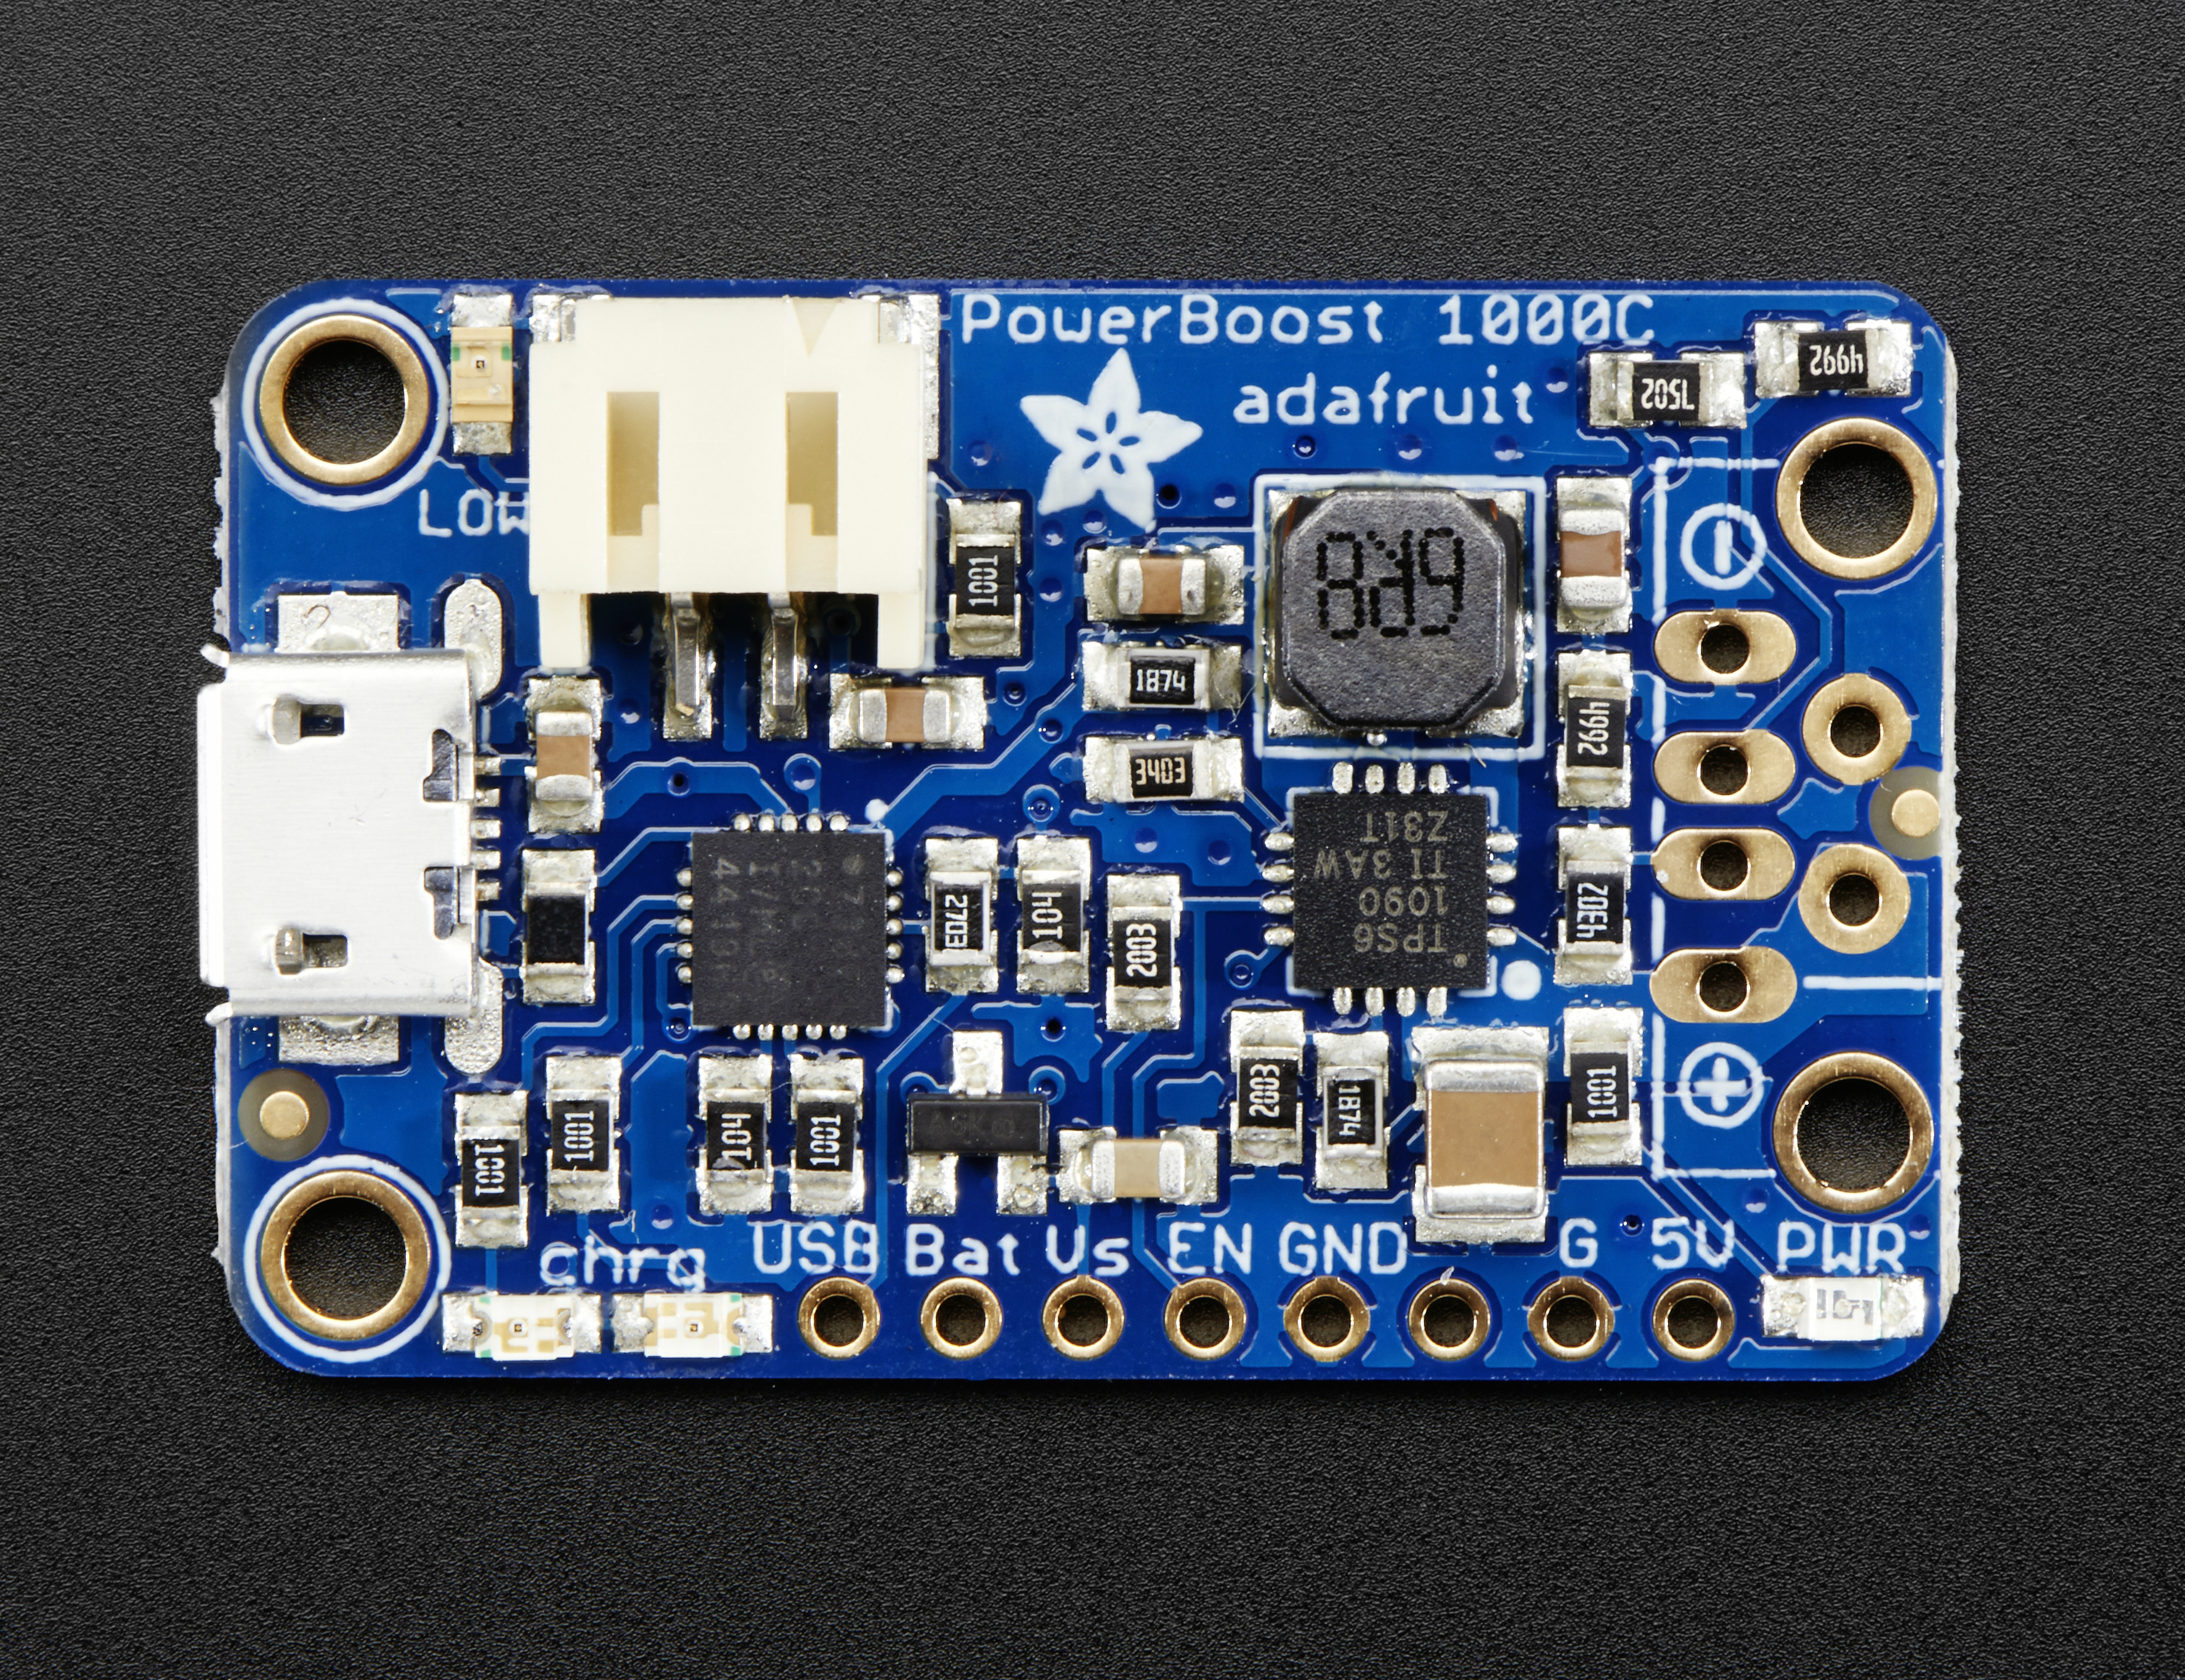
- Adafruit Powerboost 1000C (Power Supply for Raspberry Pi) https://learn.adafruit.com/adafruit-powerboost-1000c-load-share-usb-charge-boost/overview
- Pi Camera https://www.raspberrypi.org/products/camera-module-v2/
Code on Mbed
Import programBluetooth-Controlled_LIDAR_Robot_LiveStreamingRaspberryPi
Complete Build
Last commit 01 Dec 2017 by  Brandon Weiner and Carlos Tallard
#include "mbed.h"
#include "Motor.h"
#include "rtos.h"

#define SD_DBG             1

#include "SDFileSystem.h"
SDFileSystem sd(p5, p6, p7, p29, "sd");


#include "wave_player.h"
AnalogOut DACout(p18);
wave_player waver(&DACout);

#include "XNucleo53L0A1.h"
#include <stdio.h>
Serial pc(USBTX,USBRX);
DigitalOut shdn(p26);

//I2C sensor pins
#define VL53L0_I2C_SDA   p28
#define VL53L0_I2C_SCL   p27
static XNucleo53L0A1 *board=NULL;
DigitalOut myled (LED2);
Serial blue(p9,p10);
Motor RW(p22, p13, p12); // pwm, fwd, rev
Motor LW(p21, p8, p11); // pwm, fwd, rev
Thread lidar;
Thread siren;
uint32_t distance;
int level = 8; //Volume level is turned off


//speaker thread
void t3(){

    while(1){

    FILE *wave_file=fopen("/sd/LoudSound.wav","r");
    waver.play(wave_file);
    fclose(wave_file);

}
}

//lidar thread
void t2() {

    int status;
    DevI2C *device_i2c = new DevI2C(VL53L0_I2C_SDA, VL53L0_I2C_SCL);
    /* creates the 53L0A1 expansion board singleton obj */
    board = XNucleo53L0A1::instance(device_i2c, A2, D8, D2);
    shdn = 0; //must reset sensor for an mbed reset to work
    Thread::wait(100);
    //lidar power off
    shdn = 1;
    Thread::wait(100);
    /* init the 53L0A1 board with default values */
    status = board->init_board();
    while (status) {
        pc.printf("Failed to init board! \r\n");
        status = board->init_board();
    }
    //loop taking and printing distance
    while (1) {
        status = board->sensor_centre->get_distance(&distance);
        if (status == VL53L0X_ERROR_NONE) {
            pc.printf("D=%ld mm\r\n", distance);
            if(distance > 240) level = 8;
            if(distance < 90) level = 0;
            if (distance >=90 && distance <=240){
                 int value=floor(static_cast<double>(8*(distance-90)/150));
                 if(value >=0 && value<=8){
                     level=value;
                 }
            }
        }
    myled=!myled;
    Thread::wait(500);
    }

    }


//bot movement using bluetooth thread
int main()
{
    char previousButton='0';
    char current;
    myled=0;
    pc.printf("in main\n\r");
    lidar.start(t2);
    siren.start(t3);
    char bnum=0;
    char bhit=0;
    while(1) {

    if(blue.readable()==1){
        if (blue.getc()=='!') {
            if (blue.getc()=='B') { //button data packet
                bnum = blue.getc(); //button number
                bhit = blue.getc(); //1=hit, 0=release
                current=bnum;
                previousButton = current;
                if (blue.getc()==char(~('!' + 'B' + bnum + bhit))) {
                    switch (bnum) {
                        case '1': //number button 1
                            if (bhit=='1') {
                                RW.speed(1);
                            } else {
                                //add release code here
                            break;
                        case '2': //number button 2
                            if (bhit=='1') {
                                RW.speed(0);
                                LW.speed(0);
                                //add hit code here
                            } else {
                                //add release code here
                            }
                            break;
                        case '3': //number button 3
                            if (bhit=='1') {
                                //add hit code here
                            } else {
                                //add release code here
                            }
                            break;
                        case '4': //number button 4
                            if (bhit=='1') {
                                //add hit code here
                            } else {
                                //add release code here
                            }
                            break;
                        case '5': //button 5 up arrow
                            if (bhit=='1') {
                                RW.speed(1.0);
                                LW.speed(1.0);
                            } else {
                                RW.speed(0);
                                LW.speed(0);
                            }
                            break;
                        case '6': //button 6 down arrow
                            if (bhit=='1') {
                                RW.speed(-1.0);
                                LW.speed(-1.0);
                                //add hit code here
                            } else {
                                RW.speed(0);
                                LW.speed(0);
                            }
                            break;
                        case '7': //button 7 left arrow
                            if (bhit=='1') {
                                RW.speed(-1.0);
                                LW.speed(1.0);
                            } else {
                                RW.speed(0);
                                LW.speed(0);
                            }
                            break;
                        case '8': //button 8 right arrow
                            if (bhit=='1') {
                                RW.speed(1.0);
                                LW.speed(-1.0);
                            } else {
                                RW.speed(0);
                                LW.speed(0);
                            }
                            break;
                        default:
                            break;
                    }
                    }
                    }
                }

            }

            Thread::yield();

        }
    }
   }
Reference for the Volume Code in the above program
In the above program, some code was borrowed from a previous 4180 lab group. The code can be found here:
https://os.mbed.com/users/sarthakjaiswal/notebook/mbed-music-player/
This code was used to modify the "waveplayer.h" file, which allowed for the volume of the sound (int level variable) to change based on LIDAR values (uint32_t distance variable) .
Raspberry Pi Zero W Portion of Project
Transmit LIDAR data to Raspberry Pi Zero W
<?php
session_start();

echo "<br><b>Distance read from LIDAR</b><br>";

$file_handle = fopen("/dev/ttyACM0", "r");
   $line = fgets($file_handle);
if (preg_match('/D=/',$line)){
   $_SESSION["myvar"] = $line;
   echo "$line <br>";
} else {
   echo $_SESSION["myvar"];
}

fclose($file_handle);
?>
As LIDAR distance values are being transmitting with the pc.printf command from the mbed, the Raspberry Pi communicates with the mbed through the USB serial port. The directory to access the serial port is located under /dev/ttyACM0.
In order to stream these values on a web page, we created a php file called distance.php that displays each distance value from the mbed. Within the php file, we open a file handler where this serial com port is located in this directory and each line being transmitted from the file handler is read. Each line being read will be 1 byte of information. If within this 1 byte of information the characters “D=” appears, then we save this line onto a variable. The line of data containing “D=” will follow with the current LIDAR distance values as the robot moves around. After reading a line, the file handler is closed.
A line of data will be shown on web page when new data values are read. If no new values are read, line of data is saved in a variable and a php session preserves this variable by echoing the same value. This allows for users to see section of web page refreshing as LIDAR values change.
References: https://www.w3schools.com/php/php_sessions.asp
Set Up Pi Camera and Motion Server
As the robot moves around, the Raspberry Pi has a Pi Camera connected to stream what the robot sees. To set up the Pi Camera, we used a tutorial referenced in the ECE 4180 Lab 4. https://www.raspberrypi.org/learning/addons-guide/picamera/
The website allowed us to ensure the connected Pi Camera was configured correctly and activated for use within the Raspberry Pi Zero W. Once knowing it was active, we tested the camera using the commands:
raspistill -o cam.jpg for taking pictures
raspivid -o vid.h264 for taking videos
Once knowing that the Pi Camera works, we utilized another tutorial referenced in the ECE 4180 Lab 4 on creating a video streaming server. http://www.instructables.com/id/How-to-Make-Raspberry-Pi-Webcam-Server-and-Stream-/
We set up a server called Motion and we configure the server to run when one types in the Raspberry Pi’s IP address followed by the Port 8081. The format of the URL is:
<IP_ADDRESS>:<PORTNUMBER>
A live streaming video should show up on a person’s web browser. In addition, we configured the motion server to run as a daemon within the Raspberry Pi whenever it boots up, allowing for motion server to run as a background process instead of waiting for user to start the service. All of this was done as described within the Motion Server tutorial.

Set up Apache2 server
For setting up the main web page for streaming the Pi Camera and LIDAR values, we set up an Apache2 server using the tutorial referenced in the ECE 4180 Lab 4. https://www.raspberrypi.org/documentation/remote-access/web-server/apache.md
Once setting up the server, we placed the distance.php file within the apache2 server directory located at /var/www/html.
<!DOCTYPE HTML PUBLIC "-//W3C//DTD HTML 4.01 Frameset//EN"
   "http://www.w3.org/TR/html4/frameset.dtd">
<html>
<head>
<?php header('Access-Control-Allow-Origin: *'); ?>
<script src="scripts/jquery.min.js"></script>
   <script type="text/javascript">
 function autoRefresh_div()
 {
      $("#distance").load("distance.php");// a function which will load data from other file after x seconds
  }

  setInterval('autoRefresh_div()', 3000); // refresh div after 3 secs
            </script>

</head>
<body>
<table>
<tr>
<td height="600px">
<div id="result" >
<img style="-webkit-user-select: none;" src="http://<?php echo $_SERVER['SERVER_ADDR']; ?>:8081/">
</div>
</td>
</tr>
<tr>
<td>
<div id="distance">
<br><b>Distance read from LIDAR</b><br>
</div>
</td></tr></table>
</body>
</html>
Within the same directory, we made another php file called index.php that will create a web page divided into two sections. The top section of the page calls the motion server located at the Raspberry Pi’s IP Address at port 8081. The bottom section of the page calls the the separate distance.php file. The distance.php is called and refreshed using a Javascript function call that calls the php file every 3 seconds. These two sections are separated using the <div> command where it is used to divide the php document into separate sections. As the top section displays the motion server running the video stream, the bottom section refreshes every 3 seconds, where the distance.php file reads the LIDAR distance values and displays it on the web page.
References:
https://www.w3schools.com/tags/tag_div.asp
https://www.w3schools.com/tags/tag_img.asp
https://www.w3schools.com/jsref/met_win_setinterval.asp
http://api.jquery.com/load/

MBED Component Pinouts
uSD Breakout
| uSD breakout | mbed |
|---|---|
| CS | p29 |
| DI | p5 (SPI mosi) |
| VCC | VOUT |
| SCK | p7 (SPI sclk) |
| GND | GND |
| DO | p6 (SPi miso) |
| CD | nc |
Bluetooth Module
| Bluetooth | mbed | battery pack |
|---|---|---|
| GND | GND | |
| Vin | 5V | |
| CTS | GND | |
| TXO | p27 | |
| RXI | p28 | |
| RTS | nc |
Audio Amp and Speaker
| mbed | Class D Audio Amp | Speaker | battery pack |
|---|---|---|---|
| GND | PWR -, IN - | ||
| PWR + | 5V | ||
| p18 | IN + | ||
| OUT + | + | ||
| OUT - | - |
LIDAR Module
| LIDAR | mbed |
|---|---|
| VIN | Vout(3.3V) |
| GND | GND |
| SDA | p28 |
| SCL | p 27 |
| SHDN | p30 |
H-Bridge and Motors
| H-Bridge | mbed | Right Motor | Left Motor | battery pack |
|---|---|---|---|---|
| VM | + | |||
| VCC | VOUT | |||
| GND | GND | - | ||
| STBY | VOUT | |||
| PWMA | p22 | |||
| AIN1 | p13 | |||
| AIN2 | p12 | |||
| AO1 | + | |||
| AO2 | - | |||
| PWMA | p21 | |||
| AIN1 | p8 | |||
| AIN2 | p11 | |||
| AO1 | + | |||
| AO2 | - |
Schematic

Video Demo
Please log in to post comments.
Bluetooth-Controlled LIDAR Robot w/ Live-Streaming Raspberry Pi
Bluetooth-Controlled LIDAR Robot w/ Live-Streaming Raspberry Pi created by Brandon Weiner and Carlos Tallard
Page owner: Brandon Weiner
Created 14 Nov 2017.
Last updated 05 Dec 2017