Using mbed with an Android Phone or Tablet
Most Android phones or tablets can be used with mbed. First a USB OTG cable or adapter is needed. The tiny OTG (On The Go) adapters cost less and result a bit less cable clutter than the longer OTG cables. With the OTG installed, mbed’s USB cable can be plugged directly into the device’s micro USB connector. This will power the mbed and the file system and virtual com port will work over USB. For this demo, the mbed LPC1768 was used. On the three new Android devices tested, all three powered up the mbed and the blue LED status light came on as soon as the cable was plugged in. Some Android devices may need changes to system USB settings to power USB devices on an OTG cable, and a few apparently disable OTG support. There are some apps at the play store that might help when USB OTG is not working and the mbed does not power up.
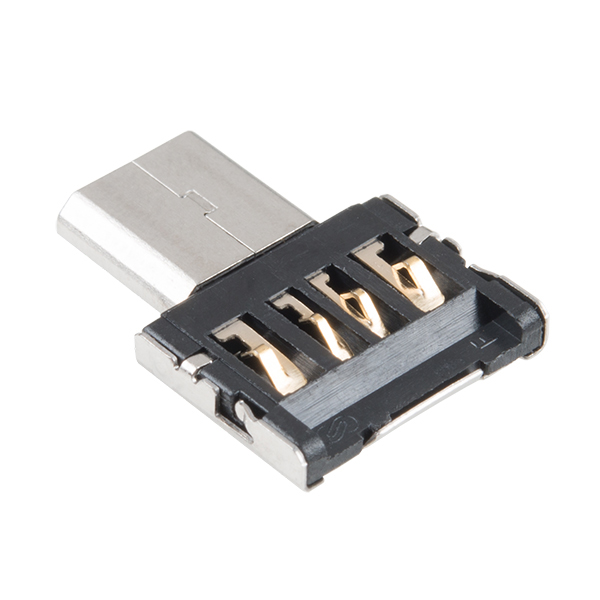
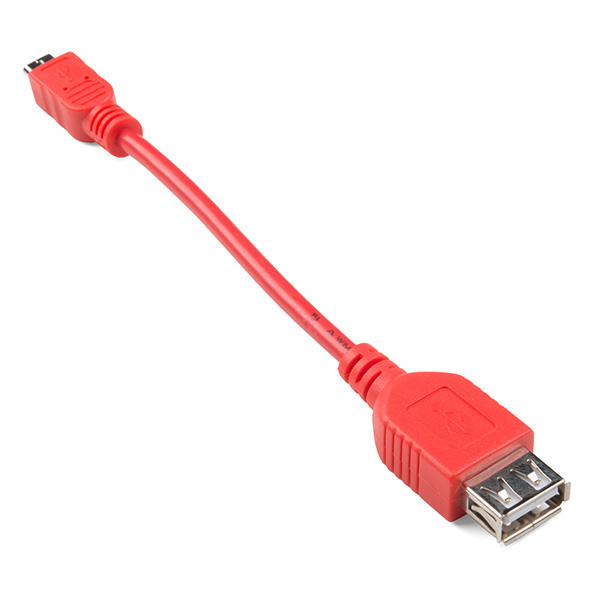
The tiny OTG adapter for a micro USB port seen above will fit inside mbed’s USB cable end and allow it to plug directly into most Android device' s micro USB port. They are available from Sparkfun and Adafruit. They can be a bit hard to remove, if the metal is bent on the USB cable. OTG cables like the one seen below also work.
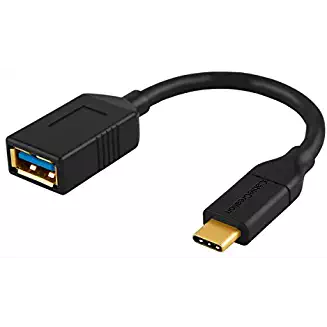
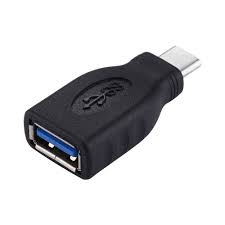
New Android devices with the new USB C connector will need a different cable setup. A USB C to USB A 3.0 adapter plug would allow mbed’s USB cable to plug directly into the phone. There are OTG cables and adapters available with the new USB C connector. "OTG" cables have special signaling that switches the USB port from charging the battery to powering an external device – so something that just plugs in like just a normal USB C to USB adapter cable from a PC or MAC does not power up the mbed (no blue power LED).
Watch out for low-cost charger only cables. These only connect the power lines and do not connect the USB data lines. Look for the USB logo seen below on the cable plug. Charger only cables do not have it, most USB cables do.
Most devices leave the mbed powered up even when turned off, so once you are done unplug the mbed to avoid running down the battery fast!
USB Virtual Com Port
To communicate with the USB virtual com port, a terminal application is needed which supports the USB serial port. There are several options. Serial USB Terminal seems to hookup to the mbed and has less issues with dropping characters while connecting and disconnecting. For Android devices without Google Play store support (manufacturers must pay to Play), it is also available at www.apkpure.com . It connects easily to mbed, but the default baud rate is 19,200. If your mbed code is using the default of 9600 baud, the baud rate will need to be changed in the settings menu. When setup properly and connected, it works just like a terminal application window on a PC or Mac and ASCII data from mbed printfs, or putcs can be displayed on the phone. Getc() will read ASCII characters sent by the Android device.
mbed Demo Program
Here is a simple demo program to try after installing a Terminal app on the Android device. Download the code to mbed. Start the terminal app on the Android device. Plug in the mbed to the Android device and the power LED should come on. Connect to the new mbed device in the Android app. Click the connector icon at the top right center to connect, if you are using the Serial USB terminal app. An mbed reset may be needed when initially connecting to clear out a few garbage characters and display the header message. Type a few characters on the send line and hit the send button (">" in Serial USB Terminal app). The characters will be sent over USB and the mbed code should echo them back. This code uses 19200 baud which is the default in the Serial USB Terminal app.
#include "mbed.h"

DigitalOut myled(LED1);
Serial USB(USBTX,USBRX);

int main() {
    USB.baud(19200); //set baud for Andriod App default
    wait(1.0); //Delay a bit for USB startup/setup
    USB.printf("\n\rHello from mbed\n\r");
    USB.printf("Type characters, hit send, and mbed will echo them back\n\r");
    myled = 1;
    while(1) {
        USB.putc(USB.getc()); //read, then write a character back
    }
}
Import programAndroid_Hello_World
USB serial demo for an Android device See https://os.mbed.com/users/4180_1/notebook/using-mbed-with-an-android-phone-or-tablet/
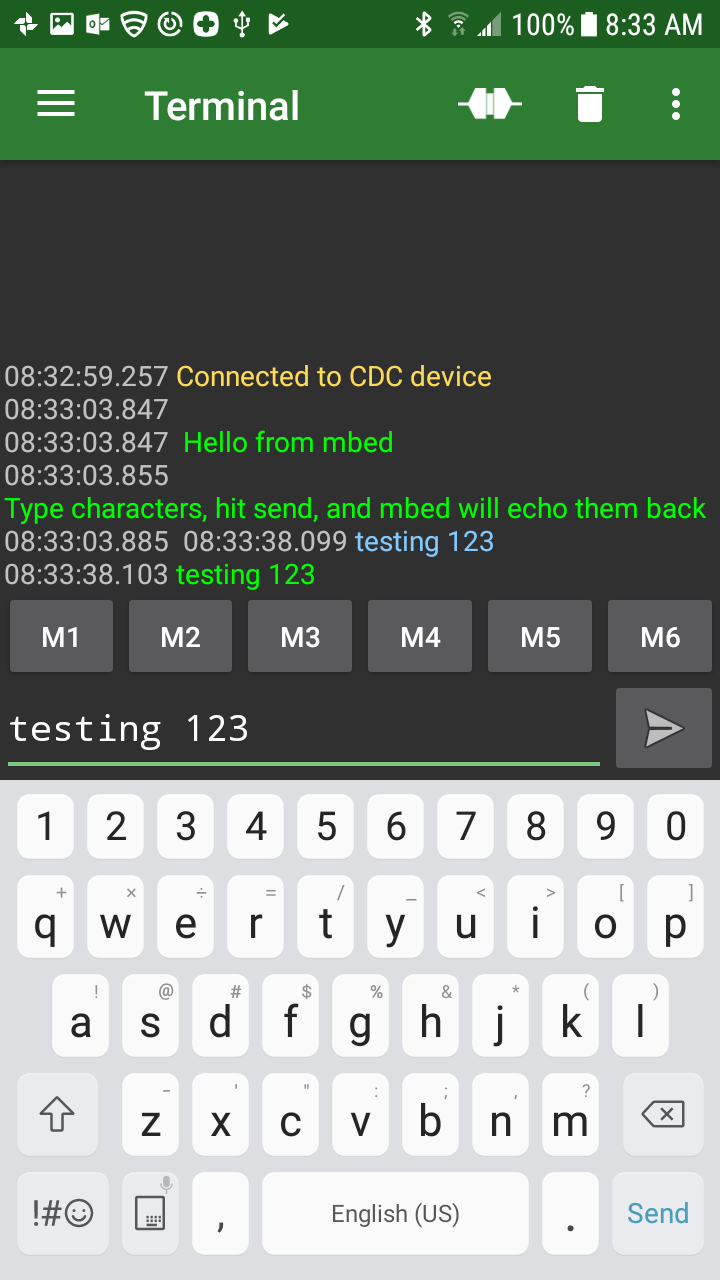
Mbed communicating with an Android device using USB serial. "testing 123" was typed on the phone, sent to mbed (blue text) and it echoes back (green text). The gray timestamp at the start of each line can be turned off in the settings menu. A long click on the M buttons at the bottom will set up macro text strings for each button to send.
USB File System
The see the mbed USB file system easily and manipulate files, download a file system app from the Google Play store. There are a lot of options here with good ratings, but File Commander was used for this demo. With a couple clicks, you can find the mbed’s *.bin code files. In File commander, mbed shows up at the bottom of the screen as the MBED drive.
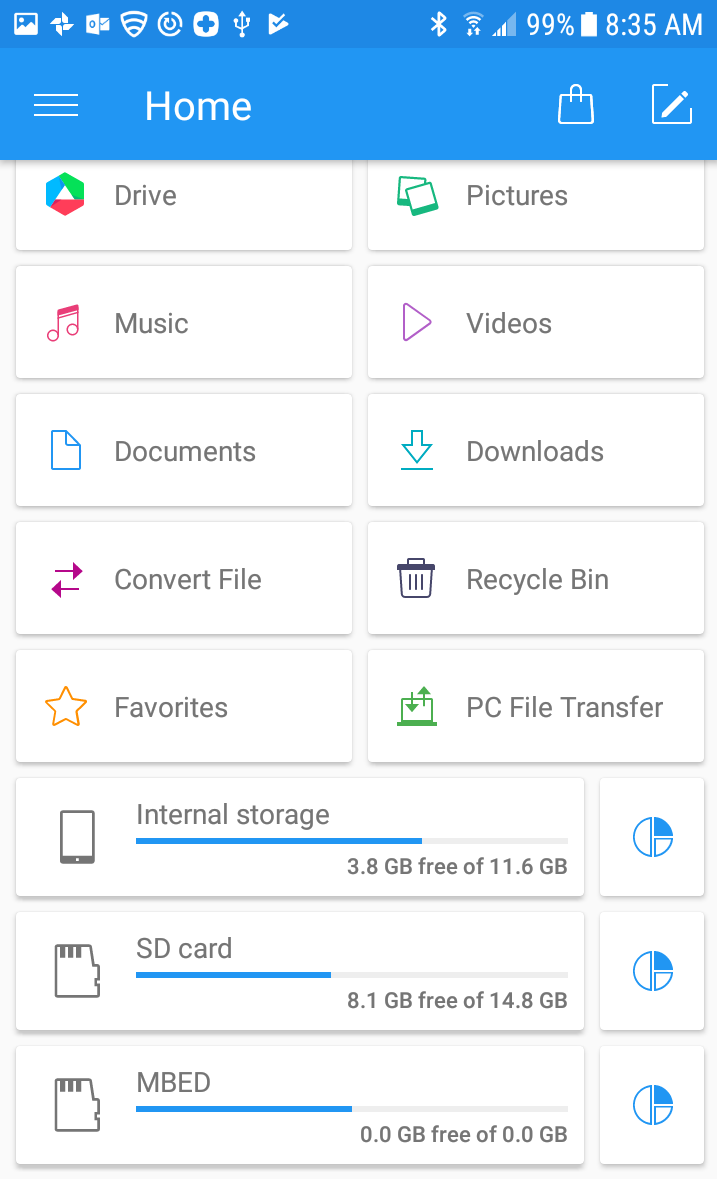
On the Android Device, mbed's flash drive shows up as "MBED"
Using the Cloud Compiler
It is possible to use the Cloud Compiler with an Android Device. Google Chrome works and the downloaded *.bin file goes to the "Downloads" directory. Don't open the file, it needs to be moved instead. Using a File Utility program like File Commander, move the mbed's *.bin file to the MBED drive. It takes a couple extra seconds to move the file (more delay in flashing activity light on mbed) but it works. For the demo, File Commander was used to find, select, and cut the *.bin file from the Downloads directory (scissor icon at top cuts), navigate in the GUI to the MBED drive, and hit paste (near where the scissor icon was). The file name needs to be selected on the left side for the cut (a select on right side tries to open it). It is a bit difficult to move around and edit in the cloud compiler. If a lot of editing is needed, a keyboard is a lot easier and faster! A mini Bluetooth keyboard would come in handy.
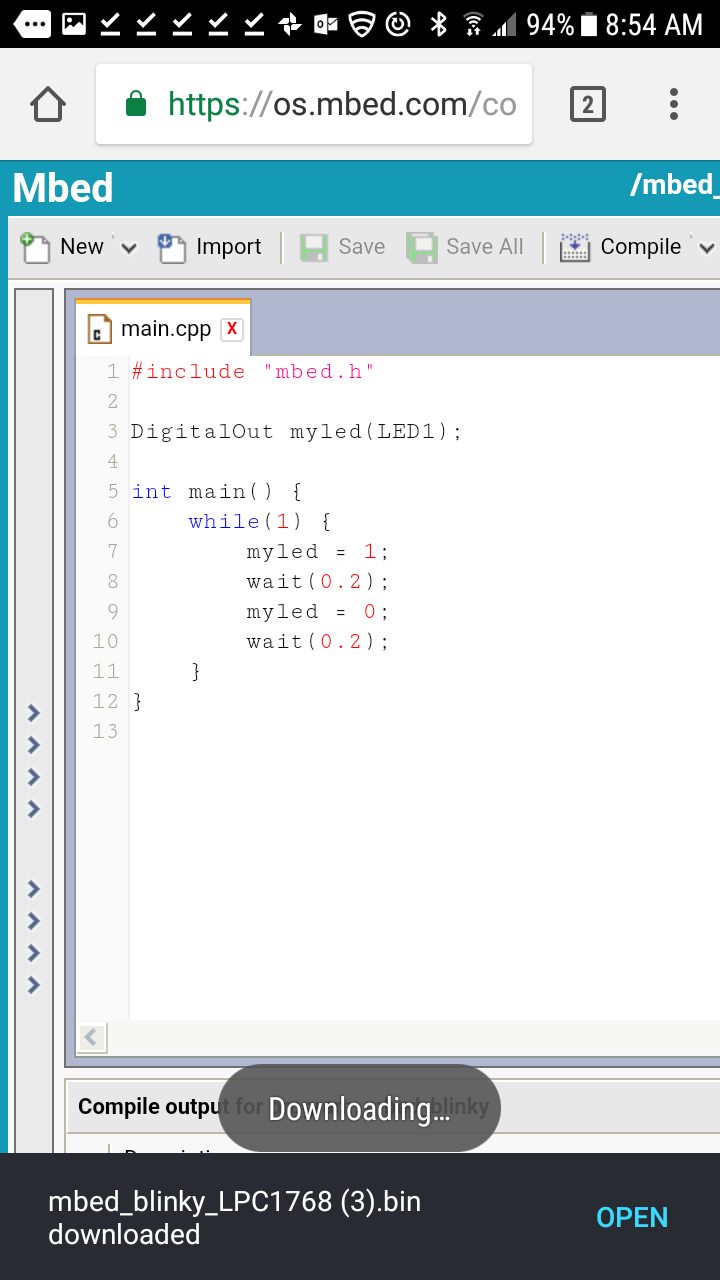
Compiling and Downloading the mbed blinky code using only an Android Phone
Custom Android Applications
There are a couple of examples in the mbed cookbook for those that want to develop a custom Android application to communicate with mbed using the ADK from Google. They may need to be updated for the most recent version of Android's ADK. Since these apps are not posted in the app store, some Android security settings require a manual override to allow the install.
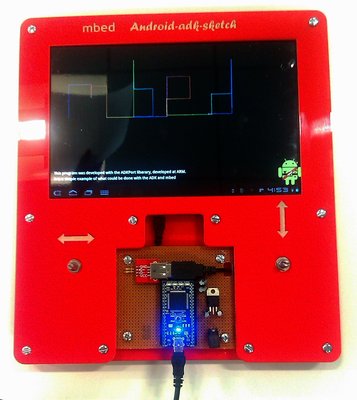
This project used the Android ADK to communicate with mbed. The mbed has two pots used to control an Etch-a-Sketch display on an Android Tablet. Data from the two pots is sent over USB.
Please log in to post comments.
