Booting from SD Card
Along with the standard FLASH boot, VK-RZ/A1H is equipped with additional extra feature - SD boot
When you insert a specially prepared micro SD Card in the card holder and power the board with closed JP2 & JP3, it boots from the SD Card. The user application on the SD Card is copied to 1 of the 3 locations (SRAM, SDRAM or FLASH)
- This allow you to do the following:
- I. Starting the user application from the internal 10-MB on-chip SRAM.
- II. Starting the user application from the external 32-MB on-board SDRAM.
- III. Programming of the on-board serial FALSH in single (16-MB)/dual (32-MB) mode.
The tool VKRZA1H-SDHI is intended to create bootable micro SD Cards. Once the card is already bootable, a file vkrza1h.ini select from which memory area to load and run the application. Detailed instructions on how to boot from SD Card you can find in SD CARD RAM_Flash_I2C Loader.pdf:
Examples:
0. Follow the instructions of VKRZA1H-SDHI tool to create a bootable SD card.
- Run mbed_blinky from SRAM
- 1. Copy this in location: <SD>:\vkrza1\sflash\S25FL128S_64K\app
- 2. Replace the content of vkrza1h.ini with that in here.
- 3. Power up through mbed debug USB & open a terminal on mbed Serial Port (115200, 8, 1, N).
- 4. Make sure JP2, JP3 are closed (Boot from SD) and insert the card in the holder
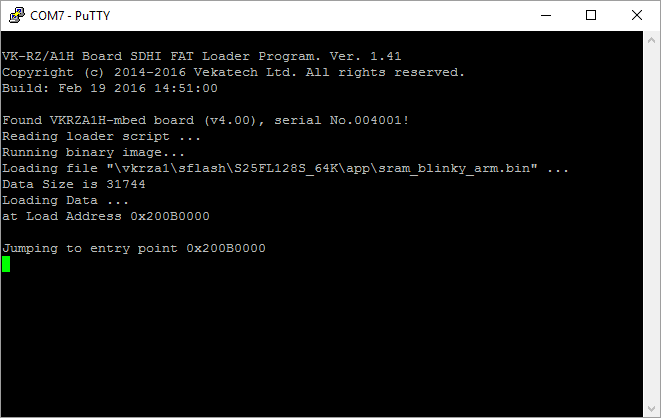
- 5. Press Reset button and the console should display:

- 6. LD1 should be blinking.
- Run mbed_blinky from SDRAM
- 1. Copy this in location: <SD>:\vkrza1\sflash\S25FL128S_64K\app
- 2. Replace the content of vkrza1h.ini with that in here.
- 3. Power up through mbed debug USB & open a terminal on mbed Serial Port (115200, 8, 1, N).
- 4. Make sure JP2, JP3 are closed (Boot from SD) and insert the card in the holder
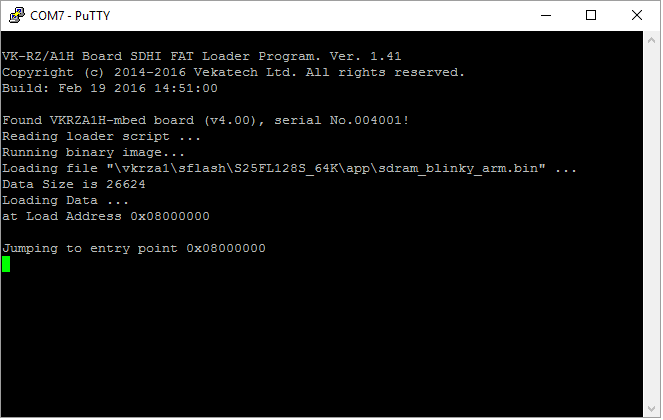
- 5. Press Reset button and the console should display:

- 6. LD1 should be blinking.
- Program mbed_blinky to FLASH (dual mode) through SD Card
- if the board is in single flash mode switch to dual:
- 1. Replace the content of vkrza1h.ini with that in here.
- 2. Power up through mbed debug USB & open a terminal on mbed Serial Port (115200, 8, 1, N).
- 3. Make sure JP2, JP3 are closed (Boot from SD) & press Reset button.
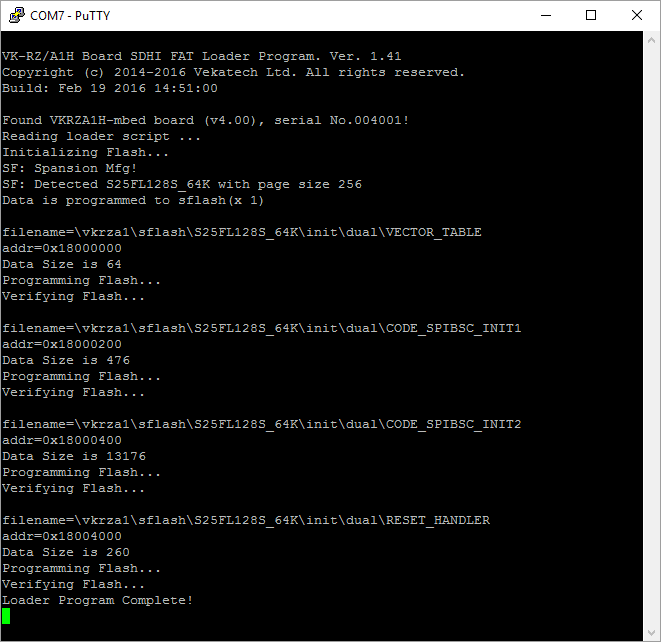
- 4. The console should display:

- if the board is already in dual mode:
- 1. Copy this in location: <SD>:\vkrza1\sflash\S25FL128S_64K\app
- 2. Replace the content of vkrza1h.ini with that in here.
- 3. Power up through mbed debug USB & open a terminal on mbed Serial Port (115200, 8, 1, N).
- 4. Make sure JP2, JP3 are closed (Boot from SD) and insert the card in the holder
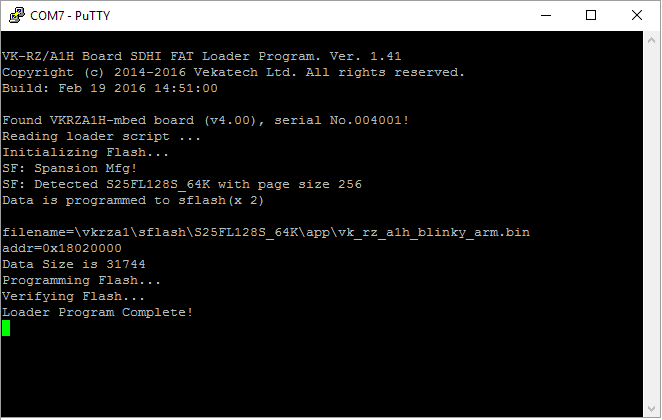
- 5. Press Reset button and the console should display:

- 6. Make sure JP1, JP3 are closed (Boot from Flash) and press Reset.
- 7. LD1 should be blinking.
- if the board is in single flash mode switch to dual: