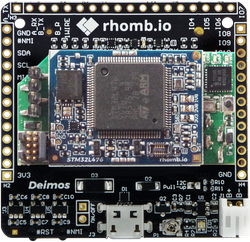
Mbed OS and Pelion Device Management example over WIFI for RHOMBIO_L476DMW1K IoT kit
DEPRECATED
This example application is not maintained and not recommended. It uses an old version of Mbed OS, Pelion DM, and Arm toolchain. It doesn't work with Mbed Studio.
Please use: https://os.mbed.com/teams/mbed-os-examples/code/mbed-os-example-pelion/
This example is known to work great on the following platforms:
RHOMBIO_L476DMW1K over WiFI and using onboard QSPI flash.

Follow the Quick-Start instructions: https://cloud.mbed.com/quick-start
Example functionality
This example showcases the following device functionality:
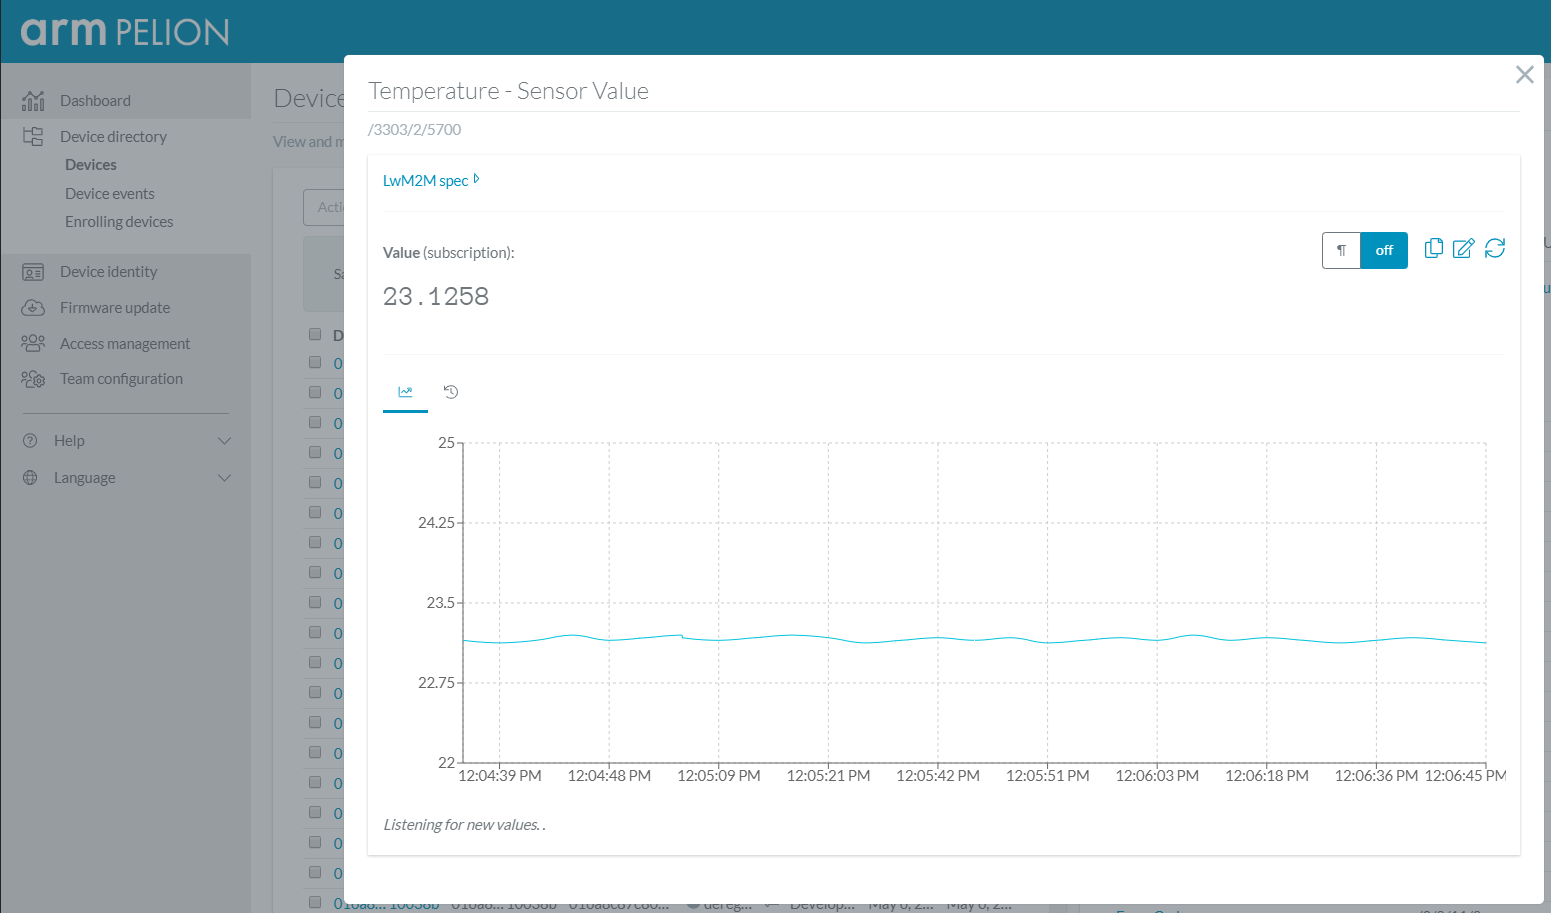
- Read onboard MCU ADC temperature and MCU ADC voltage reference, and report them as Pelion LWM2M resources (see image below).
- On user button click, increment Pelion LWM2M button resource.
- Allow the user to change the state of the board LED from Pelion LWM2M led_state resource and PUT request.
- External sensors can be easily added to the kit and then sensor readings reported as Pelion LWM2M resources.

Use this example with Mbed CLI
1. Import the application into your desktop:
mbed import https://os.mbed.com/teams/Rhombio/code/pelion-example-rhombio-l476dmw1k

cd pelion-example-rhombio-l476dmw1k
2. Install the CLOUD_SDK_API_KEY
mbed config -G CLOUD_SDK_API_KEY <PELION_DM_API_KEY>
For instructions on how to generate your API key, please see the documentation.
3. Initialize firmware credentials (done once per repository). You can use the following command:
mbed dm init -d "<your company name in Pelion DM>" --model-name "<product model identifier>" -q --force
If above command do not work for your Mbed CLI, please consider upgrading Mbed CLI to version 1.8.x or above.
4. Compile and program:
mbed compile -t <toolchain> -m RHOMBIO_L476DMW1K -f
(supported toolchains : GCC_ARM / ARM / IAR)
5. You can connect on a virtual terminal/COM port to the platform using:
mbed sterm -b 115200
This should give you an output similar to:
[BOOT] Mbed Bootloader
[BOOT] ARM: 0000000000000000000000000000000000000000
[BOOT] OEM: 0000000000000000000000000000000000000000
[BOOT] Layout: 0 800D24C
[BOOT] Active firmware integrity check:
[BOOT] SHA256: 9036E19F1414720659B2C2FAC8855F621AF533BA211D930119720E7A2BD60BF2
[BOOT] Version: 1558516039
[BOOT] Slot 0 is empty
[BOOT] Active firmware up-to-date
[BOOT] Application's start address: 0x8010400
[BOOT] Application's jump address: 0x8010889
[BOOT] Application's stack address: 0x20018000
[BOOT] Forwarding to application...

Starting Simple Pelion Device Management Client example
You can hold the user button during boot to format the storage and change the device identity.

Connecting to the network using Wifi...
Connected to the network successfully. IP address: 192.168.1.201
Initializing Pelion Device Management Client...
Initialized Pelion Client. Registering...
Registered to Pelion Device Management. Endpoint Name: 016a***********************10006d

ADC temp: 23.1746 C,  vref: 0.3665 V

ADC temp: 23.2234 C,  vref: 0.3663 V
Changes
| Revision | Date | Who | Commit message |
|---|---|---|---|
| 4:2aee28e71add | 2019-05-22 | galonso@rhomb.io | new bootloader added |
| 3:4c17ae41019c | 2019-05-22 | galonso@rhomb.io | bootloader removed |
| 2:84828eb738dd | 2019-05-22 | galonso@rhomb.io | README.md removed |
| 1:c11137afc120 | 2019-05-21 | galonso@rhomb.io | update *.lib |
| 0:9ff56a0e4c0d | 2019-05-21 | galonso@rhomb.io | first commit |


