Important changes to repositories hosted on mbed.com
Mbed hosted mercurial repositories are deprecated and are due to be permanently deleted in July 2026.
To keep a copy of this software download the repository Zip archive or clone locally using Mercurial.
It is also possible to export all your personal repositories from the account settings page.
Dependencies: SDFileSystem USBDevice max32630fthr
Fork of MAX30001 SYS EvKit by
Quick_Start_and_Hardware_Setup_Guide
Quick Start
Required Equipment
● MAX30001 EV Kit
● MAX32630FTHR with MAXREFDES100HDK (the programmer)
● Micro-USB cable
● Windows PC with USB port
Features and Benefits
- ECG, BioZ, Pace and R-to-R streaming
- mbed-compatible Peripheral Library for the MAX30001
- mbed Applications Software compatible with the MAX32630FTHR
- MAX30001 Driver software
- Serial-over-USB interface to PC GUI Communications Software
- Optional data logging to SDCard
- MAX30001 Driver software
- Windows 7/8/10 Compatible GUI
- MAX32630 Ultra-Low Power Microcontroller
- High performance ARM® Cortex™-M4F 32-bit microcontroller
- 96MHz, 512KB SRAM, 2048KB Flash Memory
- Ultra-Low Power for Battery Applications
- 106µA/MHz Active Executing from Flash
- 600nA Low Power Mode with RTC Enabled
- 3.5µW Ultra-Low Power Data Retention Mode with Fast 5µs Wakeup to 96MHz
- Peripherals
- USB 2.0 Full-Speed Device
- SPI, I2C, UART, 1-Wire Serial Interfaces
- RTC, PWM
- Four-Input 10-Bit ADC
- 66 Dual Voltage GPIO
- Tiny 100-Ball 4.37mm X 4.37mm WLP
- High performance ARM® Cortex™-M4F 32-bit microcontroller
- MAX14690 Wearable PMIC
- Battery Charger with Smart Power Source Selector
- Dual Ultra-Low-IQ Buck Regulators
- Three Ultra-Low-IQ Linear Regulators (LDO)
- Power On/Off, Delay Voltage Sequencing Controller
- Voltage Monitor Multiplexer
- Battery Charger with Smart Power Source Selector
- Expansion Connections
- Breadboard compatible headers
- Micro SD Card Connector
- JST Battery Connector
- Micro USB Connector
- Breadboard compatible headers
- Integrated Peripherals
- RGB Indicator LED
- 6-axis Accelerometer/Gyro (included in Max32630FTHR board)
- Bluetooth Low Energy Module (included in Max32630FTHR board)
- User push-button
- RGB Indicator LED
- Remote mbed HDK Debug Interface (included with purchase of MAX32630FTHR)
- [USB MSC] Drag-and-drop programming
- [USB HID] SWD Debugger
- [USB CDC] Virtual UART Console
- [USB MSC] Drag-and-drop programming
- Fully Assembled and Tested
Installation of the GUI
- Download the setup file MAX30001GUISetupV310.exe
- Click the setup file and follow the installation steps
Installation of the Firmware
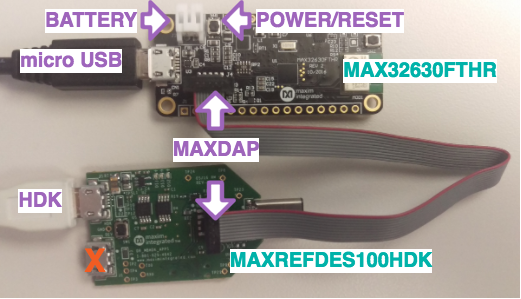
1. Connect the FTHR board cables as shown below
2. Connect the MAX32630FTHR to a power source
Use a micro USB cable to connect the MAX32630FTHR board to a suitable power source (no USB connectivity is required). Alternatively, you can power the board from a charged battery as long as you remember to turn it on by pressing the power/reset button next to the battery connector. The board turns on automatically when powered from the USB supply.
3. Connect the MAXREFDES100HDK to a PC
Use a micro USB cable to connect the HDK to a PC, through the connector marked HDK. The status light will come on, indicating it has power. After a few seconds of activity, the PC will recognise the mbed Microcontroller as a standard USB drive. It can be seen as DAPLINK.
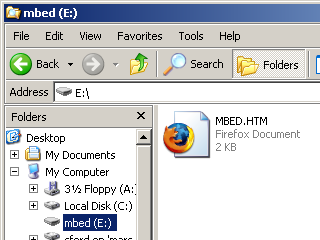 | 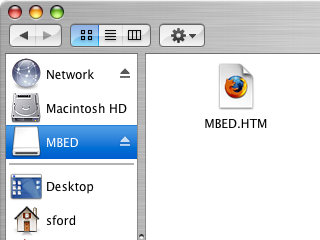 |
| Windows XP example | Mac OS X example |
4. Click the MBED.HTM link to get logged in
Go to the new USB Drive, and click MBED.HTM to open it in a web browser. This will take you to the MAX32630FTHR platform page. If you end up at a different page, go to our MAXREFDES100HDK wiki page for details on how to load the latest firmware.
If you do not have an mbed account, choose "Signup", and create your mbed Account. Otherwise, log in with your normal username and password.
This will give you access to the website, tools, libraries and documentation.
PC Configuration
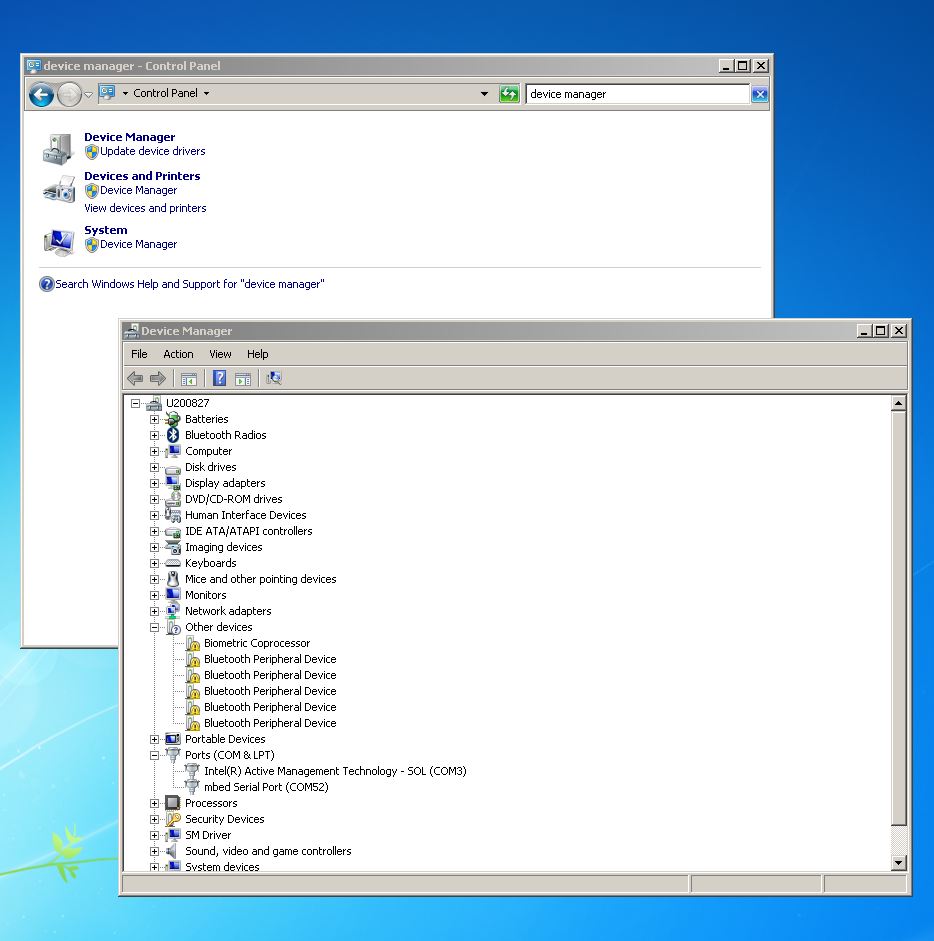
Your mbed Microcontroller can appear on your computer as a serial port. On Mac and Linux, this will happen by default. For Windows, you need to install a driver:
Windows
See Windows-serial-configuration for full details about setting up Windows for serial communication with your mbed Microcontroller
From a host PC to communicate with mbed you will need a terminal application. This allows the mbed Microcontroller to print to your PC screen, and for you to send characters back to your mbed.
- Terminals - Using Terminal applications to communicate between the Host PC and the mbed Micrcontroller
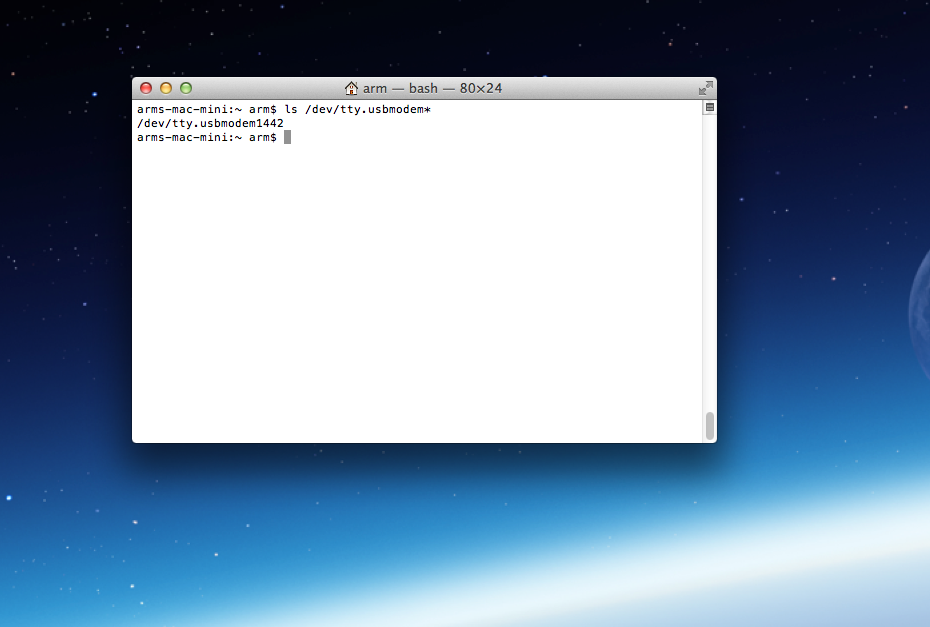
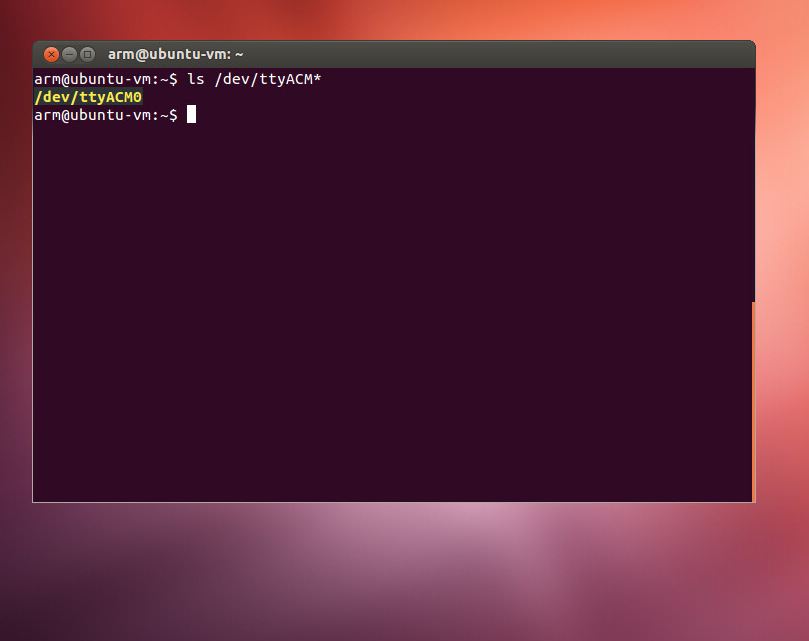
Some terminal programs (e.g. TeraTerm) list the available serial ports by name. However, if you do need to know the identity of the serial port so that you can attach a terminal or an application to it:
Loading the Firmware
1. Online Compiler
Open the mbed online compiler.
2.Import the Firmware
Right click My Programs -> Import Program -> From URL

Copy and paste the url of the mbed site of the firmware.
https://os.mbed.com/teams/MaximIntegrated/code/MAX30001-MAX32630FTHR-ECG-EVKIT/

3.Compile the Firmware
Click compile button.

4.Flash the Firmware
After the compilation is done, the program automatically download a binary file. Drag and drop (or copy and paste) that binary file into the the programmer drive (DAPLINK). It will load the firmware into the MAX32630FTHR.
Windows pop-up
If Windows gives a warning as below, keep clicking yes and try again buttons until it starts to load the firmware.


Run the GUI
Adjust your configurations and start monitoring the data.

For more details about the GUI, visit MAX30001EVSYS and watch the videos.


