MLX90614 I2C Infrared Thermometer
The Melexis MLX90614 is an infrared thermometer designed for non-contact temperature sensing. It contains an internal 17-bit ADC and a custom DSP chip to achieve high accuracy and resolution.
Hello World
Import programIR_temperature
MLX90614 sensor - I2C IR non-contact thermometer demo program
Library
Import programIR_temperature
MLX90614 sensor - I2C IR non-contact thermometer demo program
Notes
The Melexis MLX90614 is an infrared thermometer designed for non-contact temperature sensing. It contains an internal 17-bit ADC and a custom DSP chip to achieve high accuracy and resolution. It has an I2C or PWM interface and will operate off of 3.3V. IR thermometers measure the IR surface temperature of an object. The distance to the object does not change the temperature reading as long as the object fills the sensor’s field of view (beam width). IR temperature readings can vary depending on the emissivity of the target. Metals such as aluminum have low emissivity and will tend to read lower IR temperatures. Calculations to compensate the temperature for lower emissivity can be used, if you know the emissivity of the surface you are measuring.
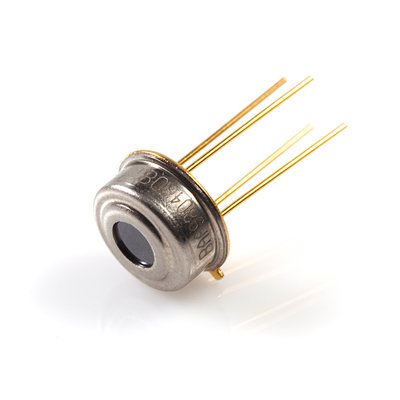
MLX90614ESF-BAA from Sparkfun
There are quite a number of different versions (i.e. last three letters in part number - see datasheet) of this device with voltages of 5 or 3V, beam width ranging from 90 to 5 degrees, accuracy ratings from .5 C to .1 C, and update rates ranging from .1 to 1.3 seconds. The narrow beam width devices cost more. The application note Understanding MLX90614 on-chip digital signal filters explains the tradeoffs in accuracy and update rates using the on-chip DSP filters. One of the more interesting and expensive ones (about the price of an mbed) with a narrow five degree beam width or field of view (FOV) is shown below.
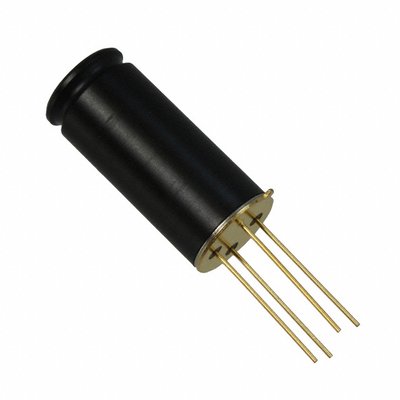
Narrow beam width versions such as the MLX90614ESF-DCI include a black metal barrel.
It is also available on some older breakout boards and evaluation boards, but the sensor can be directly interfaced to mbed. The wire leads are a bit problematic for a breadboard. They would need to be bent quite a bit to fit and that is probably not the best idea on an expensive sensor. A socket could be used for the 4-pin TO-39 case if one was available on a breakout board. One easy solution is to use four M/F stranded breadboard jumper wires like the ones shown below from Sparkfun. The sensor leads are a bit too small for the jumper, but after assembly a light crimp at the opening where the silver socket pin shows through the black jumper cover with needle nose pliers works well to hold it firmly in place. This also allows for movement of the sensor and is handy if it is ever mounted on a servo.
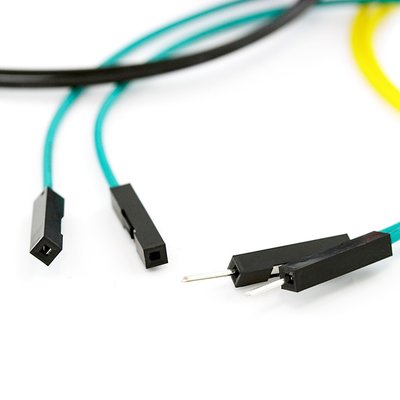
M/F jumper wires can be used to attach the sensor to a breadboard.
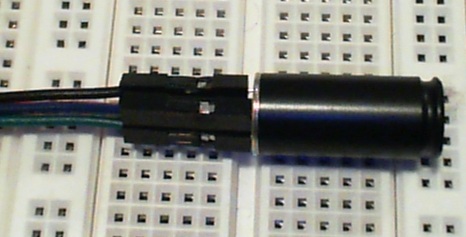
MLX90614 Sensor with four jumper wires attached to pins.
After attaching and crimping the jumper wires to the sensor, heat shrink tubing could be added to insure a more durable connection.
Wiring
| mbed | MLX90614 | Pullups |
|---|---|---|
| gnd | VSS - gnd | |
| Vout | VDD - 3.3V | |
| p27 | SCL - I2C clock | 4.7K |
| p28 | SDA - I2C data | 4.7K |
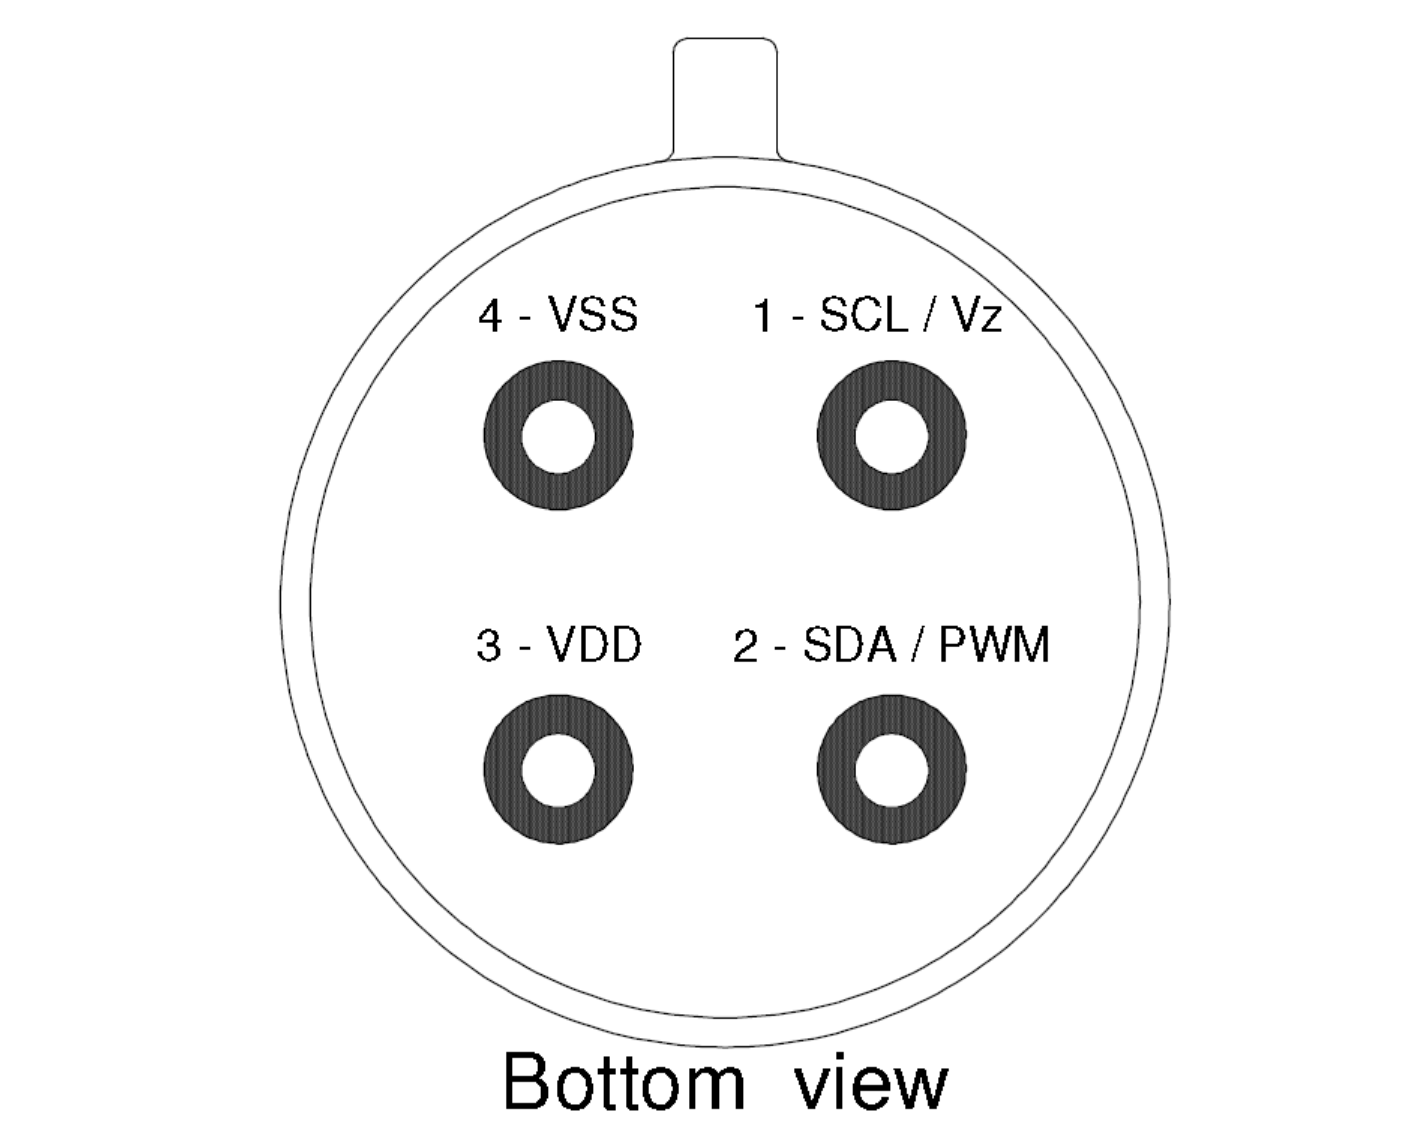
MLX90614 Sensor pinouts from the datasheet. Note case tab location.
Double check the sensor's two power connections and the tab location, there is no room for error. The module also needs two external 4.7K ohm I2C pullup resistors to 3.3V on the SCL and SDA lines.
Example Code
mbed's I2C API makes it relatively easy to interface to the sensor. It has a rather complex I2C command set, but the basic idea is to issue a command to read the two byte temperature value from the sensor's internal memory using I2C commands. A third byte, PEC, contains a CRC code that can be used to detect errors. The CRC code is not checked in this example and the default firmware update rate is used. If a faster update rate is needed, see the project at the end of this page for information on updating the sensor's firmware to support faster sampling rates. A conversion equation provided in the data sheet then converts the 16-bit value to the temperature in degrees celsius. For the mbed demo, the temperature is printed out on mbed's USB virtual com port and displayed on a terminal application program running on the PC using printf. This code is based on two earlier MLX90614 demo code examples found in the mbed cookbook at http://mbed.org/users/mitesh2patel/programs/mlx90614/lqnetj and http://mbed.org/users/aquahika/libraries/MLX90614/lsixz6
MLX90614_demo
#include "mbed.h"
#include "mlx90614.h"

DigitalOut myled(LED1); //displays I2C wait
I2C i2c(p28,p27);   //sda,scl
Serial pc(USBTX,USBRX);  //serial usb config

MLX90614 IR_thermometer(&i2c);
//setup an MLX90614 using MLX90614 library from
// http://mbed.org/users/aquahika/libraries/MLX90614/lsixz6

float temp; //temperature in degrees C

int main() {
    while (1) {
        myled=1; // if led1 on - waiting on I2C
        if (IR_thermometer.getTemp(&temp)) {
            //gets temperature from sensor via I2C bus
            myled=0;
            //print temperature on PC
            printf("Temperature is %5.1F degrees C\r\n",temp);
        }
        //wait for device to produce next temperature reading
        wait(0.5);
    }
}
Import programIR_temperature
MLX90614 sensor - I2C IR non-contact thermometer demo program
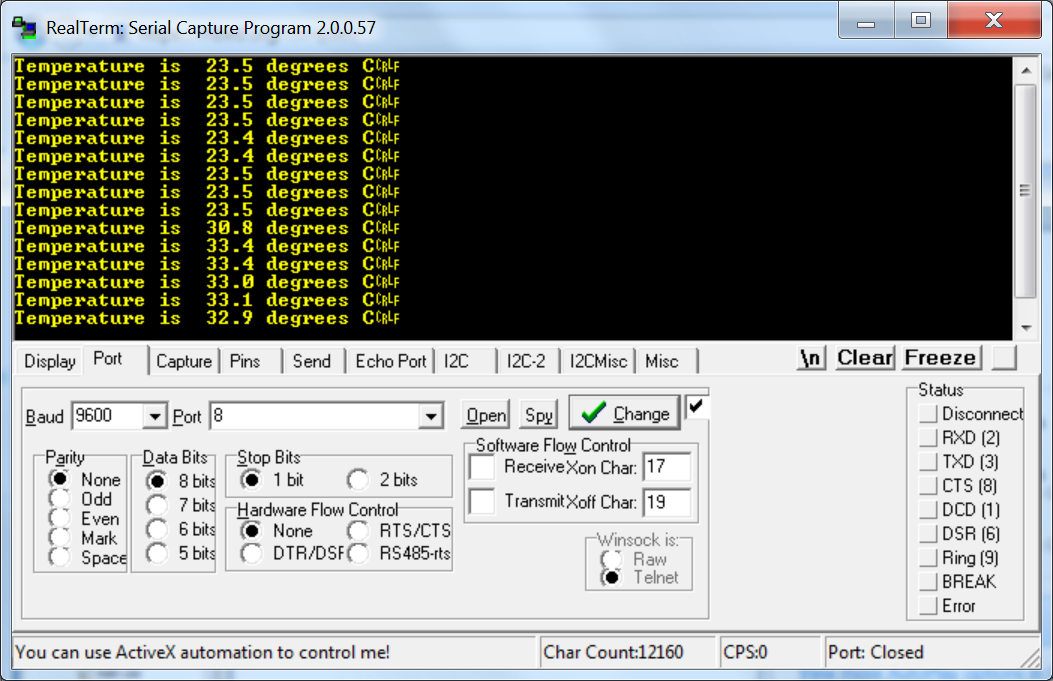
Results from the demo program running on mbed are displayed on the PC.
When the demo is running correctly, LED1 flashes briefly each time a new reading is read in on the I2C bus. If LED1 stays on, double check the sensor wiring. In the demo's PC output seen above, the IR sensor is first pointed to a wall in a room with room temperature in the 20 degree C range. It is then pointed towards the palm of a hand and note that the temperature reading jumps to the 30 degree C range that is near the normal human body temperature. Pointing the sensor towards an open mouth reads 37 C (i.e., 98.6 F).
Additional Ideas
These sensors have been used in medical devices to measure body temperature, control temperature in products such as printers, copiers, and car windshield defoggers. They can also be used to detect heat sources such as a candle. Autonomous fire-fighting robots often use IR sensors.

A Recent Fire-Fighting robot student design contest.
With the increasing cost of energy, IR thermal images can be used to evaluate buildings for heat loss. Regions lacking sufficient insulation can be quickly identified inside walls and structures without taking them apart.
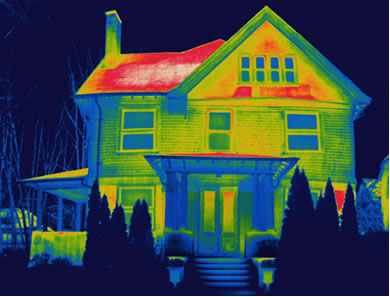
Commercial IR cameras are widely used in home energy audits to detect energy leaks.
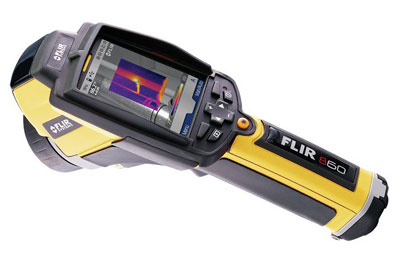
The FLIR B60 is an $8000 Commercial IR Thermal Imaging Camera widely used in the HVAC industry.
The harder to find narrow beam width versions of the sensor (MLX90614ESF-DCI) with a 5 degree beam width have been used to make a low-cost thermal imaging scanner in a number of projects. One appeared recently in IEEE Spectrum based on this student project. The sensor is typically mounted on a pan tilt servo bracket with two R/C servos. The servos move the sensor to scan across a 2D area taking a reading at each pixel location to produce an IR temperature image. It is a bit slow, lower resolution, and needs to be mounted on a tripod while taking images, but is quite a bit less expensive than the commerical IR cameras. This project also updated the firmware in the sensor to enable it to take readings faster. There is sample code for mbed to control R/C servos available in the cookbook.
Cheap Thermocam Student Project Video of car engine.
You need to log in to post a discussion

