How to setup an mbed student laboratory
We have used mbed for four semesters at Georgia Tech in our undergraduate ECE 4180 Embedded Systems Design instructional laboratory for several lab experiments and design projects. Recently, they were also used in the computer organization and C/C++ classes. The suggestions presented here are based on that experience. Hopefully, the information collected here will save you some startup time.
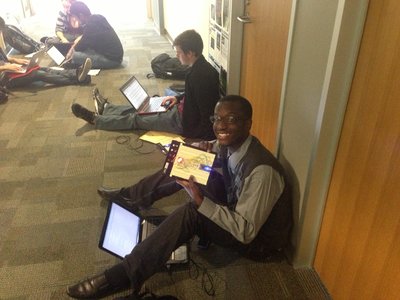
Georgia Tech students working in the hallway on mbed projects.
A short checklist for new course instructors
Here is a short checklist of what is needed for a typical student laboratory setup using mbed:
1. mbed LPC1768 modules at around $59 each. Two students can easily share an mbed and lab setup as lab partners. The price is low enough that some students buy their own. Everyone would actually like to have their own, but it is not absolutely necessary. Each student should setup their own account on mbed.org.

The mbed module plugs into a breadboard using 40 pins.
2. Determine if you will use a commercial mbed baseboard or a standard solderless breadboard for your laboratory setups. See the cookbook heading on baseboards and the page on solderless breadboards. Baseboards already have connections for many of the common I/O setups (i.e., network, USB, MicroSD card) but they are also a bit more difficult to use when adding custom hardware since they have a small at best prototyping area. There is also some pedagogical value in having students actually assemble the circuit on a breadboard. Most devices use serial interfaces, so there are not a large number of wires to hook up. Jumper wires disappear in a student laboratory, so get some spares. Often students have already used and may even have solderless breadboards from an earlier lab class. If you plan on using motors, servos, and other high current devices some external power supplies will be needed in the lab. Some low cost 5VDC output AC wall adapters can even be used for extra motor and servo power.

Using mbed on a breadboard with breakout boards.
We already had several large breadboards available and planned on a number of custom hardware setups in labs, so we used the breadboard option for the laboratory. We also have a few of the low-cost mbed baseboards that students can use at home for design projects. We recently setup a basic parts kit for students that wanted to purchase their own device. Details about the mbed inventor’s kit developed for our students can be found at http://users.ece.gatech.edu/~hamblen/mbed/mbed_inventors_kit.htm
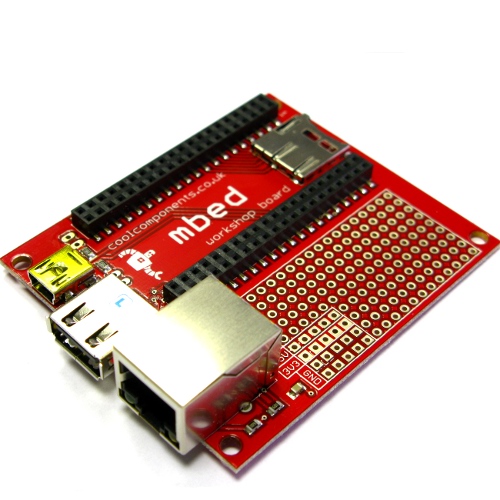
One of the commercial mbed baseboards.

The new mbed lab board
3. Get an interesting assortment of commercial breakout boards with connectors and I/O sensors and drivers for laboratory experiments. Most ICs are in surface mount packages these days, so having it mounted on a breakout board that plugs directly into a .1 inch breadboard really saves time and makes it easy. To see what is available and where to find it, see the tables in the Cookbook sections on IC sensor breakout boards and I/O connector breakout boards. The breakout boards will typically need header pins soldered to them once they arrive. Some decisions will have to be made here since there are quite a lot of I/O and device options. For our lab setup, we started with one breakout board for each interface type, so that students could have hands on lab experience with several of the more common I/O interfaces and device types commonly used in embedded designs (i.e., RS-232, I2C, SPI, Analog, USB, Ethernet, LCD text display, DC motor, MicroSD Card).
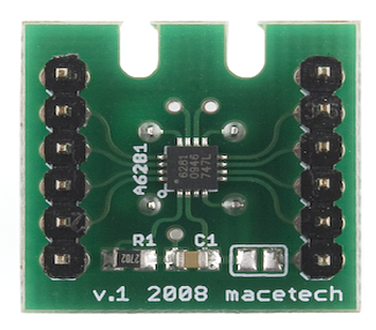
An RGB LED with a surface mount driver IC on a breakout board.
Breakout boards will plug directly into student breadboards.
If you pick a device that already has code examples posted in the Cookbook, students can use those to get up and running quickly. In our lab, students constantly use the Cookbook for code examples and the Handbook for API reference online in another browser window along with the compiler window. Expensive breakout boards such as LCD graphics displays, GPS, and cell phone modems can be shared between lab groups with a little planning. It is likely that you will wind up with a larger budget for the breakout boards and breadboards than for the mbed modules. Some of the more widely used student breakout boards are shown in Table 1.
Table 1. Popular Breakout Boards for Student Projects
| Purpose | Sensor or Device | Interface, IC, and comments |
|---|---|---|
| Display ASCII text | B&W Text LCD Display | Parallel Digital - HD44780 |
| Display text and graphics | Color LCD graphics display | SPI – Nokia 6100 128x128 |
| VGA display on a monitor | VGA controller | TTL Serial – PICASO-SGC |
| Add digital audio output | MP3/AAC/WMA decoder | SPI - VLSI VS1033 |
| Touch switch or keypad | Touchpad controller | I2C – Freescale MPR121 |
| Measure motion or orientation | MEMS Gyro & Accelerometer | I2C – ITG322 & ADXL345 |
| Measure environmental data | Temperature & Humidity | Serial - Sensirion SHT15 |
| Location and speed | GPS receiver | RS232 Serial NEMA - various |
| Direction | Electronic Compass | I2C - Honeywell HMC6352 |
| Measure Distance | IR reflection | Analog or Digital - Sharp GP2xx |
| Ultrasonic Range | Sonar (longer range than IR) | Analog or Serial - MaxSonar XL EZx |
| Cell phone network for data | Cell Phone modem module | RS232 Serial, need SIM - various |
| Wireless data transmission | Zigbee/Xbee/WiFly | Serial – Digi XBee XBPxx & RN WiFly |
| Control and dim an RGB LED | RGB LED & driver | SPI - Allegro A6281 on ShiftBrite |
| Use PWM to drive DC motors | H-bridge driver | PWM – STMicro VNH3SP30 |
| Add networking | MagJack connector | Ethernet |
| Connect to a serial port | RS232 level convertor | RS232 Serial - various |
| Add USB thumb drive | USB A connector | USB – various |
| Add flash file system | Micro SD card connector | SPI – various |
| Add mouse and/or keyboard | PS/2 connector | PS/2 serial protocol |
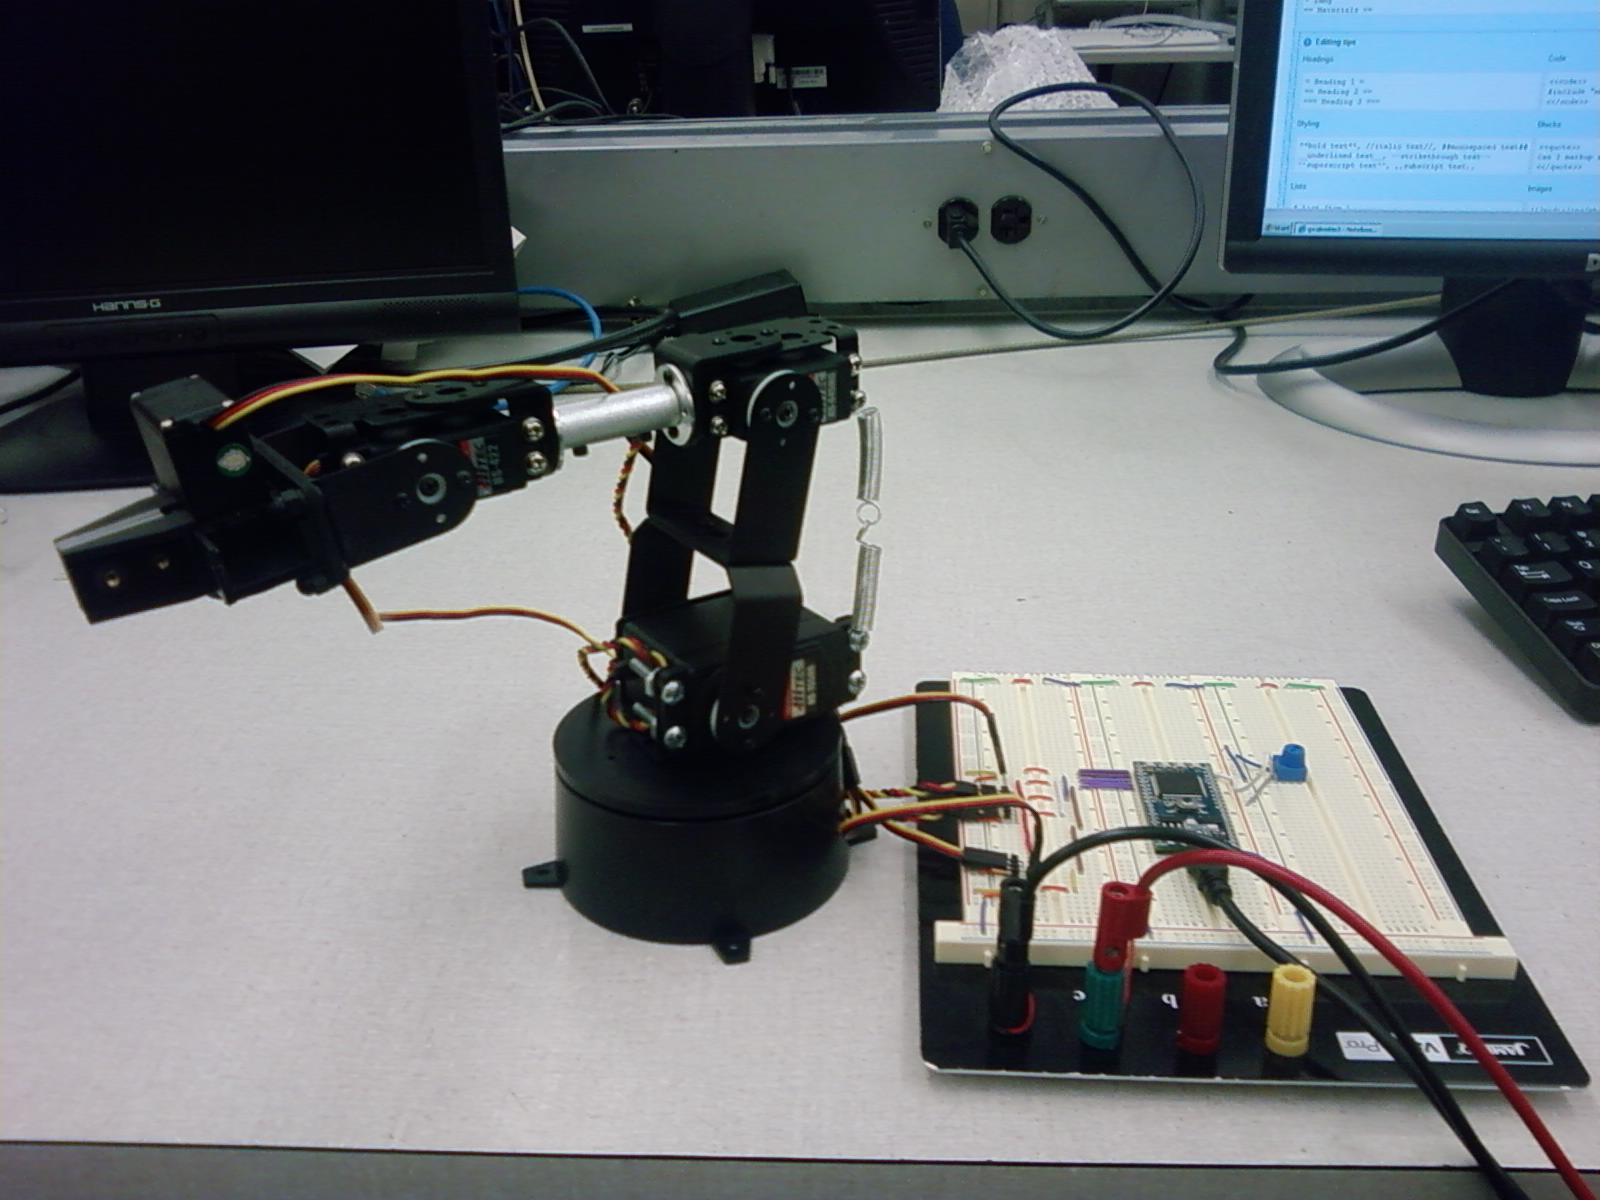
4.R/C servos, DC motors, and robot kits are optional, but they tend to make laboratory assignments a bit more interesting. The Cookbook has a Servo PWM example that will work with almost any R/C servo, and an example using an H-bridge breakout board for DC motor speed control. Low cost R/C servos and DC motors are easy to find. A cookbook PID control project using motor feedback uses a low-cost small geared DC motor with a quadrature encoder. Several mbed robot projects can be found in the Cookbook for the iCreate, the Stinger and Traxster from RoboticsConnection, Sparkfun's Magician, and the Pololu 3Pi. Keep in mind that assembling and maintaining a fleet of robots for a student lab requires a significant support effort. We have several of the robot kits, but they are only checked out when needed for final design projects.
5. Once again make sure each student sets up a new account. It allows each student to access the cloud compiler and save their source files on the server. This is really the way to go; anything else will not work out as well.
6. If students are using lab PCs running windows, install the mbed virtual comm port driver on those PCs and have a terminal emulation program available on the PCs. Some schools lock down lab PCs for security, and if so you might need the computer support people with admin rights to install these for you. This software is used so that mbed can do a "printf" to a screen on the PC.The rest of the software runs off the server in a web browser. The mbed module attaches just like a USB flash drive. Try to avoid moving mbed modules around the lab to different PCs as they lock with the virtual com port driver when it installs.
7. Many mbed projects will use networking. At many schools, the network is locked down for security and you may need to have the networking support people reserve an IP address or enable DHCP support for each mbed module. In our school’s network, only computers that have the NIC address registered in the DHCP server will be able obtain an IP address. The mbed’s NIC address is shown in the startup web page.
8. For the vast majority of student work, the cloud compiler is still the way to go, but several offline compile options are also now available. The ARM/Keil MDK compiler now supports hardware breakpoints for debug on mbed via the USB cable. The demo version is free, but code size is limited. Schools should contact the ARM University Program for details on educational licensing for the full version of the ARM/Keil MDK compiler.
Ideas for Student Laboratory Assignments
The topics for laboratory work will vary significantly depending on the student’s background and the goals of each individual course. Our class was oriented to embedded systems design and it contained a mixture of EE, CmpE, and a few CS undergraduates. Students had previously taken a digital logic design class, introduction to computer architecture, and C/C++ programming. Each lab is two weeks for a total effort of around 6 hours. Students work in teams of two.
There are some reference books listed in the cookbook Book page. There is a free HTML electronic version of a popular C/C++ textbook available there. For students, the most useful references are likely to be the online Cookbook for code examples, the Handbook for mbed API library reference, and their C/C++ textbook. Many other resources are free online and available on the mbed website or via links there to the ARM, NXP, and KEIL websites. For people that decide to get down to the hardware level, a copy of the Cortex M3 textbook is useful to have available in the lab. For a lower level introductory class, there is also an ARM Microcontroller book with mbed projects. Some slides from recent mbed workshops are available in the Cookbook under Workshop and Course-Notes. Less than half of the students in a class will purchase the textbook these days. They adapt quickly and are comfortable with using the online reference materials instead of hardcopy. We have even stopped handing out hardcopies of the laboratory assignments and they are all posted online.
We started out with a basic introductory lab where students used mbed for digital I/O with pushbuttons and LEDs, used PWM to dim an LED, added an I/O port expander, and used power management to reduce power levels by adapting C/C++ examples from the Cookbook. For extra credit, they could add a watchdog timer, setup an IR and RF data transmission link, or go back and use ARM assembly language instead of C/C++ for the basic digital I/O LED blink demo. Using assembly language made them appreciate the productivity gains using the C/C++ compiler and mbed’s I/O API support.
In the second laboratory experiment, students connected a number of different interfaces and devices by adapting the C/C++ cookbook code examples (i.e., RS-232, I2C, SPI, Analog in and out, USB, Ethernet, LCD text display, and DC motor) and demoed each one working to the TA on a breadboard. The mbed C/C++ I/O APIs really save some time here. In class, we were talking about different I/O interfaces, so the lab was a good fit with the lectures. We recently developed some Internet of Things LCD gadgets for students to try after hooking up a network jack and a text LCD. There were very few software related issues to resolve. The cloud compiler with students keeping files on the server worked out better than many of our locally running tools. Most problems occurred from students not wiring up all of the jumper wires correctly.
After two introductory labs using mbed, we allowed students the freedom of a team design project where they could pick the idea (subject to instructor and TA approval and guidance regarding the scope of the project). It is surprising the array of different ideas that you will see, and they also are more motivated when working on their own idea.
They need to pick a design project idea early in the term to allow time for any custom parts that might have to be ordered to arrive. It is also a good idea to remind students to check and only order parts that are in stock so that they arrive in time. Supporting all of the different design projects will require a larger assortment of sensor, drivers, and breakout boards than a more structured lab. The good news is that all of the parts unplug and can be reused for next term minus the few that get smoked or lost. Surprisingly, so far with almost a hundred students no one has killed an mbed module. We did have a USB cable short out and lost a couple of breakout boards.
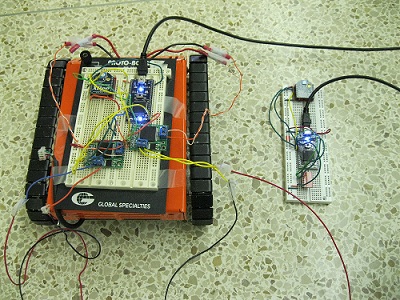
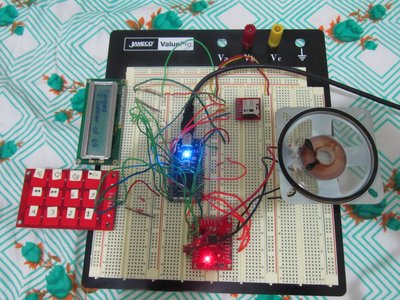
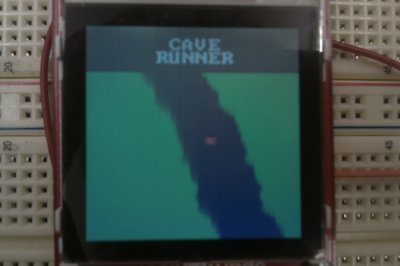
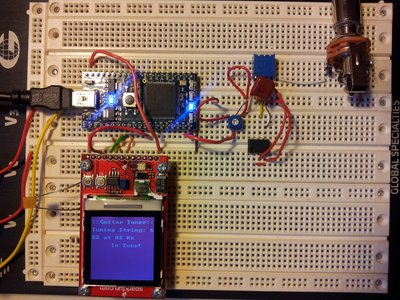
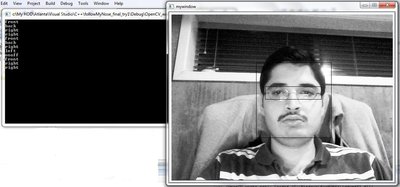
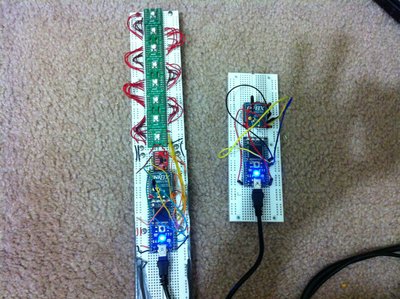
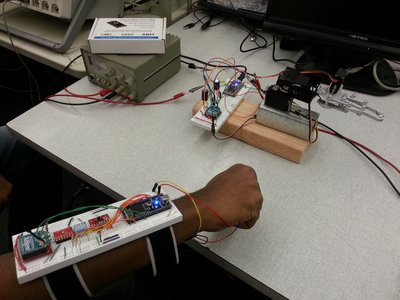
Examples of some of the design projects from the class can be found in the cookbook under Student Projects. A number of students have also chosen to use mbed again in their senior design project after taking the class.
ARM University Program
The ARM University Program (AUP) has recently introduced a new Lab-in-a-Box (LiB) package to make it easier for academics and educators to set up a course/lab based on the mbed platform. The LiB package consists of:
• 10 mbed-enabled boards. Currently, these are the ARM Cortex-M3 based NXP LPC 1768 microcontroller boards
• 100 ARM-MDK Pro software licenses
• A voucher for a textbook with complete teaching materials, namely Fast and Effective Embedded Systems Design, Applying the ARM mbed by Professor Tim Wilmshurst and Dr. Rob Toulson.
The ARM University Program is also holding one-day professors’ workshops such as the one held on 17 and 18 June 2013 , at ARM Headquarters in Cambridge, England. The Cambridge workshop is available in full on the ARM’s Youtube channel ARMflix. If you want to adopt the mbed LiB in your university teaching, register at the ARM University Program and request a donation.
Mbed Starter Kit
Based on our experience from the last three years of using mbed in student labs and the list of interesting low-cost parts for a student purchased kit that developed over time, Sparkfun has introduced an mbed starter kit. Header pins are already soldered on the breakout boards with this kit. Having the parts packed together and soldered is a major time and money saver for schools.

The Mbed Starter Kit from Sparkfun contains:
1. ARM NXP1768 mbed module with USB cable
2. Ethernet magjack breakout and cable for IoT networking applications
3. Smart 128 by 128 Color Graphics LCD display
4. 4G Micro SD card, breakout and USB Micro SD adapter
5. Speaker with driver transistor and audio jack breakout
6. USB A and B breakout
7. RGB LED and four pushbuttons
8. Analog Temperature Sensor
9. MEMs I2C Digital Accelerometer
10. Breadboard and jumper wires

Photos of Student mbed Projects


