IR Remote Control
Description
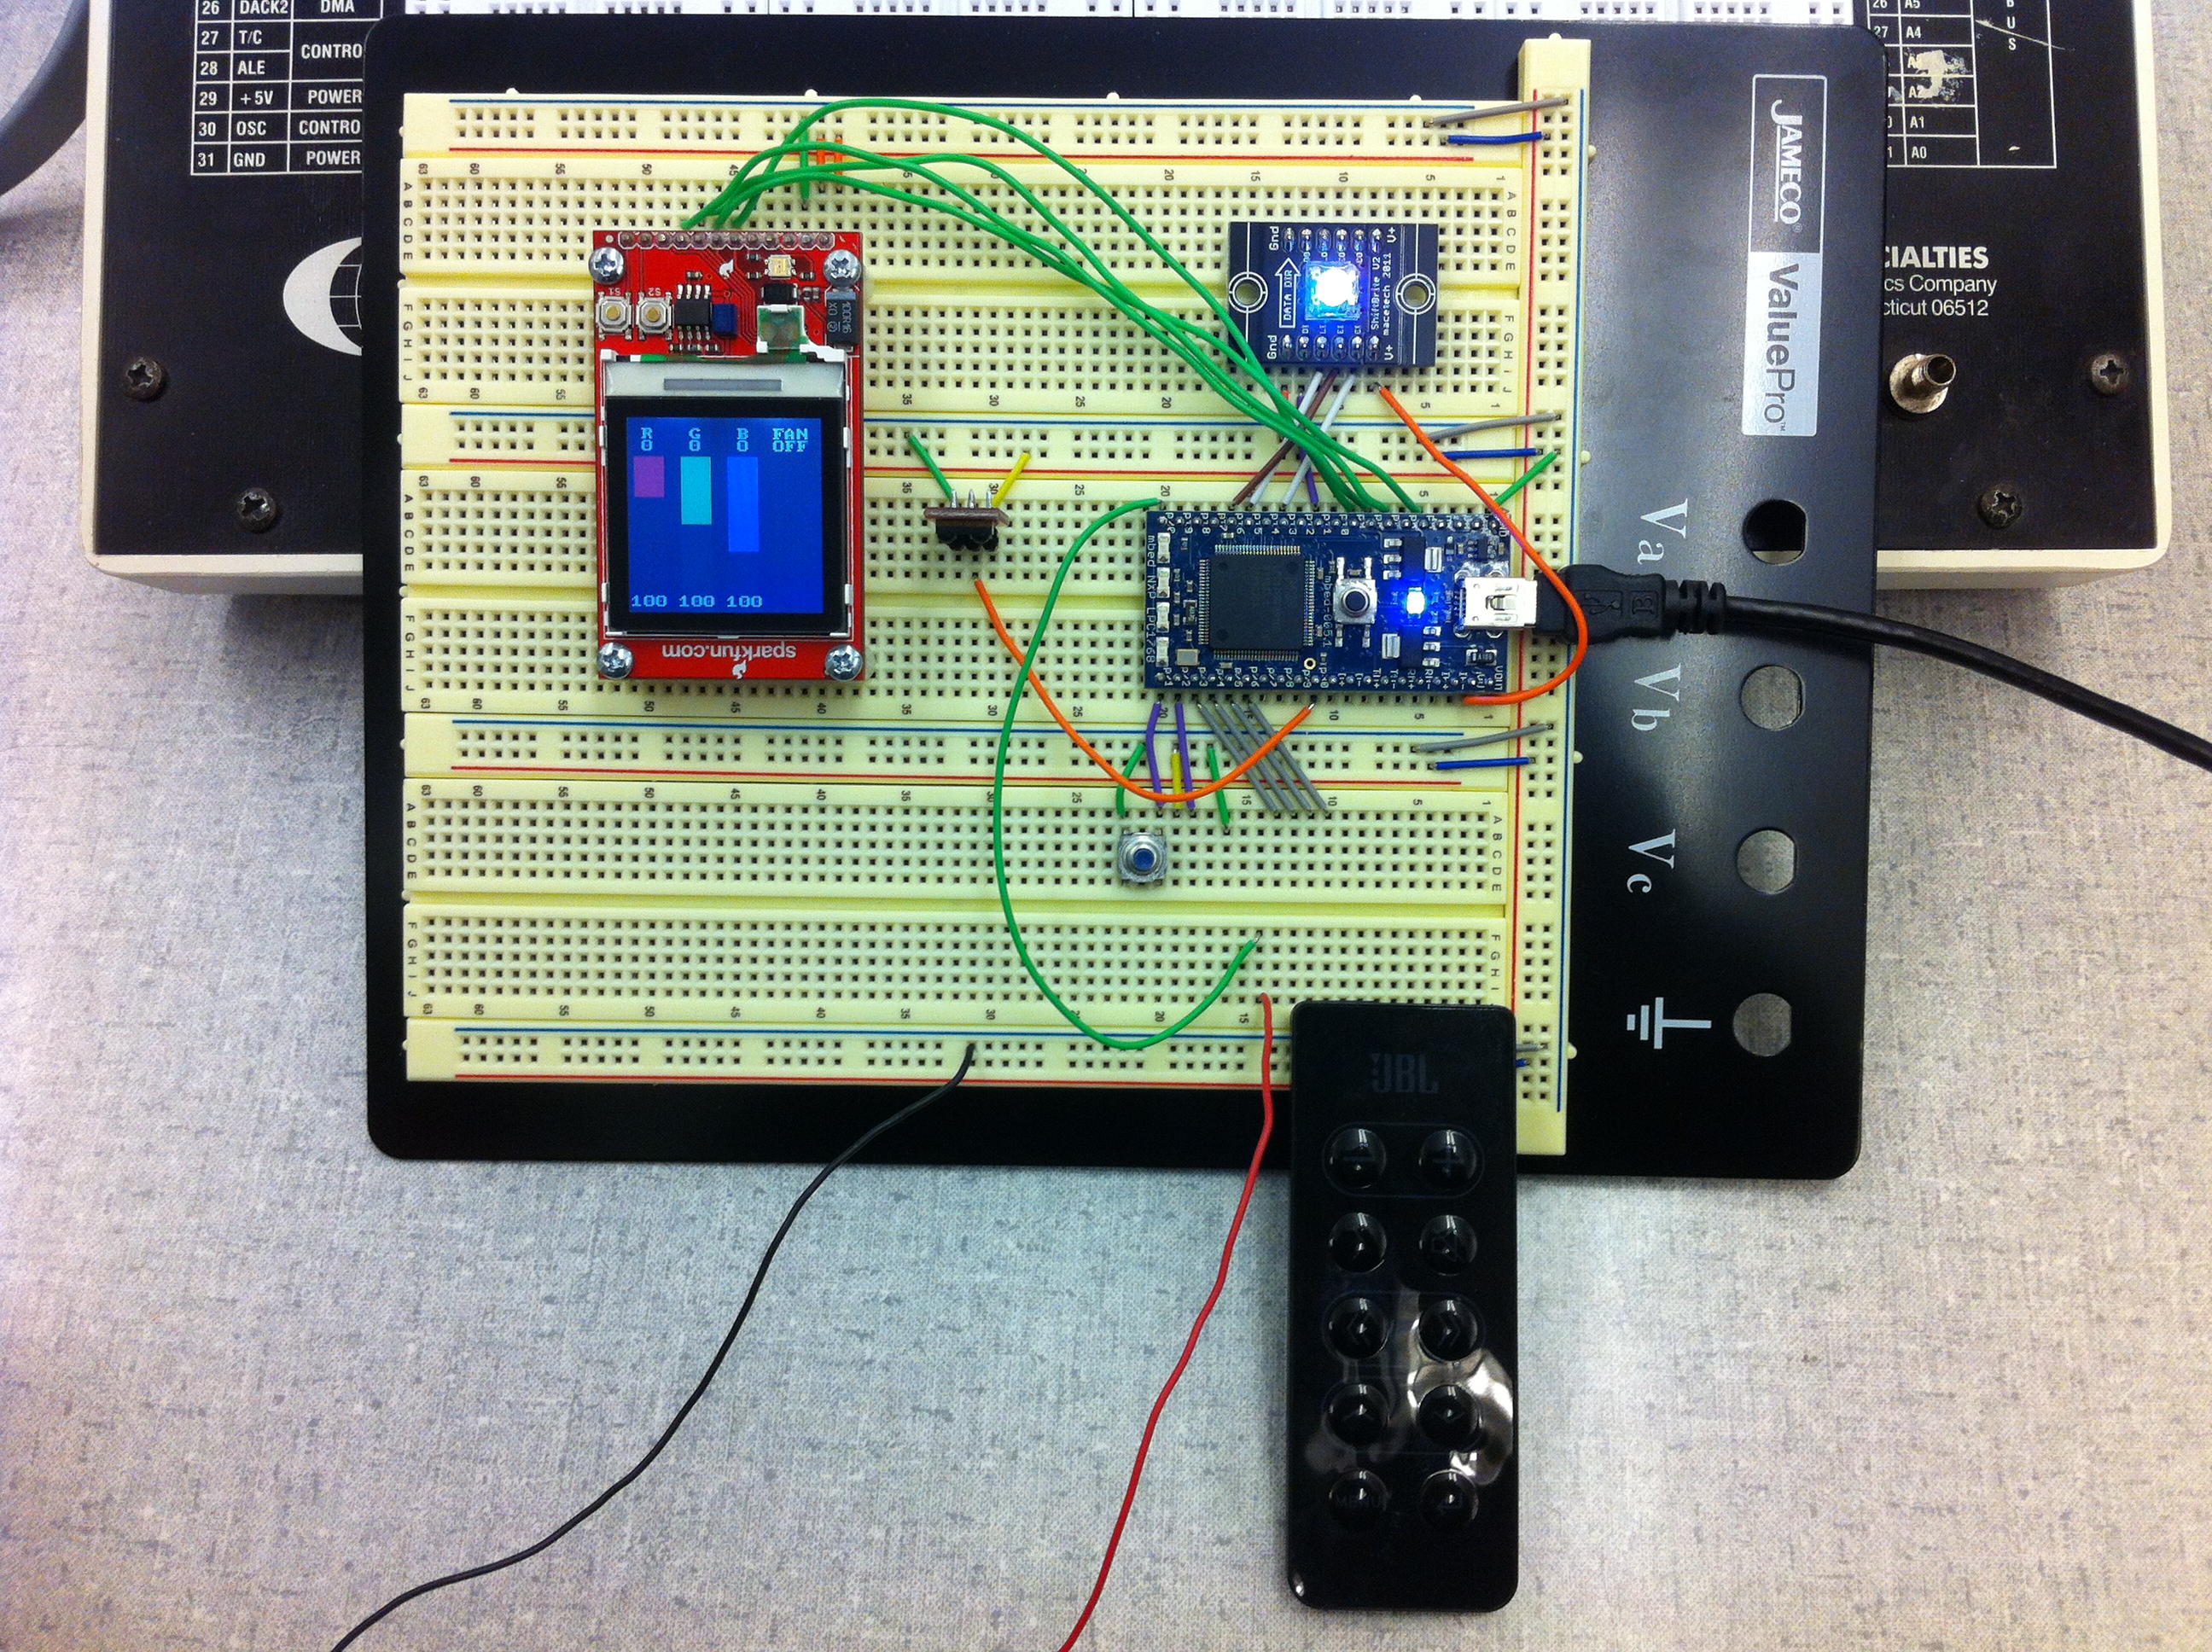
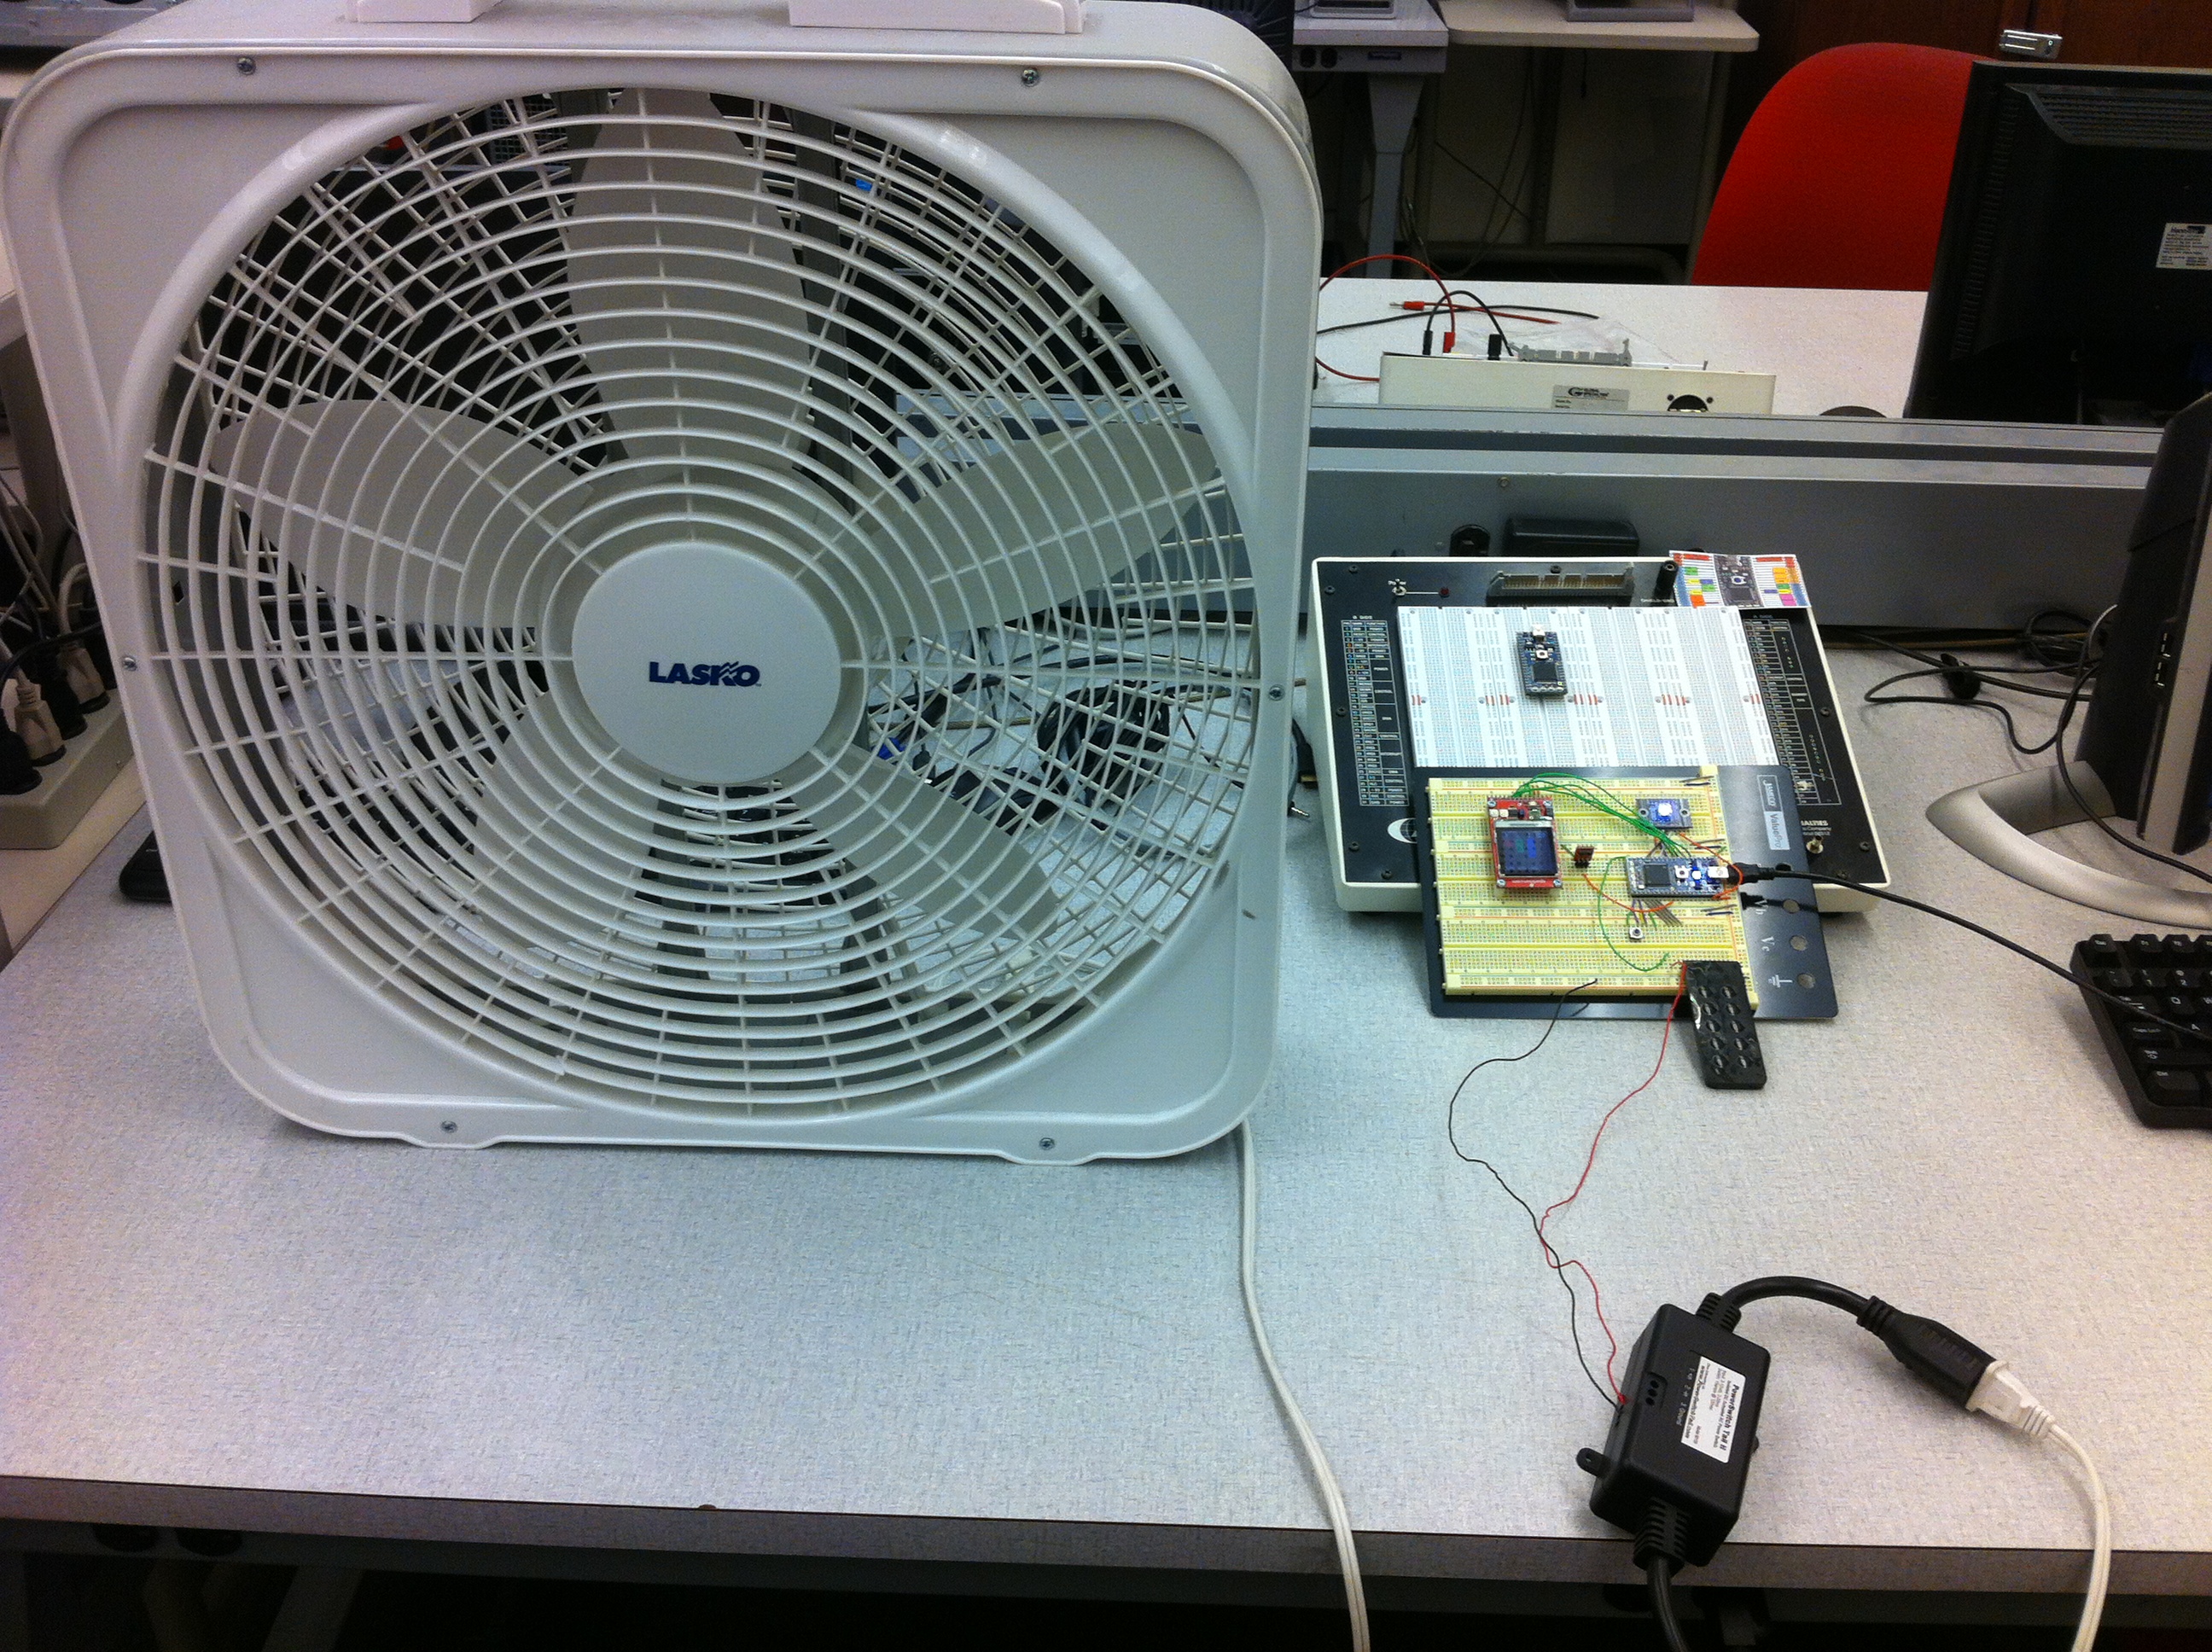
The basic idea of this project is to demonstrate the use of an IR remote to control things. In this project we have an IR remote control a ShiftBrite RGB LED module, a Nokia Graphic LCD and a PowerSwitch Tail II module to which a fan is connected. Also, it is possible to change the IR remote being used or change the buttons being used at any time by entering a special mode called the 'config mode'.


Schematic

Working
Normal Mode:
This is the default mode of operation which is entered when the power is turned on. In this mode the IR remote talks to the 'mbed' chip, which in turn controls the other modules (i.e. ShiftBrite RGB LED, Nokia Graphic LCD, PowerSwitch Tail II) attached to it. By default the RGB LED and the PowerSwitch Tail are off. There are 7 buttons on the IR remote which are used: one turns the PowerSwitch Tail on and off, two increase and decrease the intensity of the red led within the RGB LED, two increase and decrease the intensity of the green led within the RGB LED and two increase and decrease the intensity of the blue led within the RGB LED. As the intensity of each led is changed, a bar of the corresponding color varies in height on the graphic LCD. Also, when the PowerSwitch Tail is turned on, 'ON' is displayed and when it is turned off, 'OFF' is displayed below 'Fan', since in this project we have connected a fan to the PowerSwitch Tail module.
Config Mode:
This is a special mode which can be entered by keeping the config push button pressed and then resetting the MCU. The button needs to be held down for a second or two after reset, until LED4 turns on on the mbed chip. The cool thing about this mode is that you can, one by one, assign any button on the IR remote for each control function. The assignment order followed is Red+, Red-, Green+, Green-, Blue+, Blue- and switch tail. Also, it is possible to use any remote which follows the NEC IR transmission protocol. In this mode the 'mbed' records the IR key codes from the IR remote and stores them in the internal flash. Then, from that point onwards, it uses these new codes. So, it is possible to use any remote you want (as long as it follows the NEC protocol) and any buttons you want to control the attached modules and these can be changed at any time by entering this mode.
Parts List
- mbed uC
- IR Receiver breakout board by Sparkfun with a Vishay TSOP85 38KHz receiver
- Nokia 6100 Color LCD breakout board by Sparkfun
- ShiftBrite RGB LED module
- PowerSwitch Tail II module
- Push Button
- IR Remote (38KHz NEC protocol)
Connections

Videos
Code
http://mbed.org/users/vin_jm/code/IR_Remote/
Team Members
- Vinod Modhe
- Ramsaran Ramasubbu
Please log in to post comments.
