Wi-Fi and Manual Controlled MP3 Player
Project by Max Brown, Decker Onken, and Dustin Shields
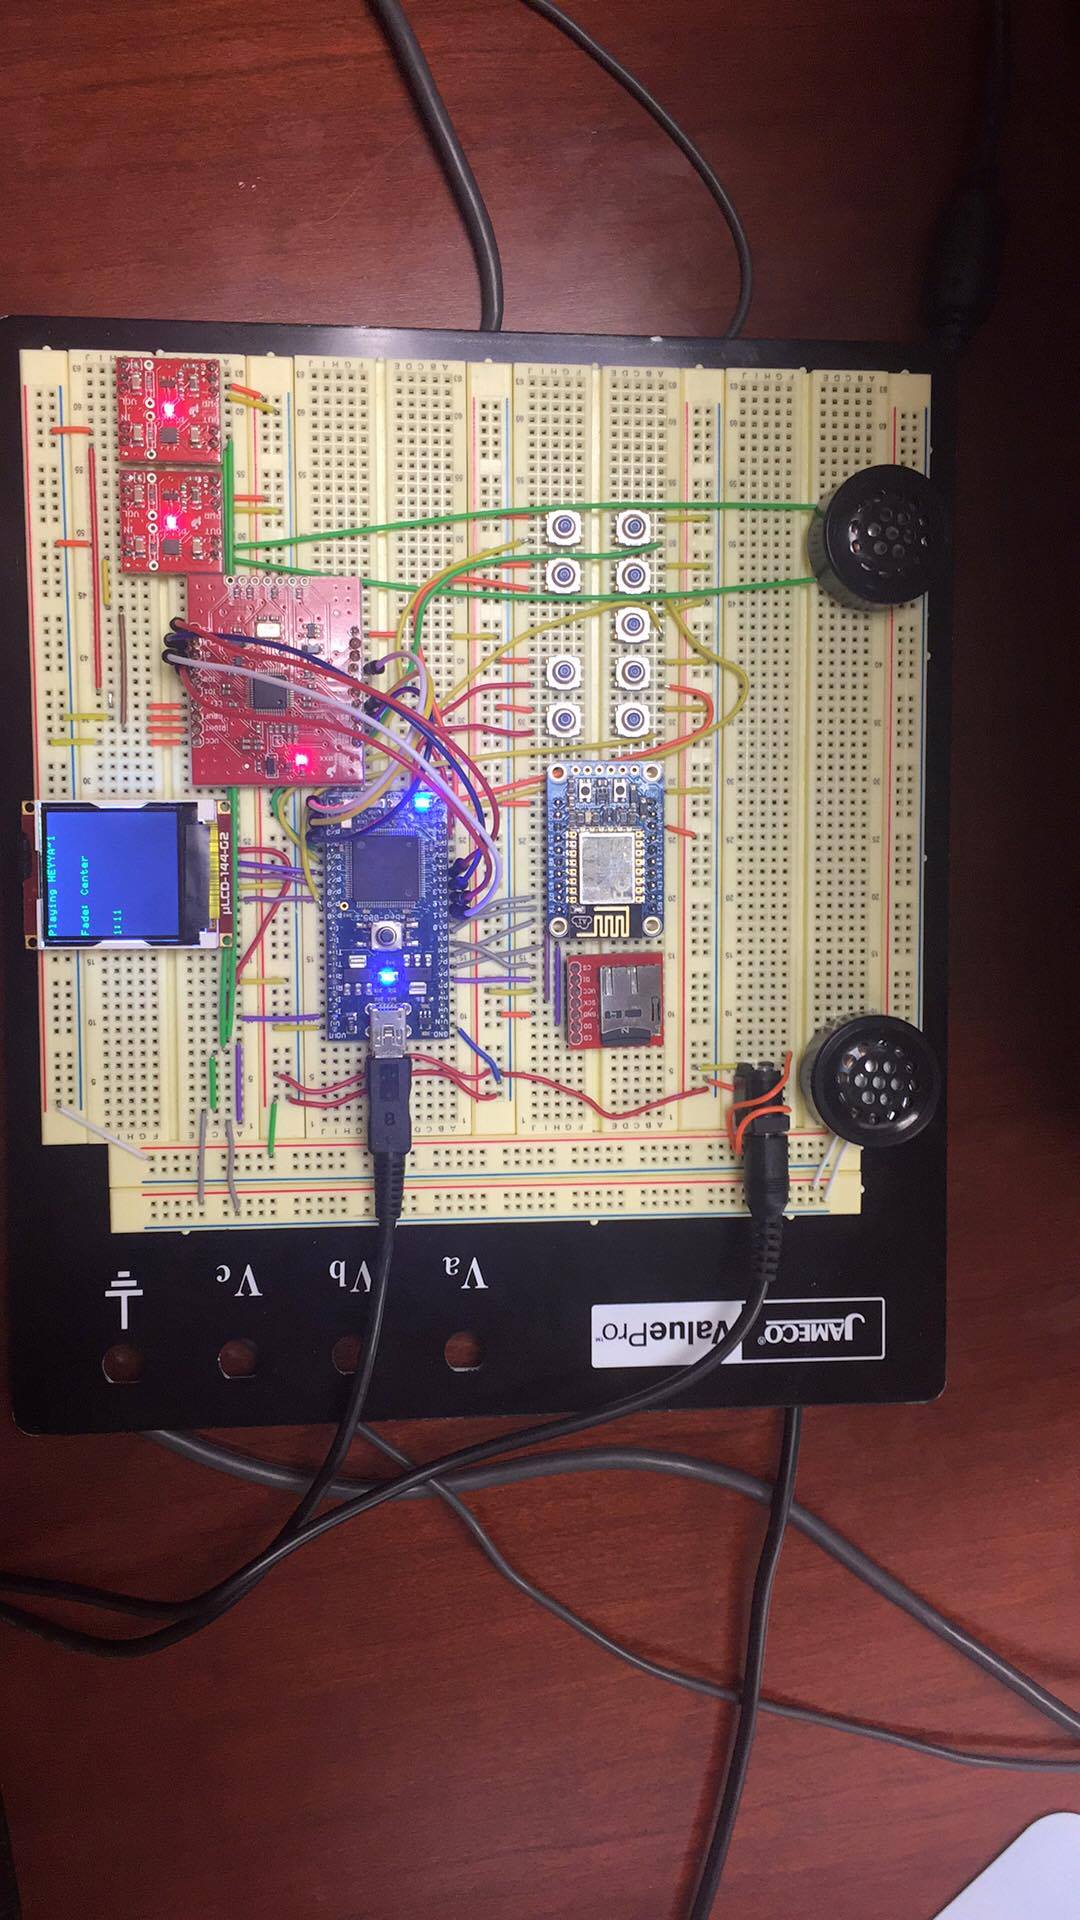
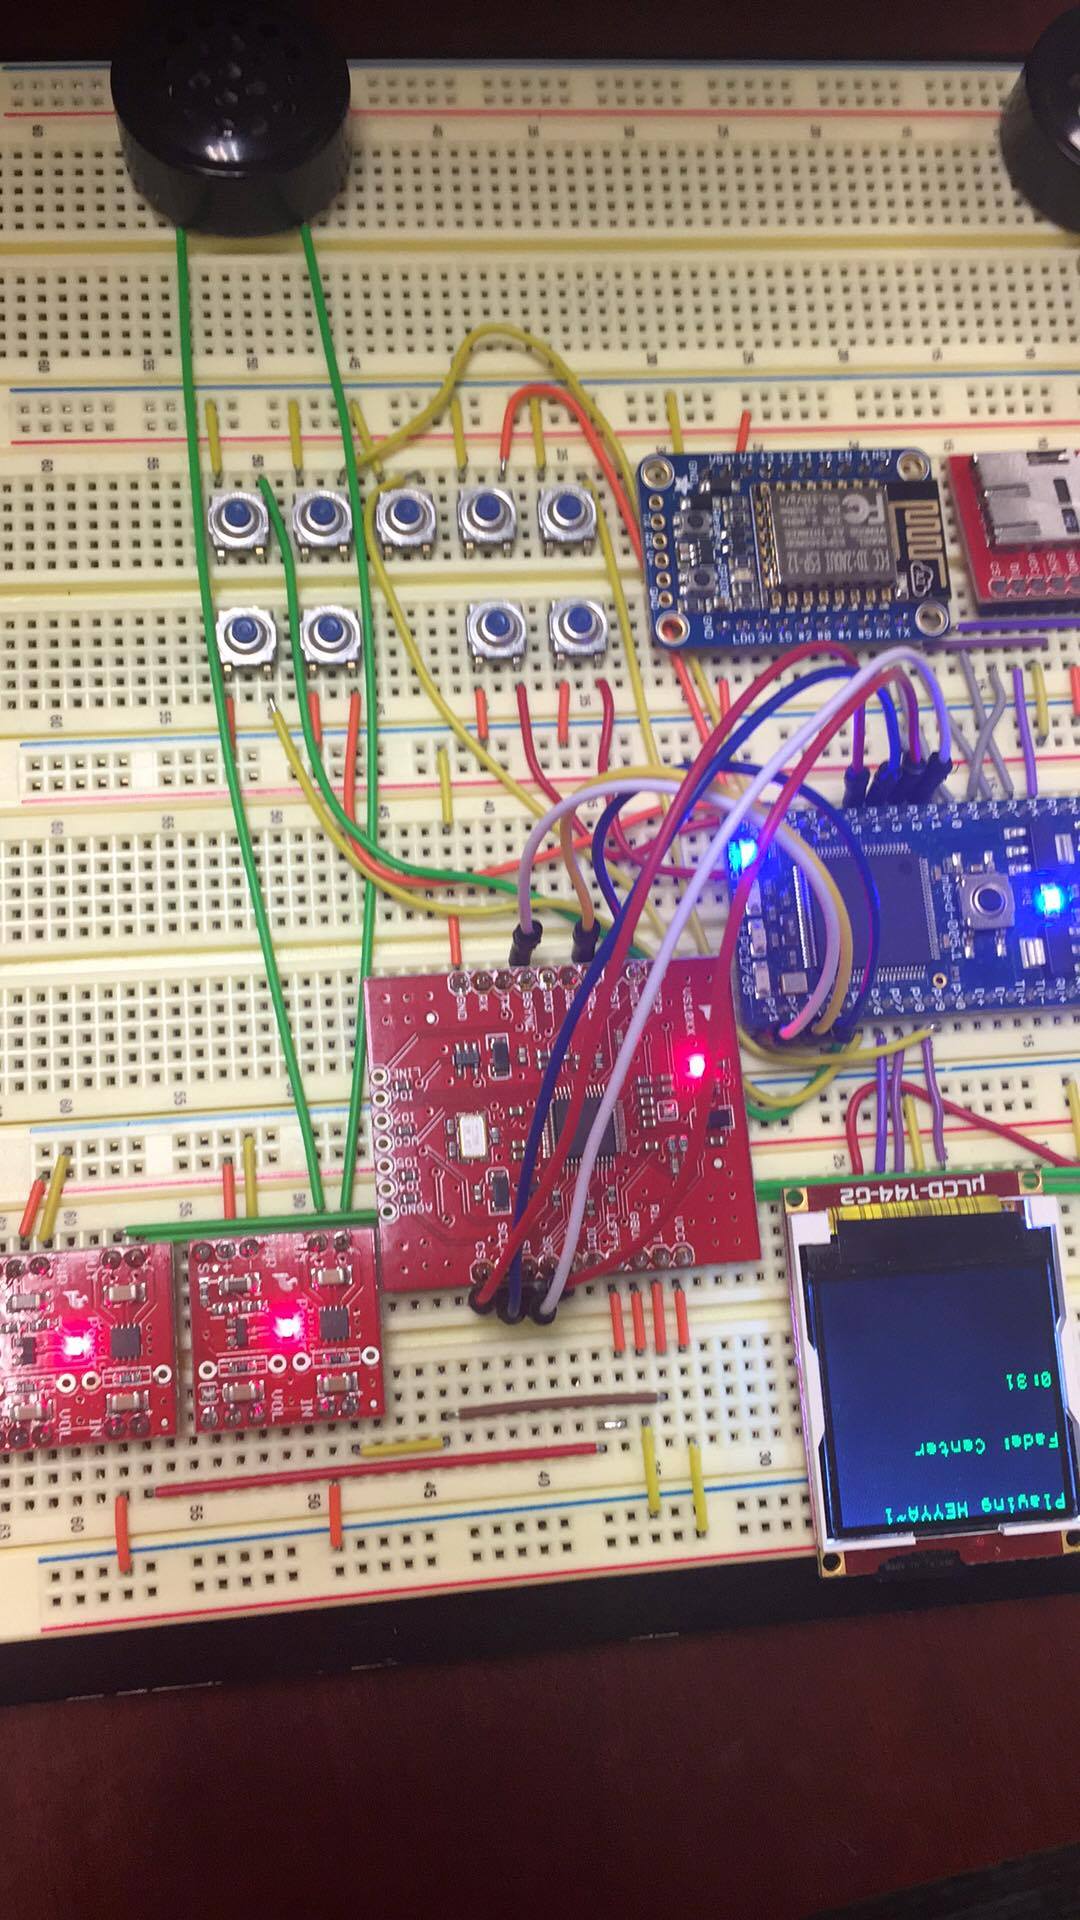
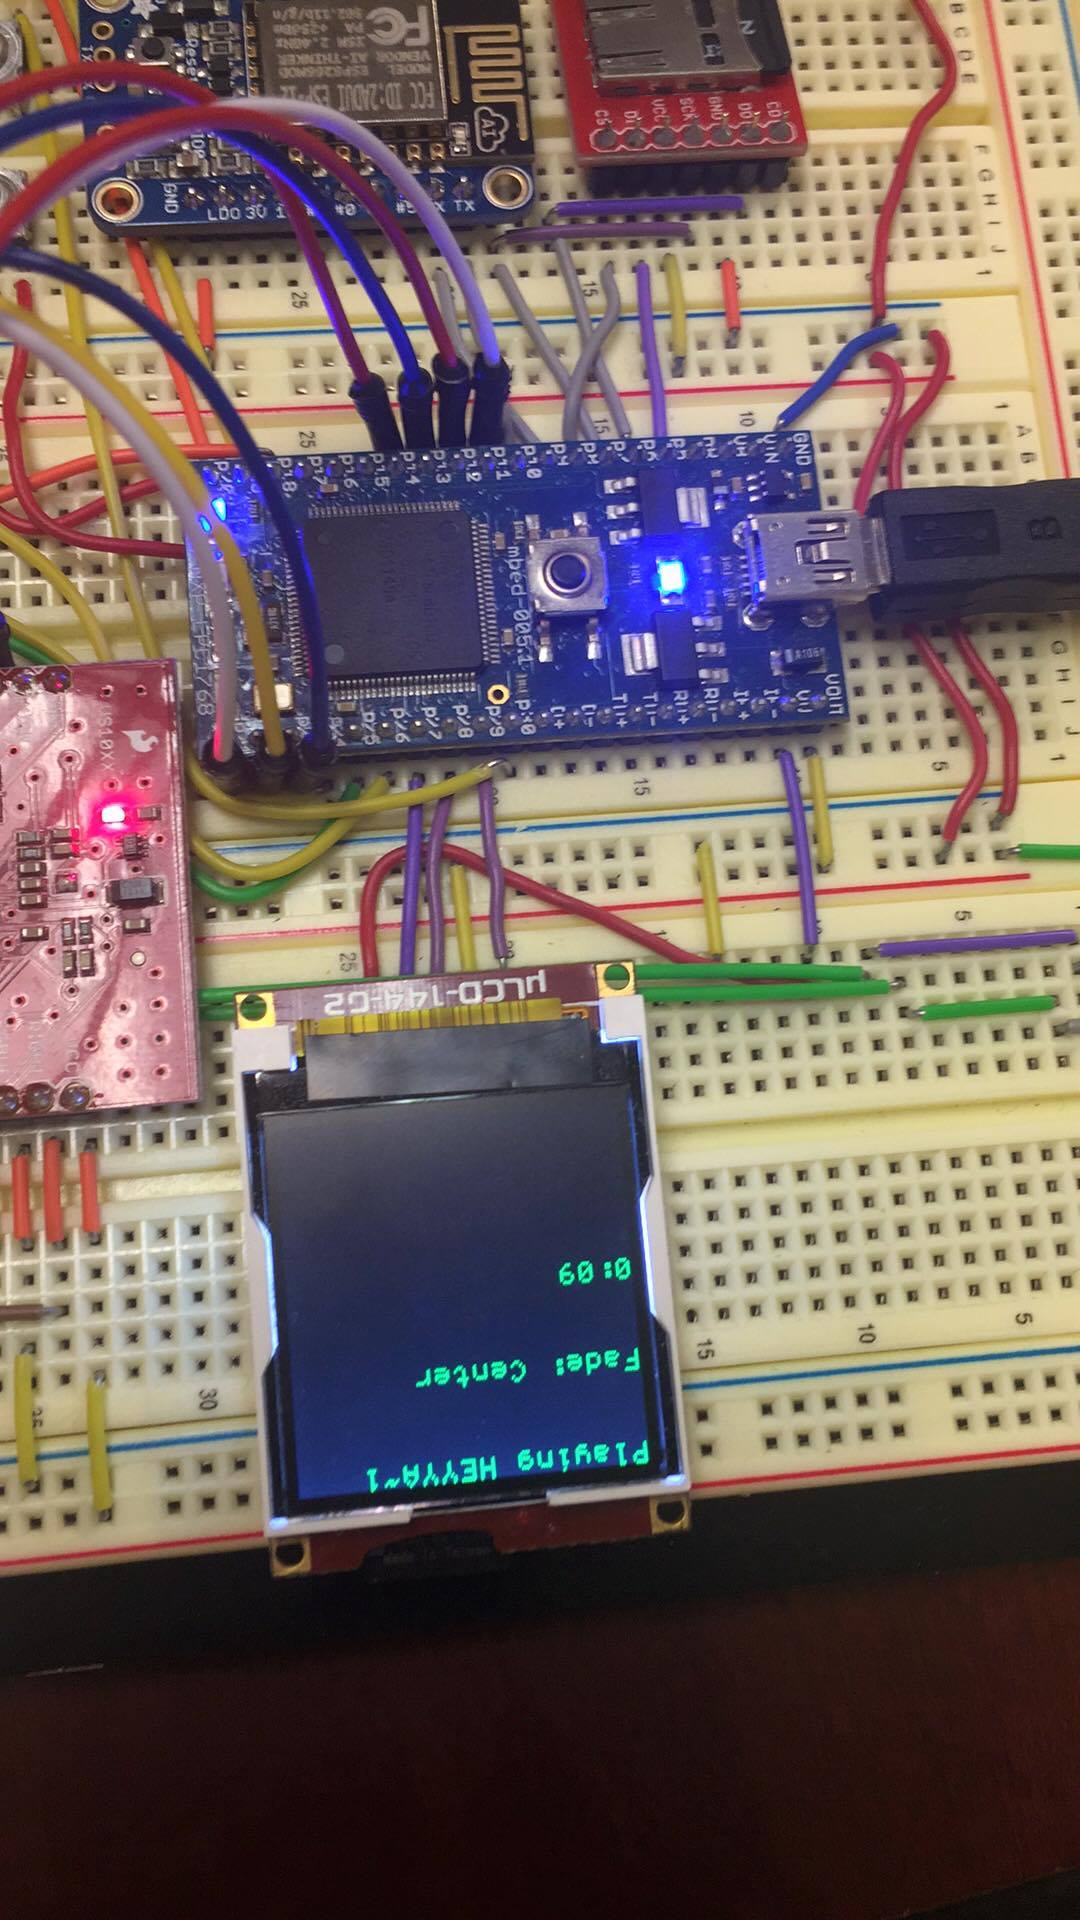
This project will play mp3 files in stereo that are stored on an SD card from a variety of inputs. It will dynamically read in file names for music files in the folder "/sd/music/" which the VS1053 mp3 decoder chip will translate for output to left and right speakers for stereo sound. Each of these communicates using SPI to the mbed. Also included is code for use of this project with a capacitive TouchPanel (which communicates over I2C), Wi-Fi control, or pushbuttons, which can use any general use pin on the mbed. Based on the input chosen your particular song is read in and begins to play. Other features include Play/Stop, Pause, Mute/Unmute, Previous Song/Next Song, Volume Control, and Fade Control.
Parts List
- 9 pushbuttons/MPR121 Capacitive Touch Sensor Breakout Board
- VS1053 Audio Decoder Breakout Board
- uLCD Screen
- Huzzah Wi-Fi Breakout Board
- 2 Speakers
- mbed NXP LPC1768
- MicroSD Card Reader Breakout Board
- MicroSD Card
- 2 Class D Amplifiers
- Breadboard Power Adapter
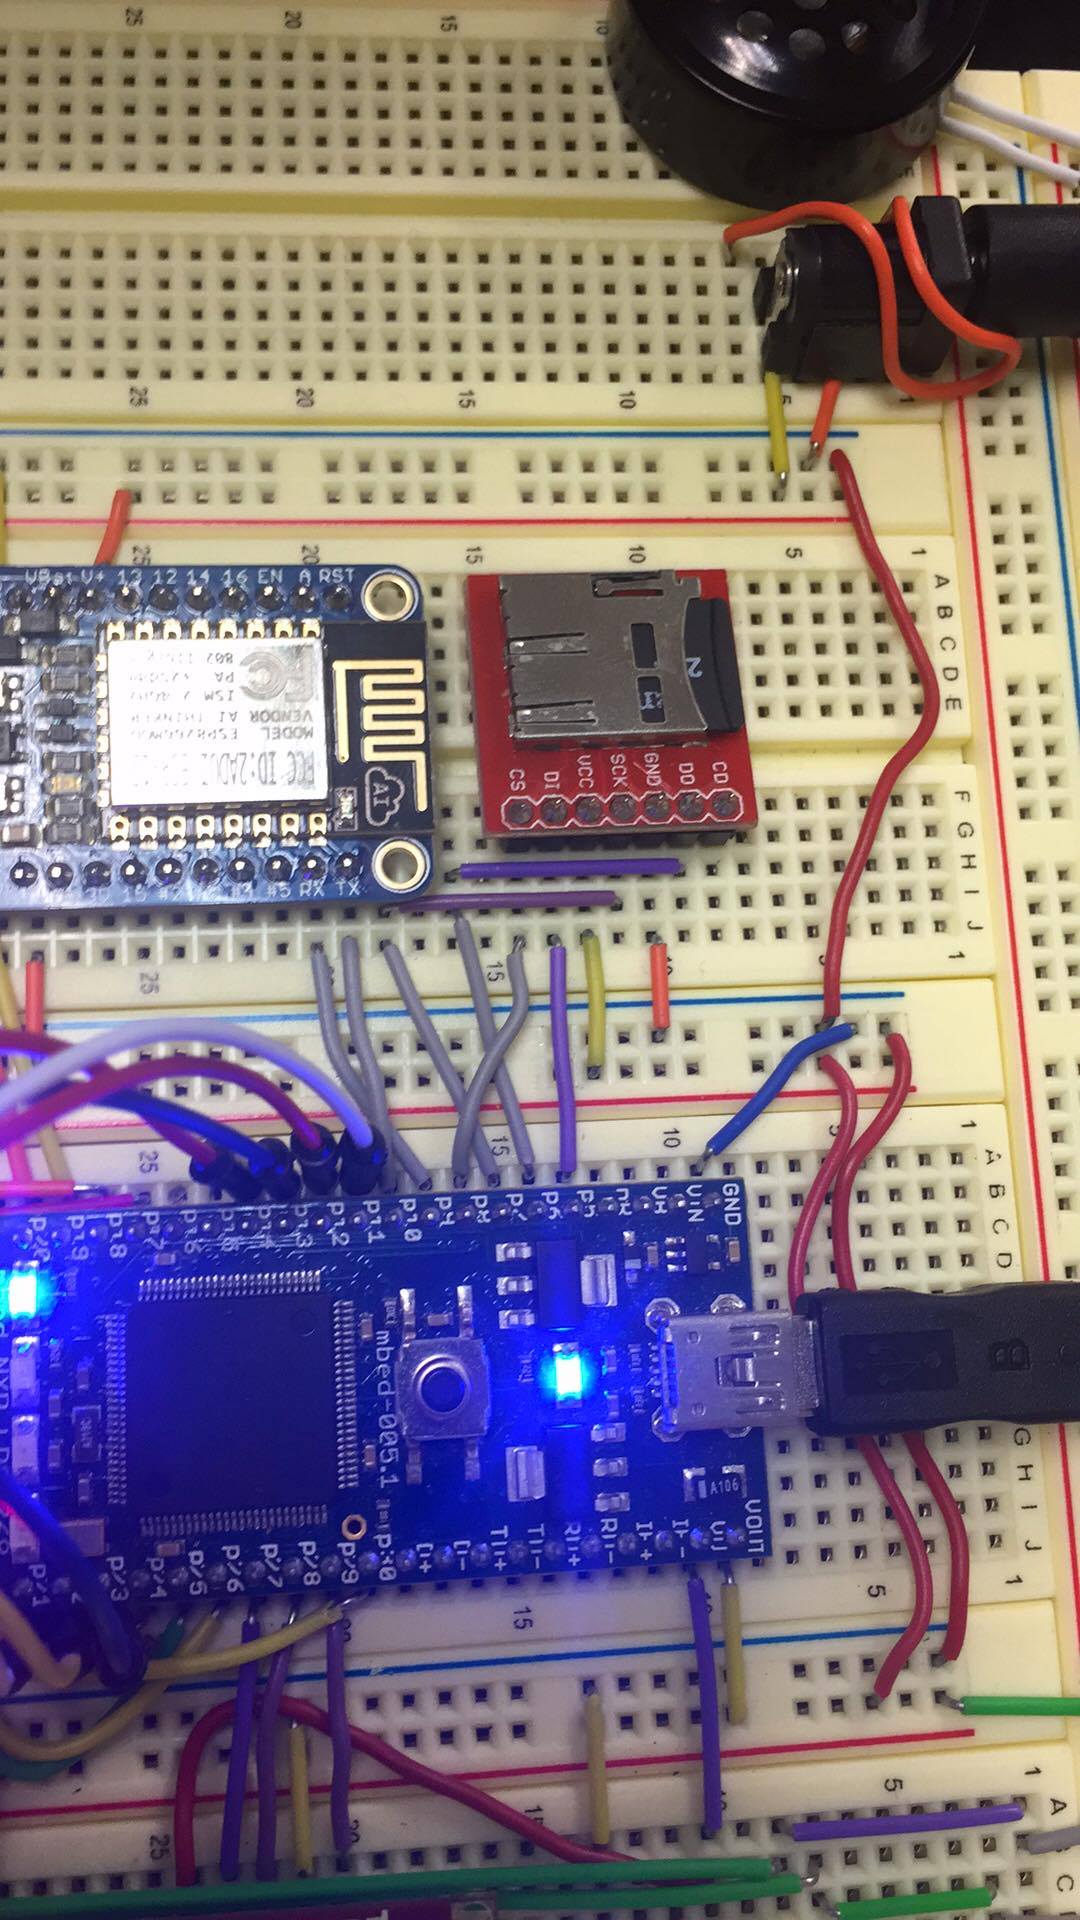
Wiring Diagrams


| Mbed | VS1053 | Class D Amplifiers |
|---|---|---|
| Left | Left Class D + | |
| Right | Right Class D + | |
| GBUF | Left and Right Class D - | |
| p14 | CS | |
| p13 | SI | |
| p11 | SI | |
| p12 | SO | |
| 3.3V | VCC | Left and Right Class D Power + |
| GND | GND | Left and Right Class D Power - |
| p21 | BSYNC | |
| p22 | DREQ | |
| p23 | RESET |
| Mbed | uLCD |
|---|---|
| p27 | TX |
| p28 | RX |
| p29 | RESET |
| VU | 5V |
| GND | GND |
| Mbed | MicroSD |
|---|---|
| p6 | DO |
| GND | GND |
| p7 | SCK |
| 3.3V | VCC |
| p5 | DI |
| p8 | CS |
IF USING WI-FI AND PUSHBUTTON SETUP
| Mbed | Huzzah Wi-Fi Chip | Breadboard Power Adapter |
|---|---|---|
| p9 | RX | |
| p10 | TX | |
| V+ | Power | |
| GND | GND | GND |
Pushbuttons
Pins: p15, p16, p17, p18, p19, p20, p24, p25, p26.
Each pushbutton is wired on one side to one of the stated pins. The other side of the pushbutton is wired to GND. Functionality for each button is given below.
IF USING CAPACITIVE TOUCH SENSOR SETUP
| Mbed | MPR121 |
|---|---|
| GND | GND |
| p9 | SDA (Pull Up 1k) |
| p10 | SCL (Pull Up 1k) |
| p26 | IRQ |
| 3.3V | VCC |
Program Using Capacitive Touch Sensor Setup
The following code will allow the user to control the mp3 player using the MPR121 Capacitive Touch Sensor with all the functionality stated in the description above. The touch sensor layout is as follows:
| Mute/Unmute | Volume+ | Volume- | Pause/Unpause |
| Skip to Previous | Skip to Next | N/A | Selector Up |
| Fade Left | Fade right | Play/Stop | Selector Down |
Import programCapacitive_Touch_Sensor_MP3_Player
Capacitive Touch Sensor Controlling an MP3 Player
Program Using Wi-Fi and Pushbuttons
Due to the way the pinouts on the mbed are designed, an SD card reader, VS1053, MPR121, and Wi-Fi module cannot all be used simultaneously without the use of a second mbed configured in a master-slave configuration. Thus, if Wi-Fi control is desired this setup allows both manual control and Wi-Fi control. The pushbutton layout is as follows:
| Pins | Function |
|---|---|
| p17 | Mute/Unmute |
| p15 | Play/Stop |
| p16 | Pause/Unpause |
| p18 | Skip Forward |
| p19 | Skip Back |
| p20 | Volume Up |
| p24 | Volume Down |
| p25 | Fade Left |
| p26 | Fade Right |
Import program4180_Design_Project
Wi-Fi and Pushbutton Controlled MP3 Player
HTML Code for Web Page
HTML Web Page
<!DOCTYPE html>
<html>
<head><style type="text/css">table {
  width:  100%;
  text-align:  center;
  border-radius: 6px;
}

td {
  width:  34%;
}

.wide {
  width:  50%;
}

input[type=text] {
  text-align: center;
  margin : 0 auto;
  width:80%;
  background:#fff;
  margin-bottom:4%;
  border:1px solid #ccc;
  padding:3%;
  font-family:'Open Sans',sans-serif;
  font-size:95%;
  color:#555;
  border-radius:  6px;
}

input[type=submit]:hover {
    background-color: #4ba6c9;
}
body {
  background:#567;
  width: 40%;/*455px;*/
  display: table;
  margin: auto;
  font-family: "Helvetica Neue", Helvetica, Arial, sans-serif;
  border-radius: 15px 50px;
  padding: 3%;
}

h1{
  background:#3399cc;
  padding:20px 0;
  font-size:140%;
  font-weight:600;
  text-align:center;
  color:#fff;
  border-radius: 6px;
}

table{
  background:#f0f0f0;
  padding:2%;
}

input[type="submit"],input[type="button"]{
  width:100%;
  background:#3399cc;
  border:0;
  padding:4%;
  font-size:100%;
  color:#fff;
  cursor:pointer;
  transition:background .3s;
  -webkit-transition:background .3s;
  border-radius: 6px;
  height:  35px;
  vertical-align: center;
}

input[type="submit"]:hover,input[type="button"]:hover{
  background:#2288bb;
}

input[type=range]::-webkit-slider-thumb {
  -webkit-appearance: none;
  border: 1px solid #000000;
  height: 36px;
  width: 16px;
  border-radius: 3px;
  background: #ffffff;
  cursor: pointer;
  margin-top: -8px; /* You need to specify a margin in Chrome, but in Firefox and IE it is automatic */
  box-shadow: 1px 1px 1px #000000, 0px 0px 1px #0d0d0d; /* Add cool effects to your sliders! */
}

input[type=range]::-webkit-slider-runnable-track {
  width: 100%;
  height: 8.4px;
  cursor: pointer;
  box-shadow: 1px 1px 1px #000000, 0px 0px 1px #0d0d0d;
  background: #3071a9;
  border-radius: 6px;
  border: 0.2px solid #010101;
}

input[type=range]:focus::-webkit-slider-runnable-track {
  background: #367ebd;
}
</style>

  </head><body>
    <h1>Wifi Controlled mbed mp3 Player</h1>
    <!--<hr>Control the mbed mp3 player using these controls!
    <hr/>-->
    <!--<form id="form" method="POST"><p>-->
      <table>
        <tbody><tr>
          <td colspan="2">
            <p><input type="submit" name="button" value="Play" onclick="submitButtonForm('Play');return false;"></p>
          </td>
          <td colspan="2">
            <p><input type="submit" name="button" value="Pause" onclick="submitButtonForm('Pause');return false;"></p>
          </td>
          <td colspan="2">
            <p><input type="submit" name="button" value="Mute" onclick="submitButtonForm('Mute');return false;"></p>
          </td>
        </tr>
        <tr>
          <td colspan="3">
            <p><input type="submit" name="button" value="Previous" onclick="submitButtonForm('Previous');return false;"></p>
          </td>
          <td colspan="3">
            <p><input type="submit" name="button" value="Next" onclick="submitButtonForm('Next');return false;"></p>
          </td>
          <td>
            <!--<p><input type="submit" name="button" value="??"/></p>-->
          </td>
        </tr>
        <tr>
          <td colspan="6"><br>
            Volume
            <p>Min <input type="range" id="sliderVolume" min="-60" max="0" step="5" value="-15" onchange="submitForm('sliderVolume');return false;"> Max</p>
          </td>
        </tr>
        <tr><td><br></td>
        </tr><tr>
          <td colspan="6">
            Fader
            <p>L <input type="range" id="sliderFader" min="-5" max="5" onchange="submitForm('sliderFader');return false;"> R</p>
          </td>
        </tr>
        <tr><td><br></td></tr>
        <tr><td colspan="6"><input type="text" id="ip" value="192.168.43.15" placeholder="IP Address"></td></tr>
      </tbody></table>
    <!--</form>-->

<script>// Write JavaScript here
function submitForm(id) {
    var http = new XMLHttpRequest();
    http.open("POST", "http://" + document.getElementById('ip').value + "/", true);
    http.setRequestHeader("Content-type","application/x-www-form-urlencoded");
    var params = id + "=" + document.getElementById(id).value;
    http.send(params);
    http.onload = function() {
        alert(http.responseText);
    };
}

function submitButtonForm(name) {
    var http = new XMLHttpRequest();
    http.open("POST", "http://" + document.getElementById('ip').value + "/", true);
    http.setRequestHeader("Content-type","application/x-www-form-urlencoded");
    var params = "button=" + name;
    http.send(params);
    http.onload = function() {
        alert(http.responseText);
    };
}</script></body>
Video Demonstration
References
- http://mbed.org/users/4180_1/notebook/mpr121-i2c-capacitive-touch-sensor/
- https://developer.mbed.org/users/pramodnataraja/notebook/mp3-player-with-touchpad-and-textlcd-display/
- https://developer.mbed.org/cookbook/SD-Card-File-System
- https://developer.mbed.org/users/4180_1/notebook/ulcd-144-g2-128-by-128-color-lcd/
Please log in to post comments.
