NeoPixels on mbed using easyNeo Class
Page last updated 15 Feb 2015, by .
0
replies
Items Needed:
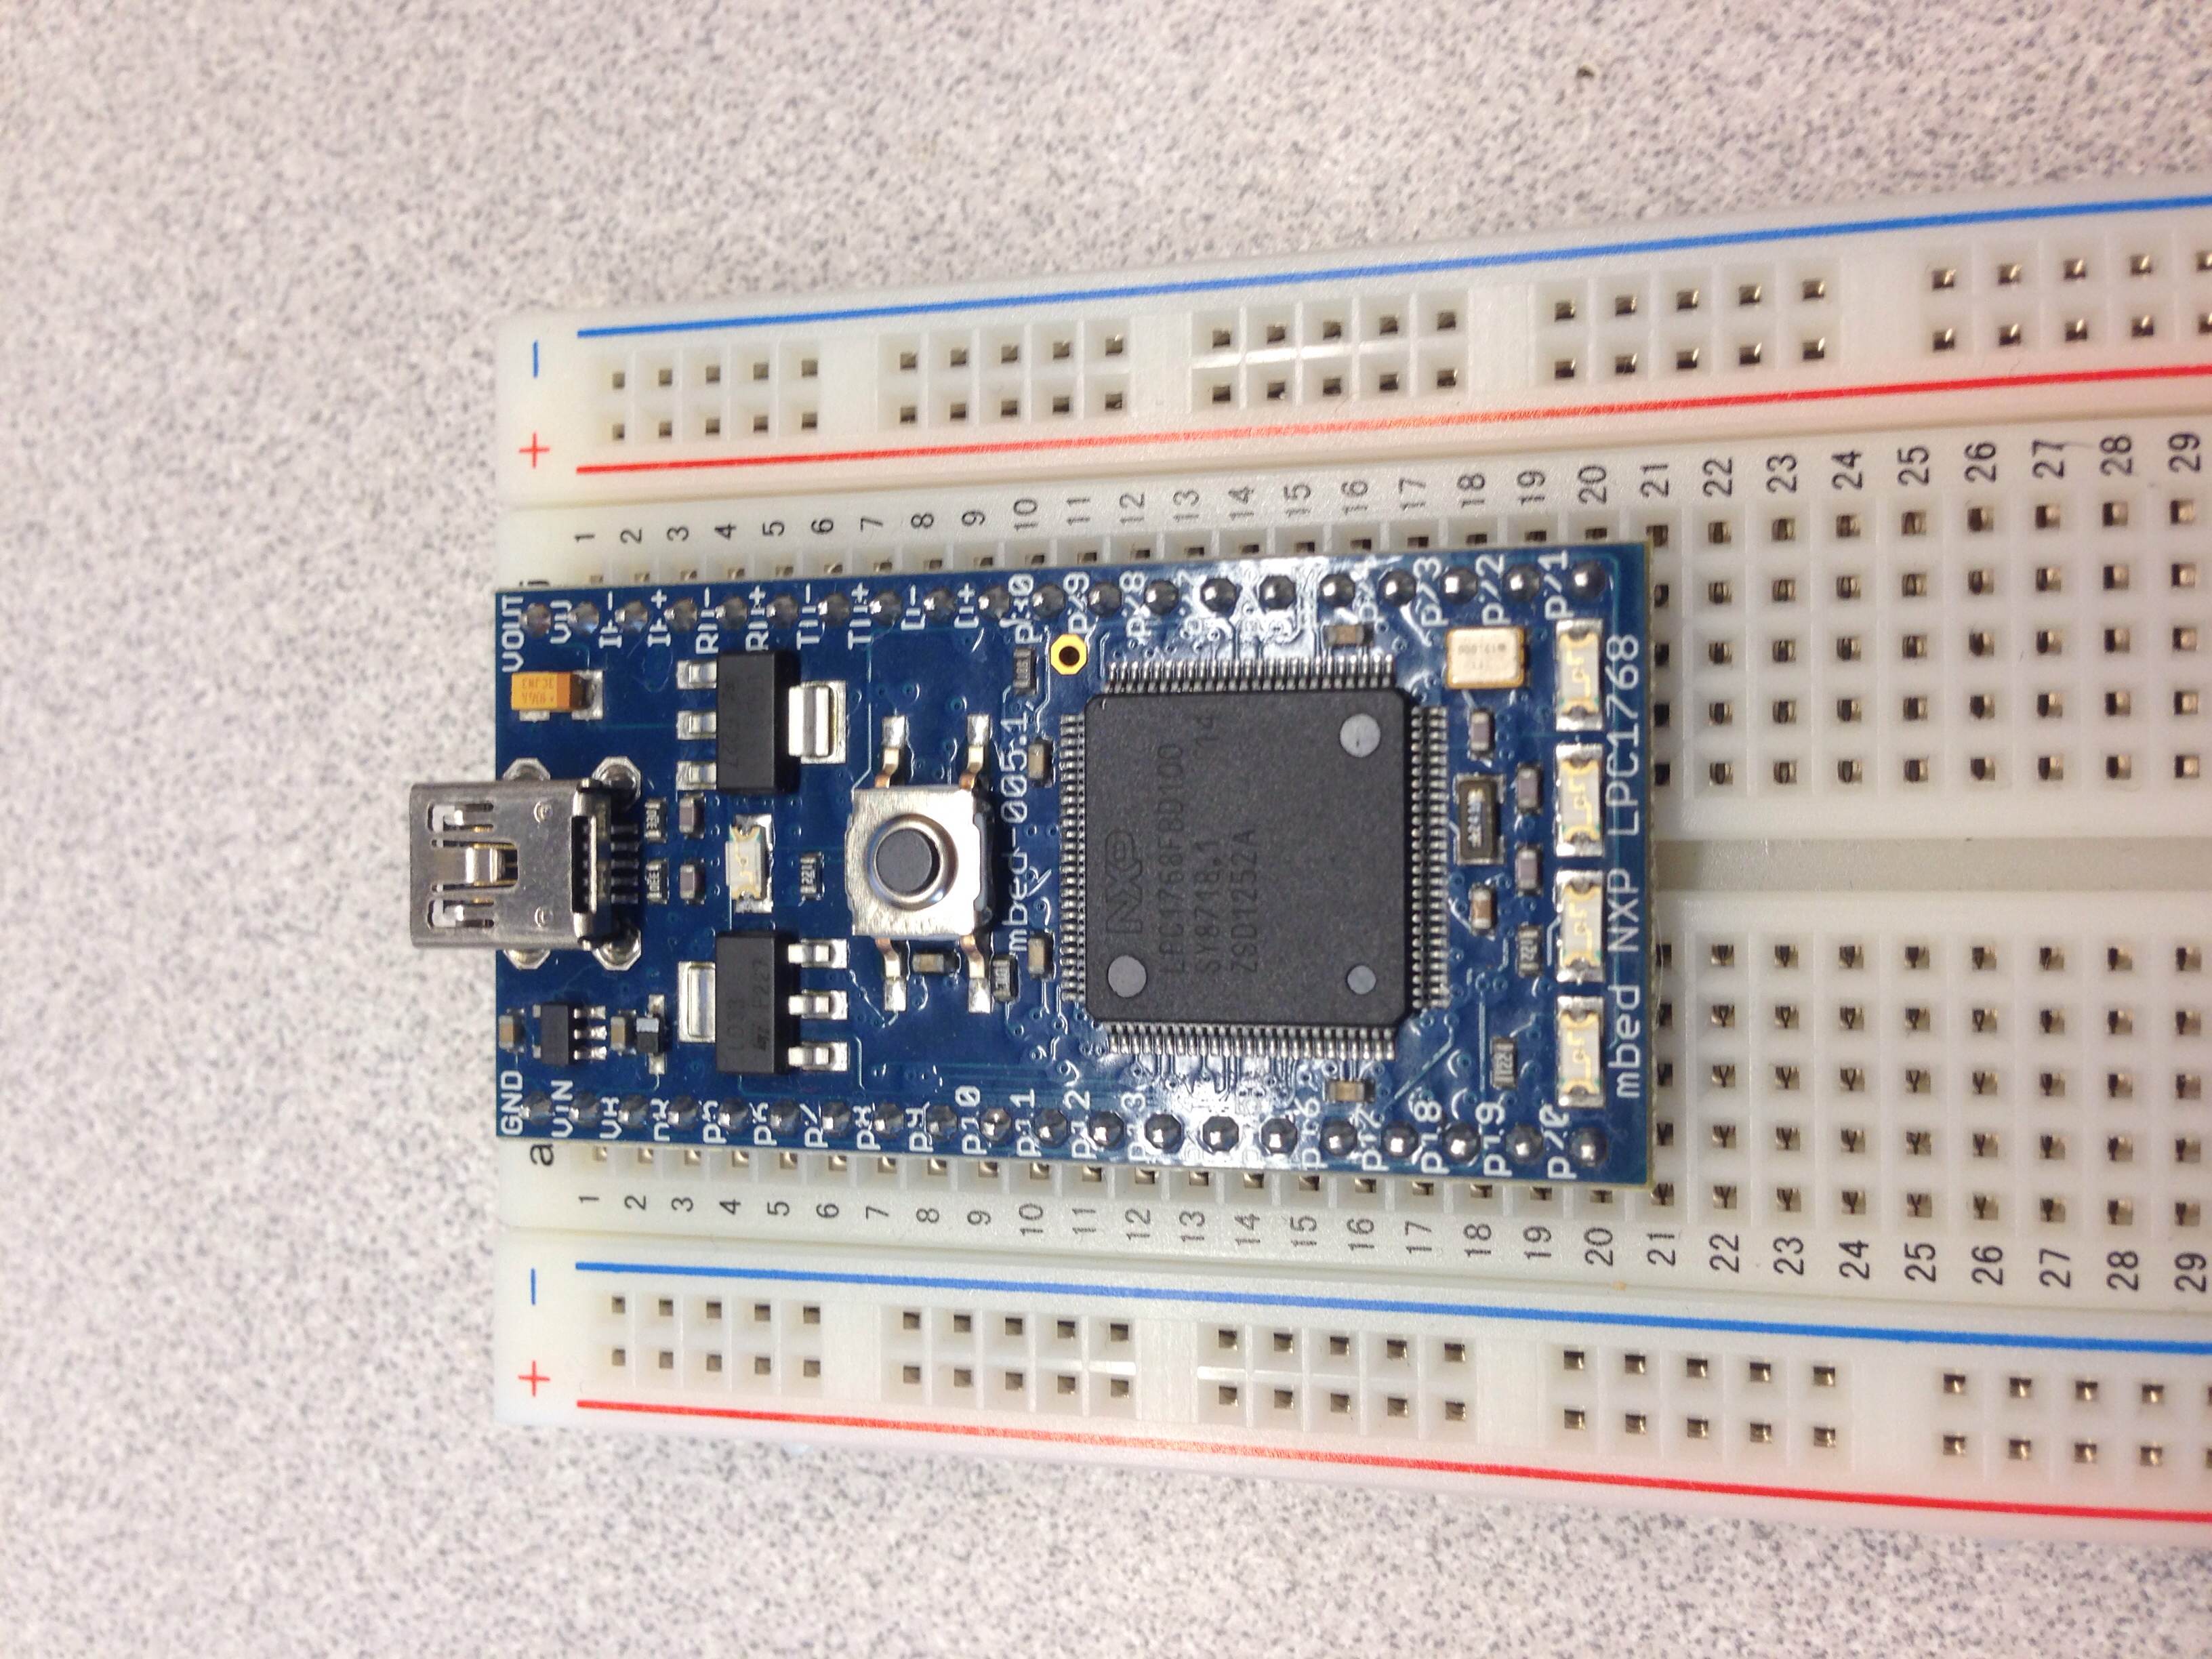
- 2 mbeds on basic breadboards

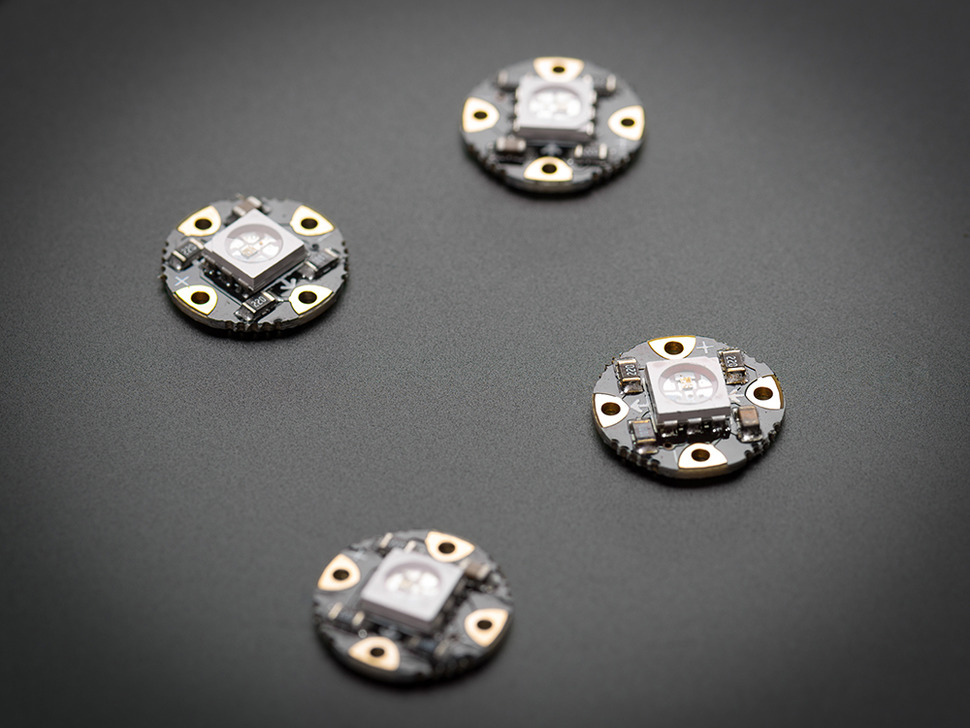
- 2+ NeoPixel RGB lgihts. In this tutorial 3 Flora Design Neopixels will be used:

Steps:
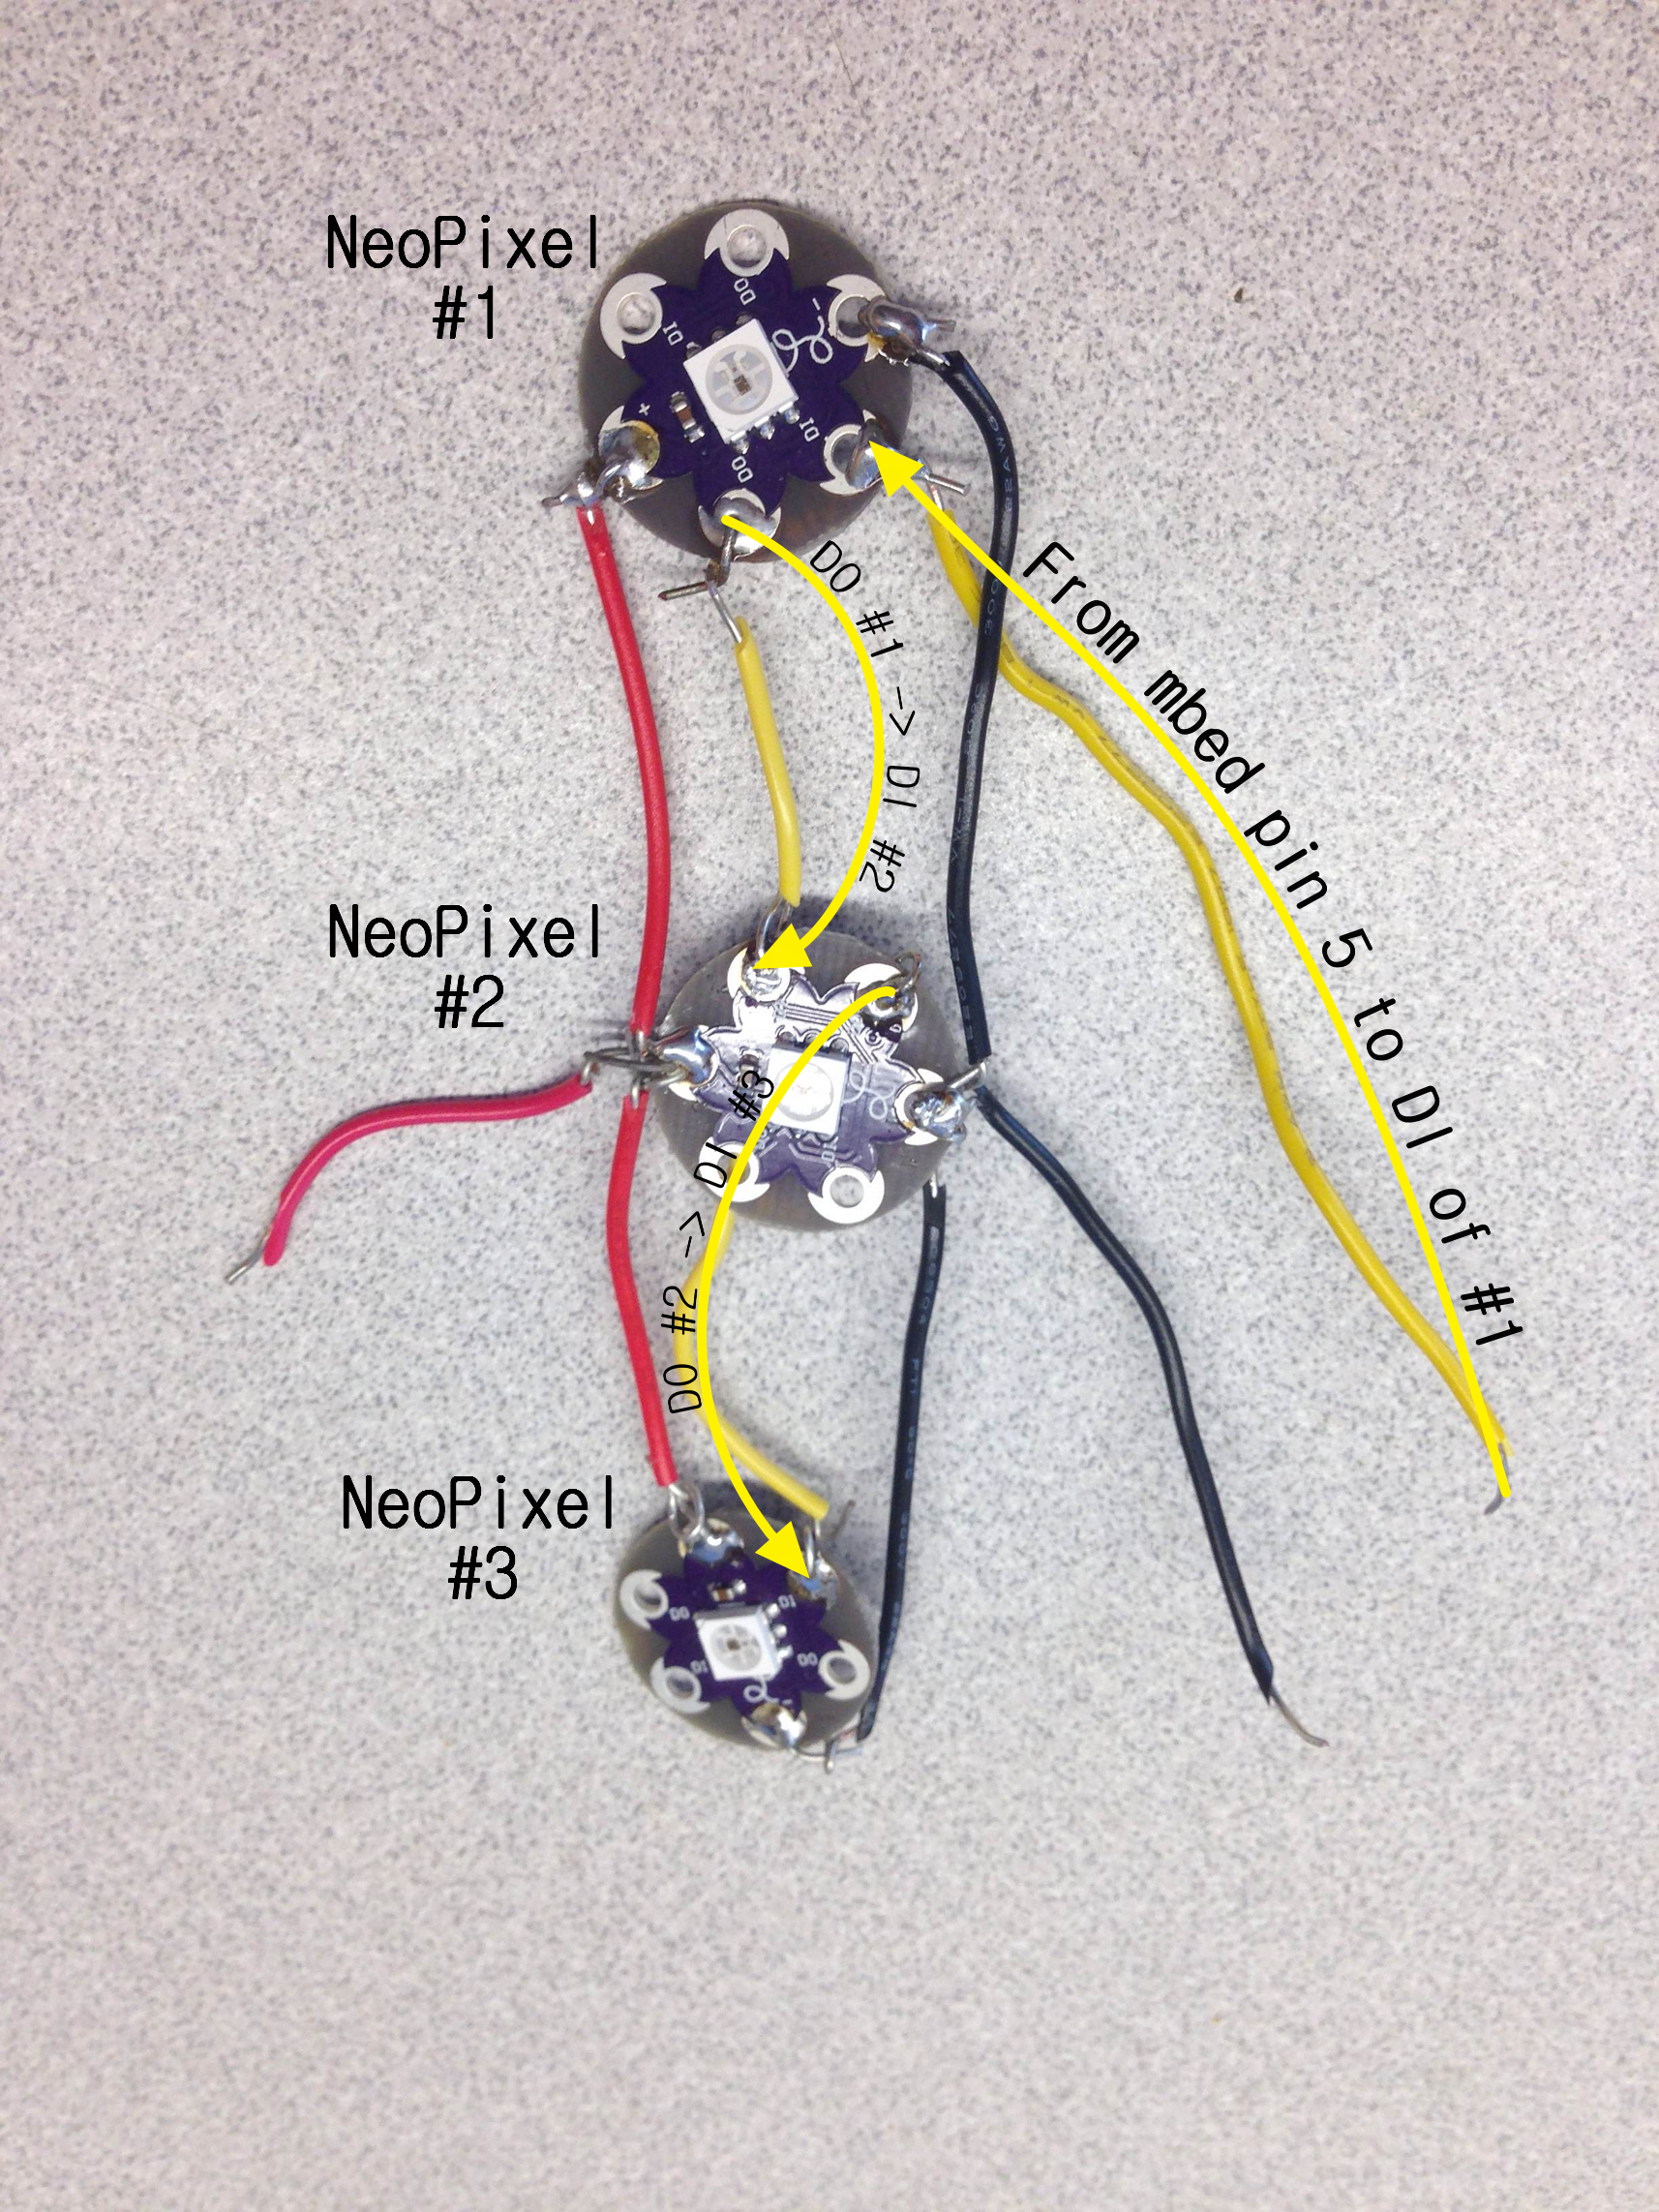
- Wire the Neopixels so that they are in parallel as the following diagram shows. You can have as many as desired configured in this pattern. The first one connected to the mbed will be considered #1 and the rest continue in a conventional fashion (2,3,4...).

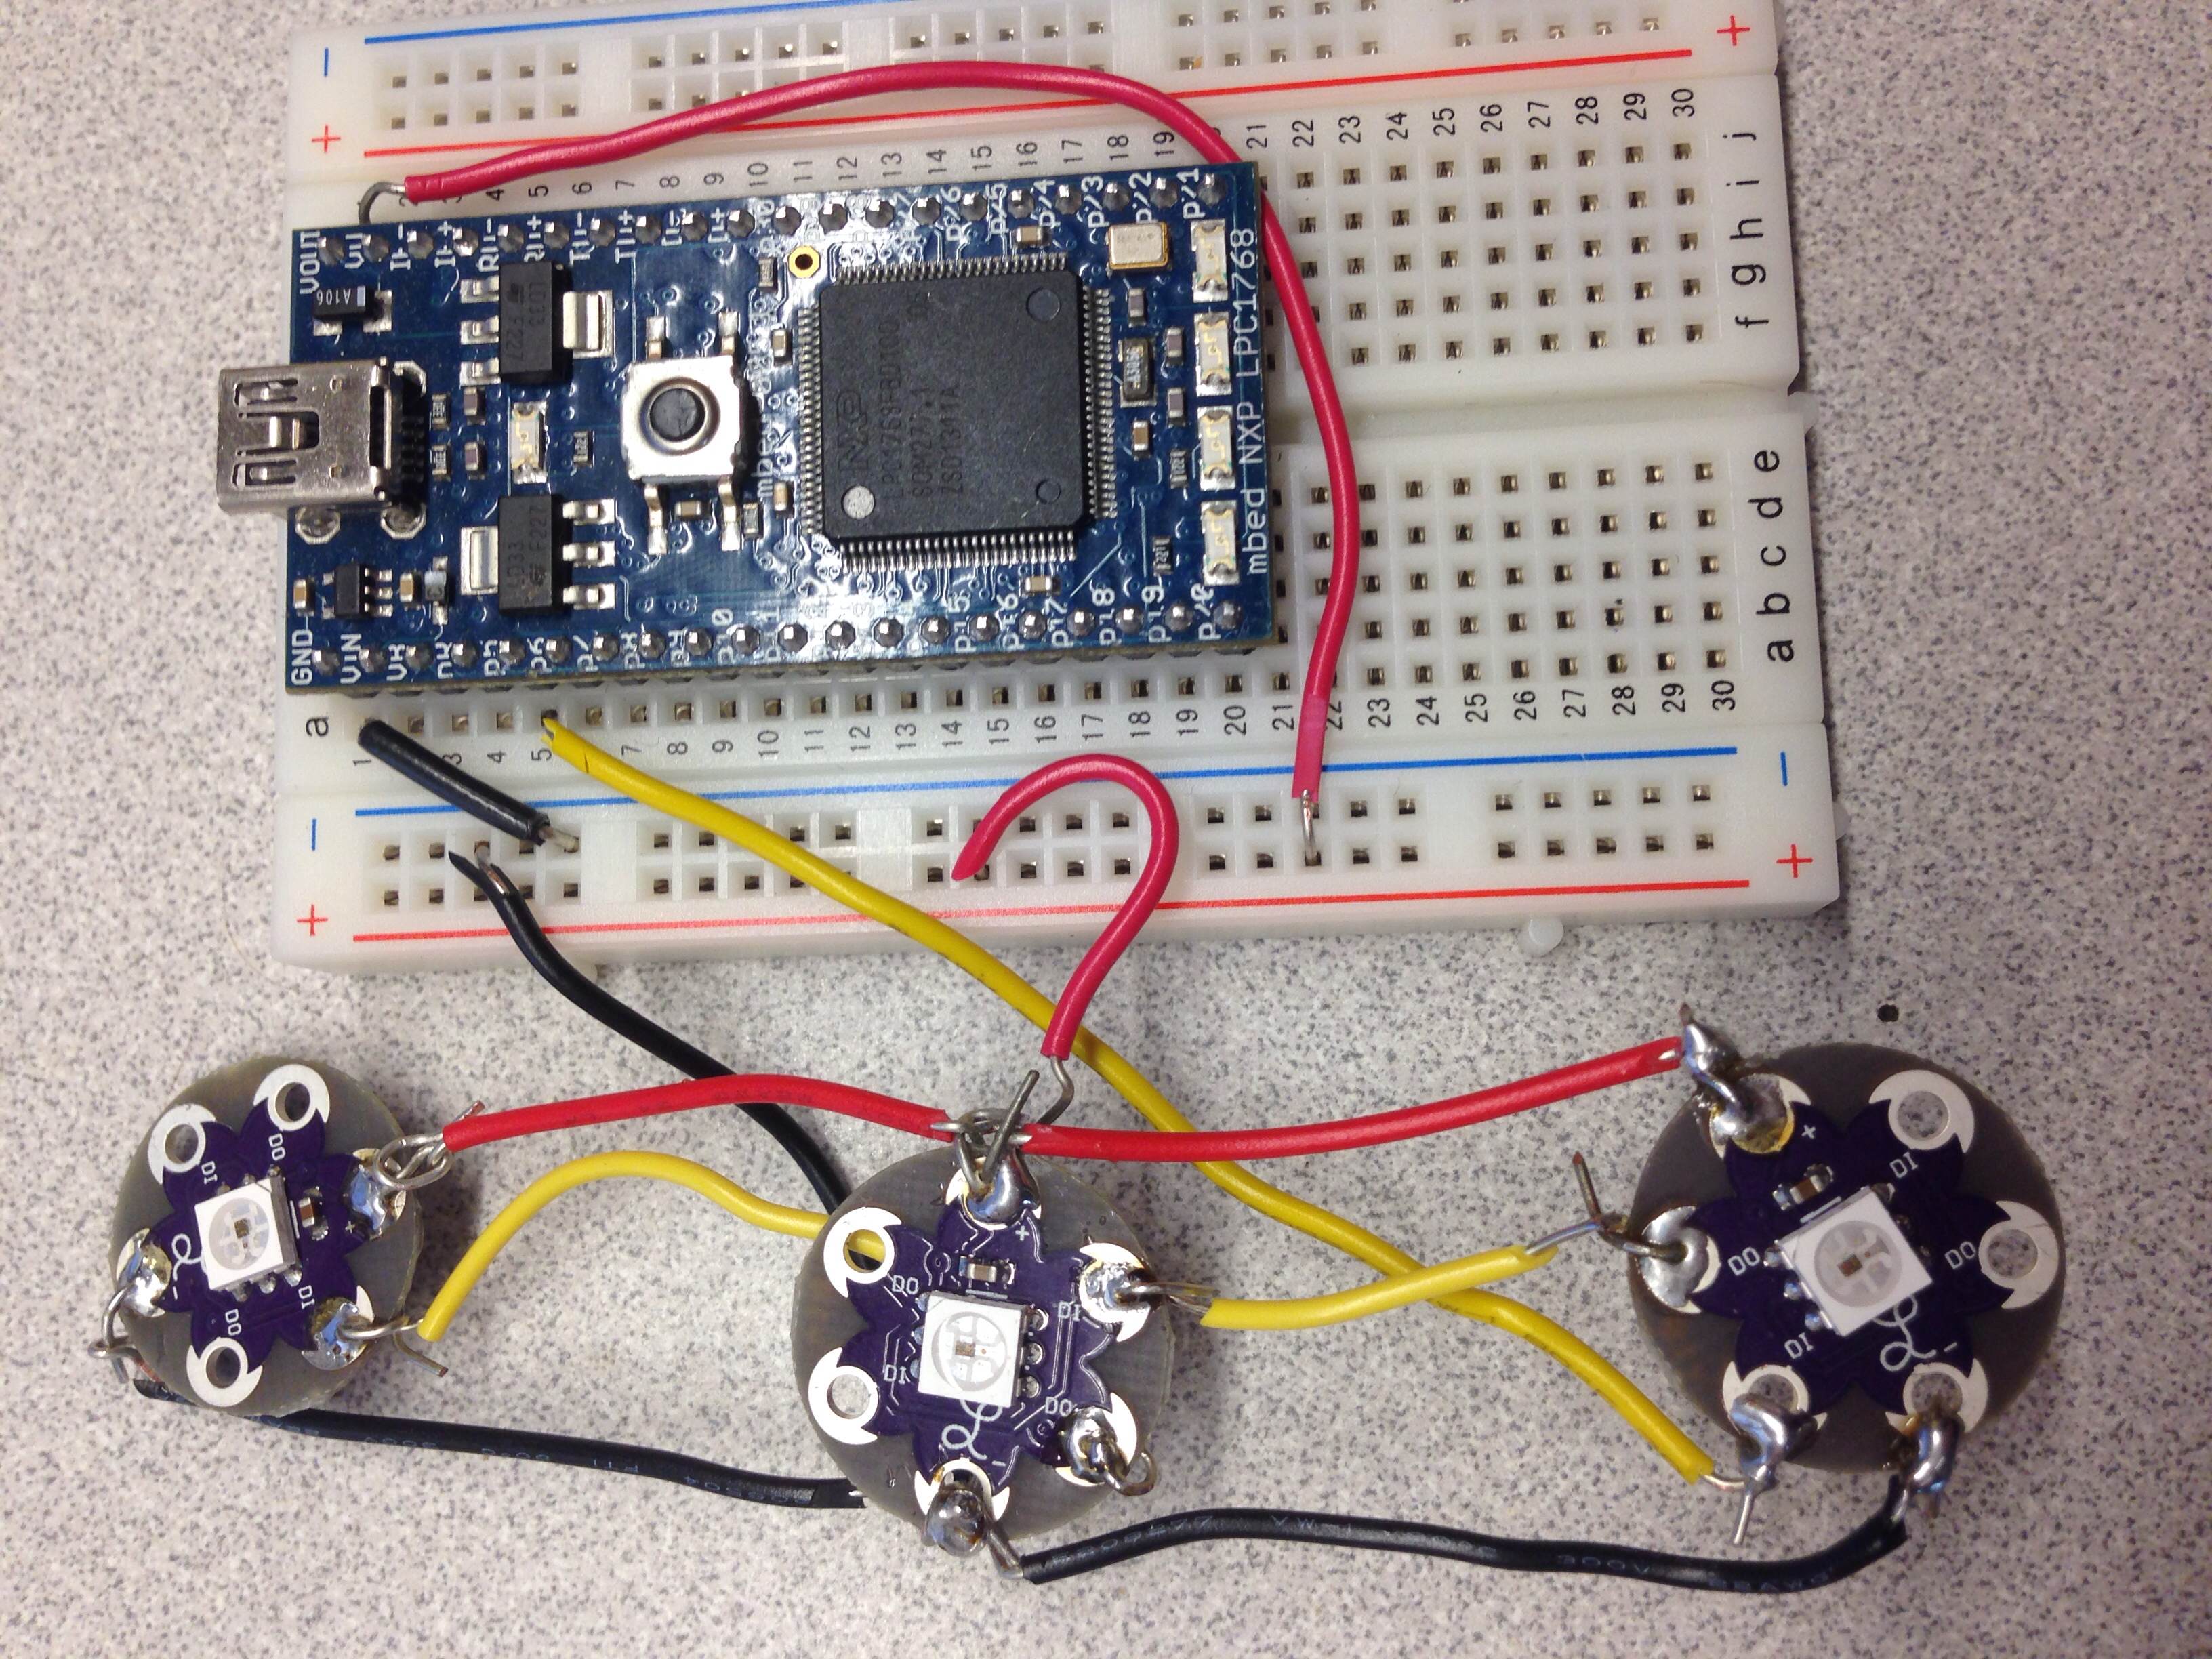
- Attach NeoPixel apparatus to the bread board.
- As mentioned in the diagram the first NeoPixel must be connected to the SPI mosi pin of the mbed (which is PIN 5 on LPC1768).
- Use the 3.3v out from the mbed to power paralleled NeoPixels
- Ground to mbed as well

- Download the following program to the mbed:
Import programNeoPixelEasy
Program to demo the easyNeo class
- Test code and verify that all lights are working. Should go through Red, Green, and then Blue that order increasing in brightness on all lights. After that the code will give examples of how to send strings to set different light values. Code is configured for a set of three lights see mbed code for how to increase number and add variety.
Please log in to post comments.
