X BEE CONTROLLED ROBOTIC VEHICHLE
OVERVIEW OF THE XBEE CONTROLLED VEHICHLE
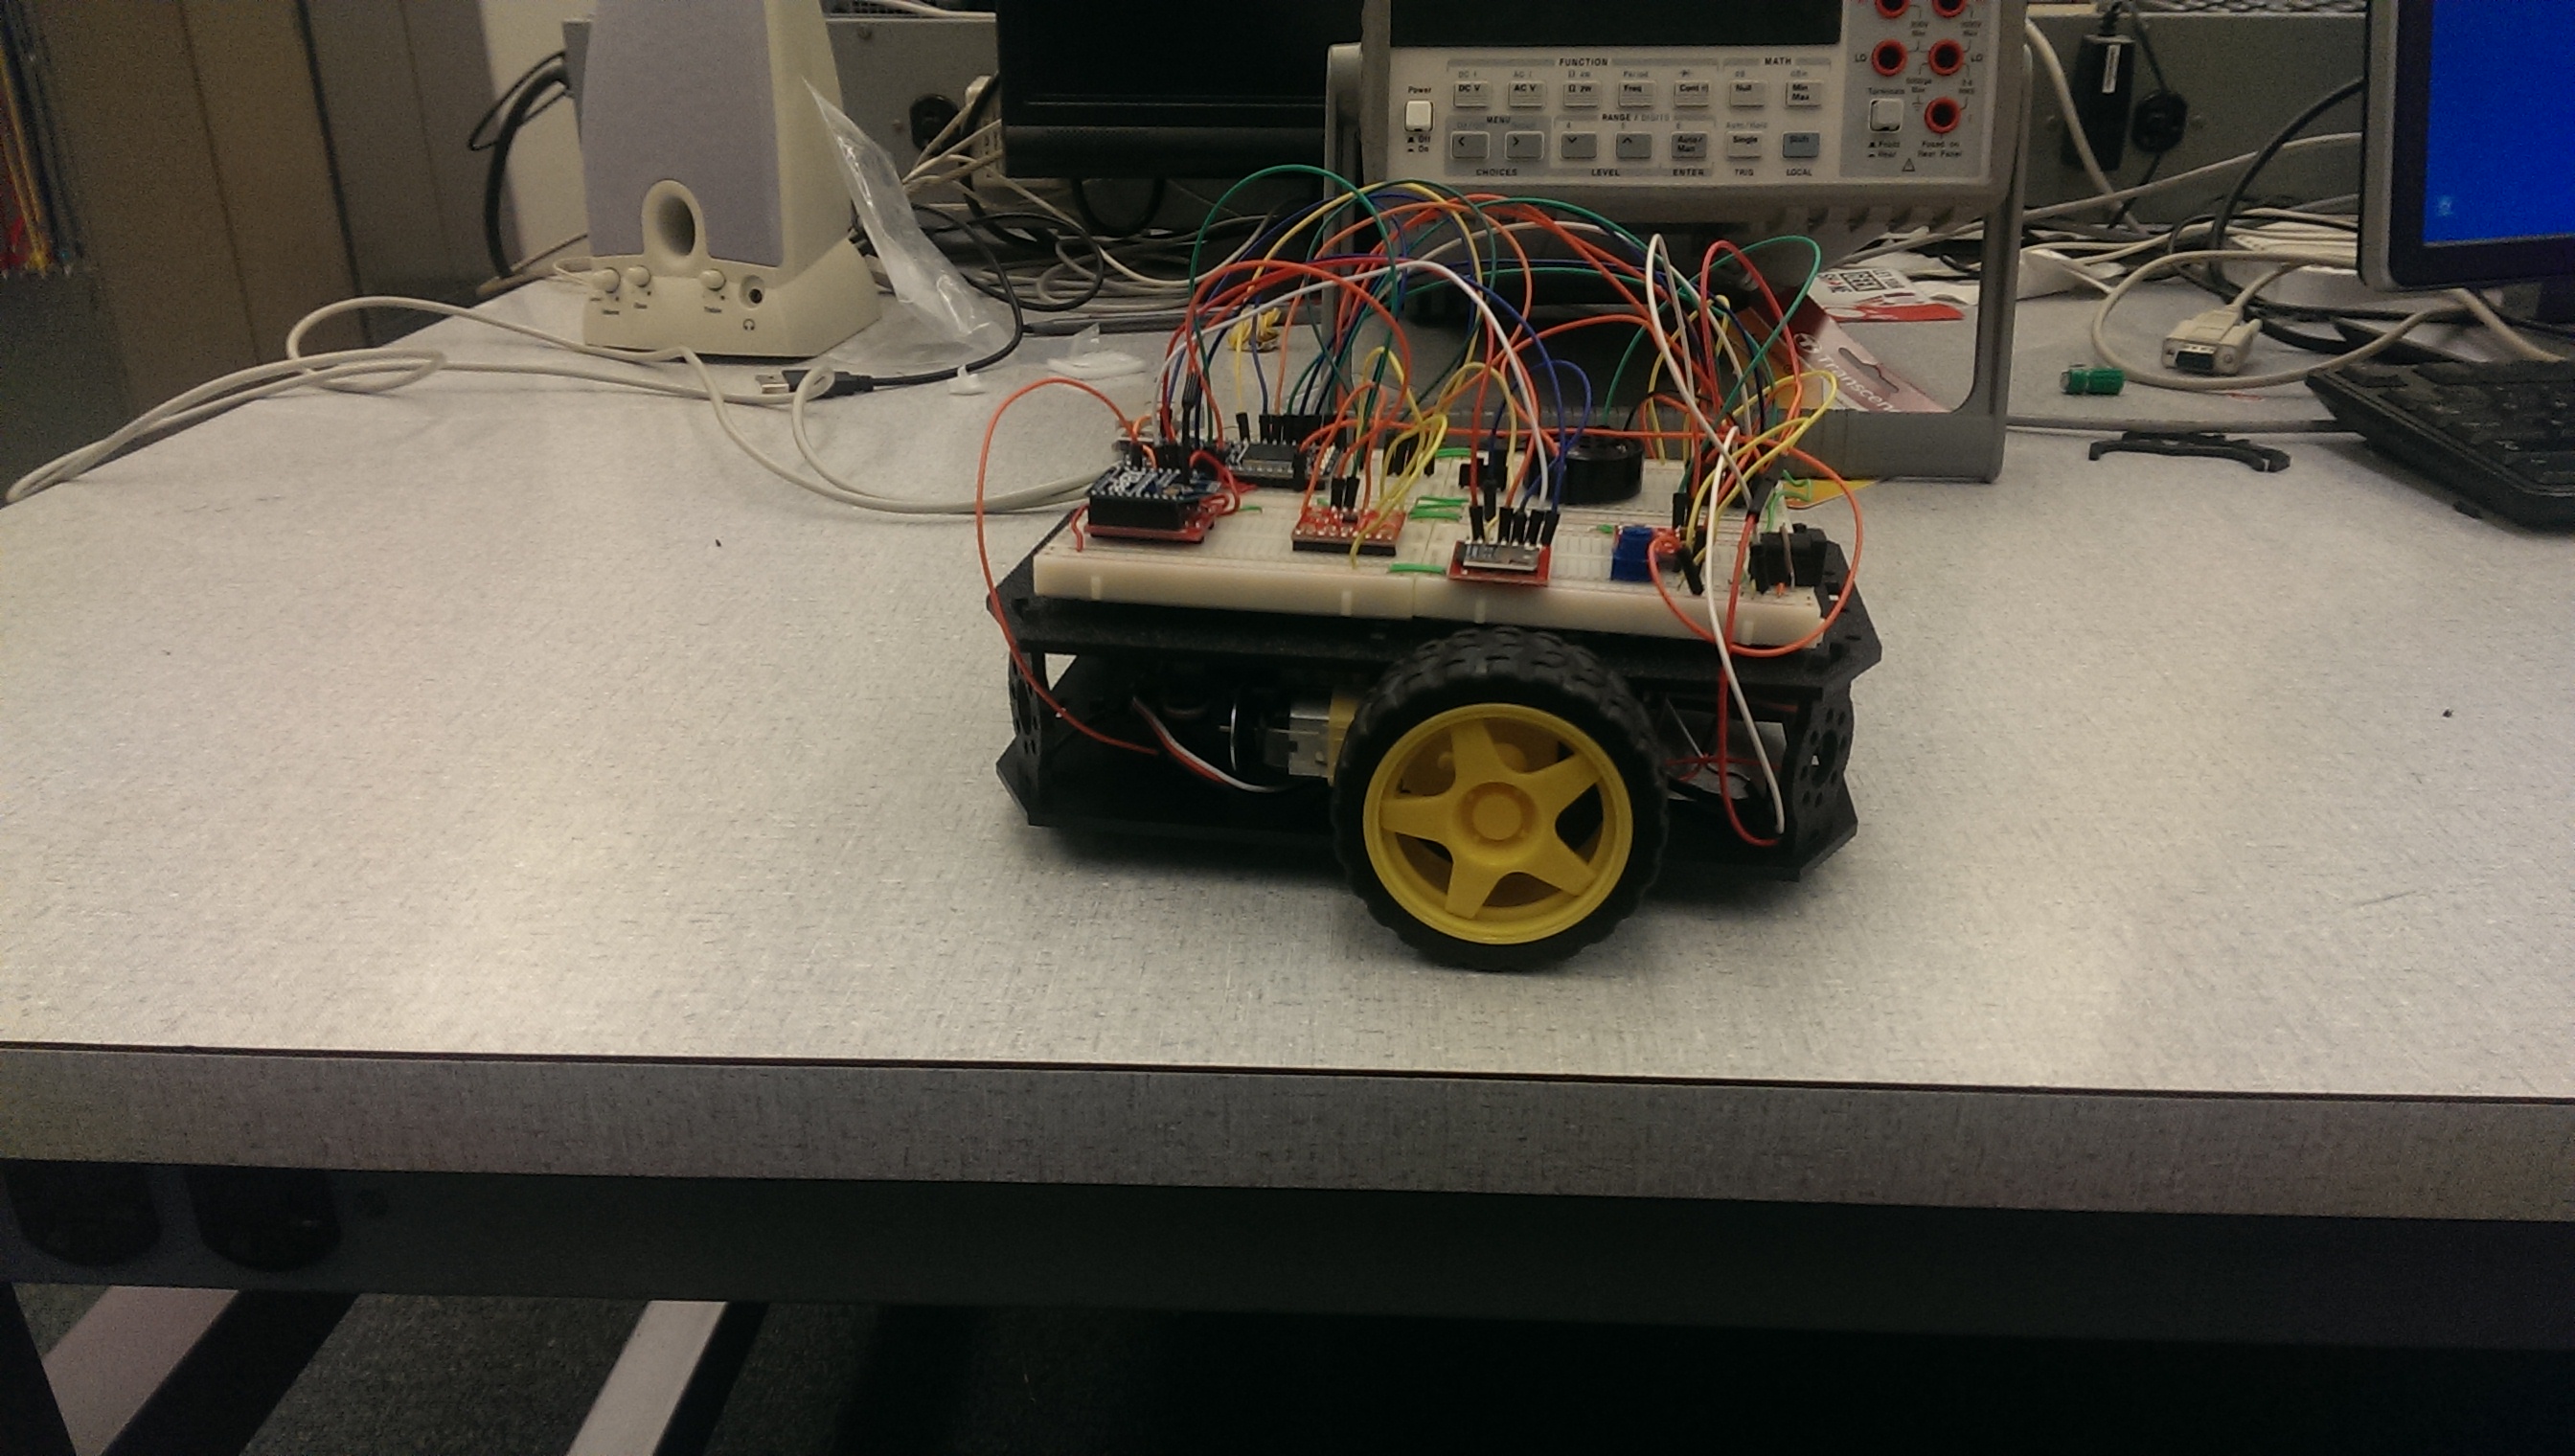
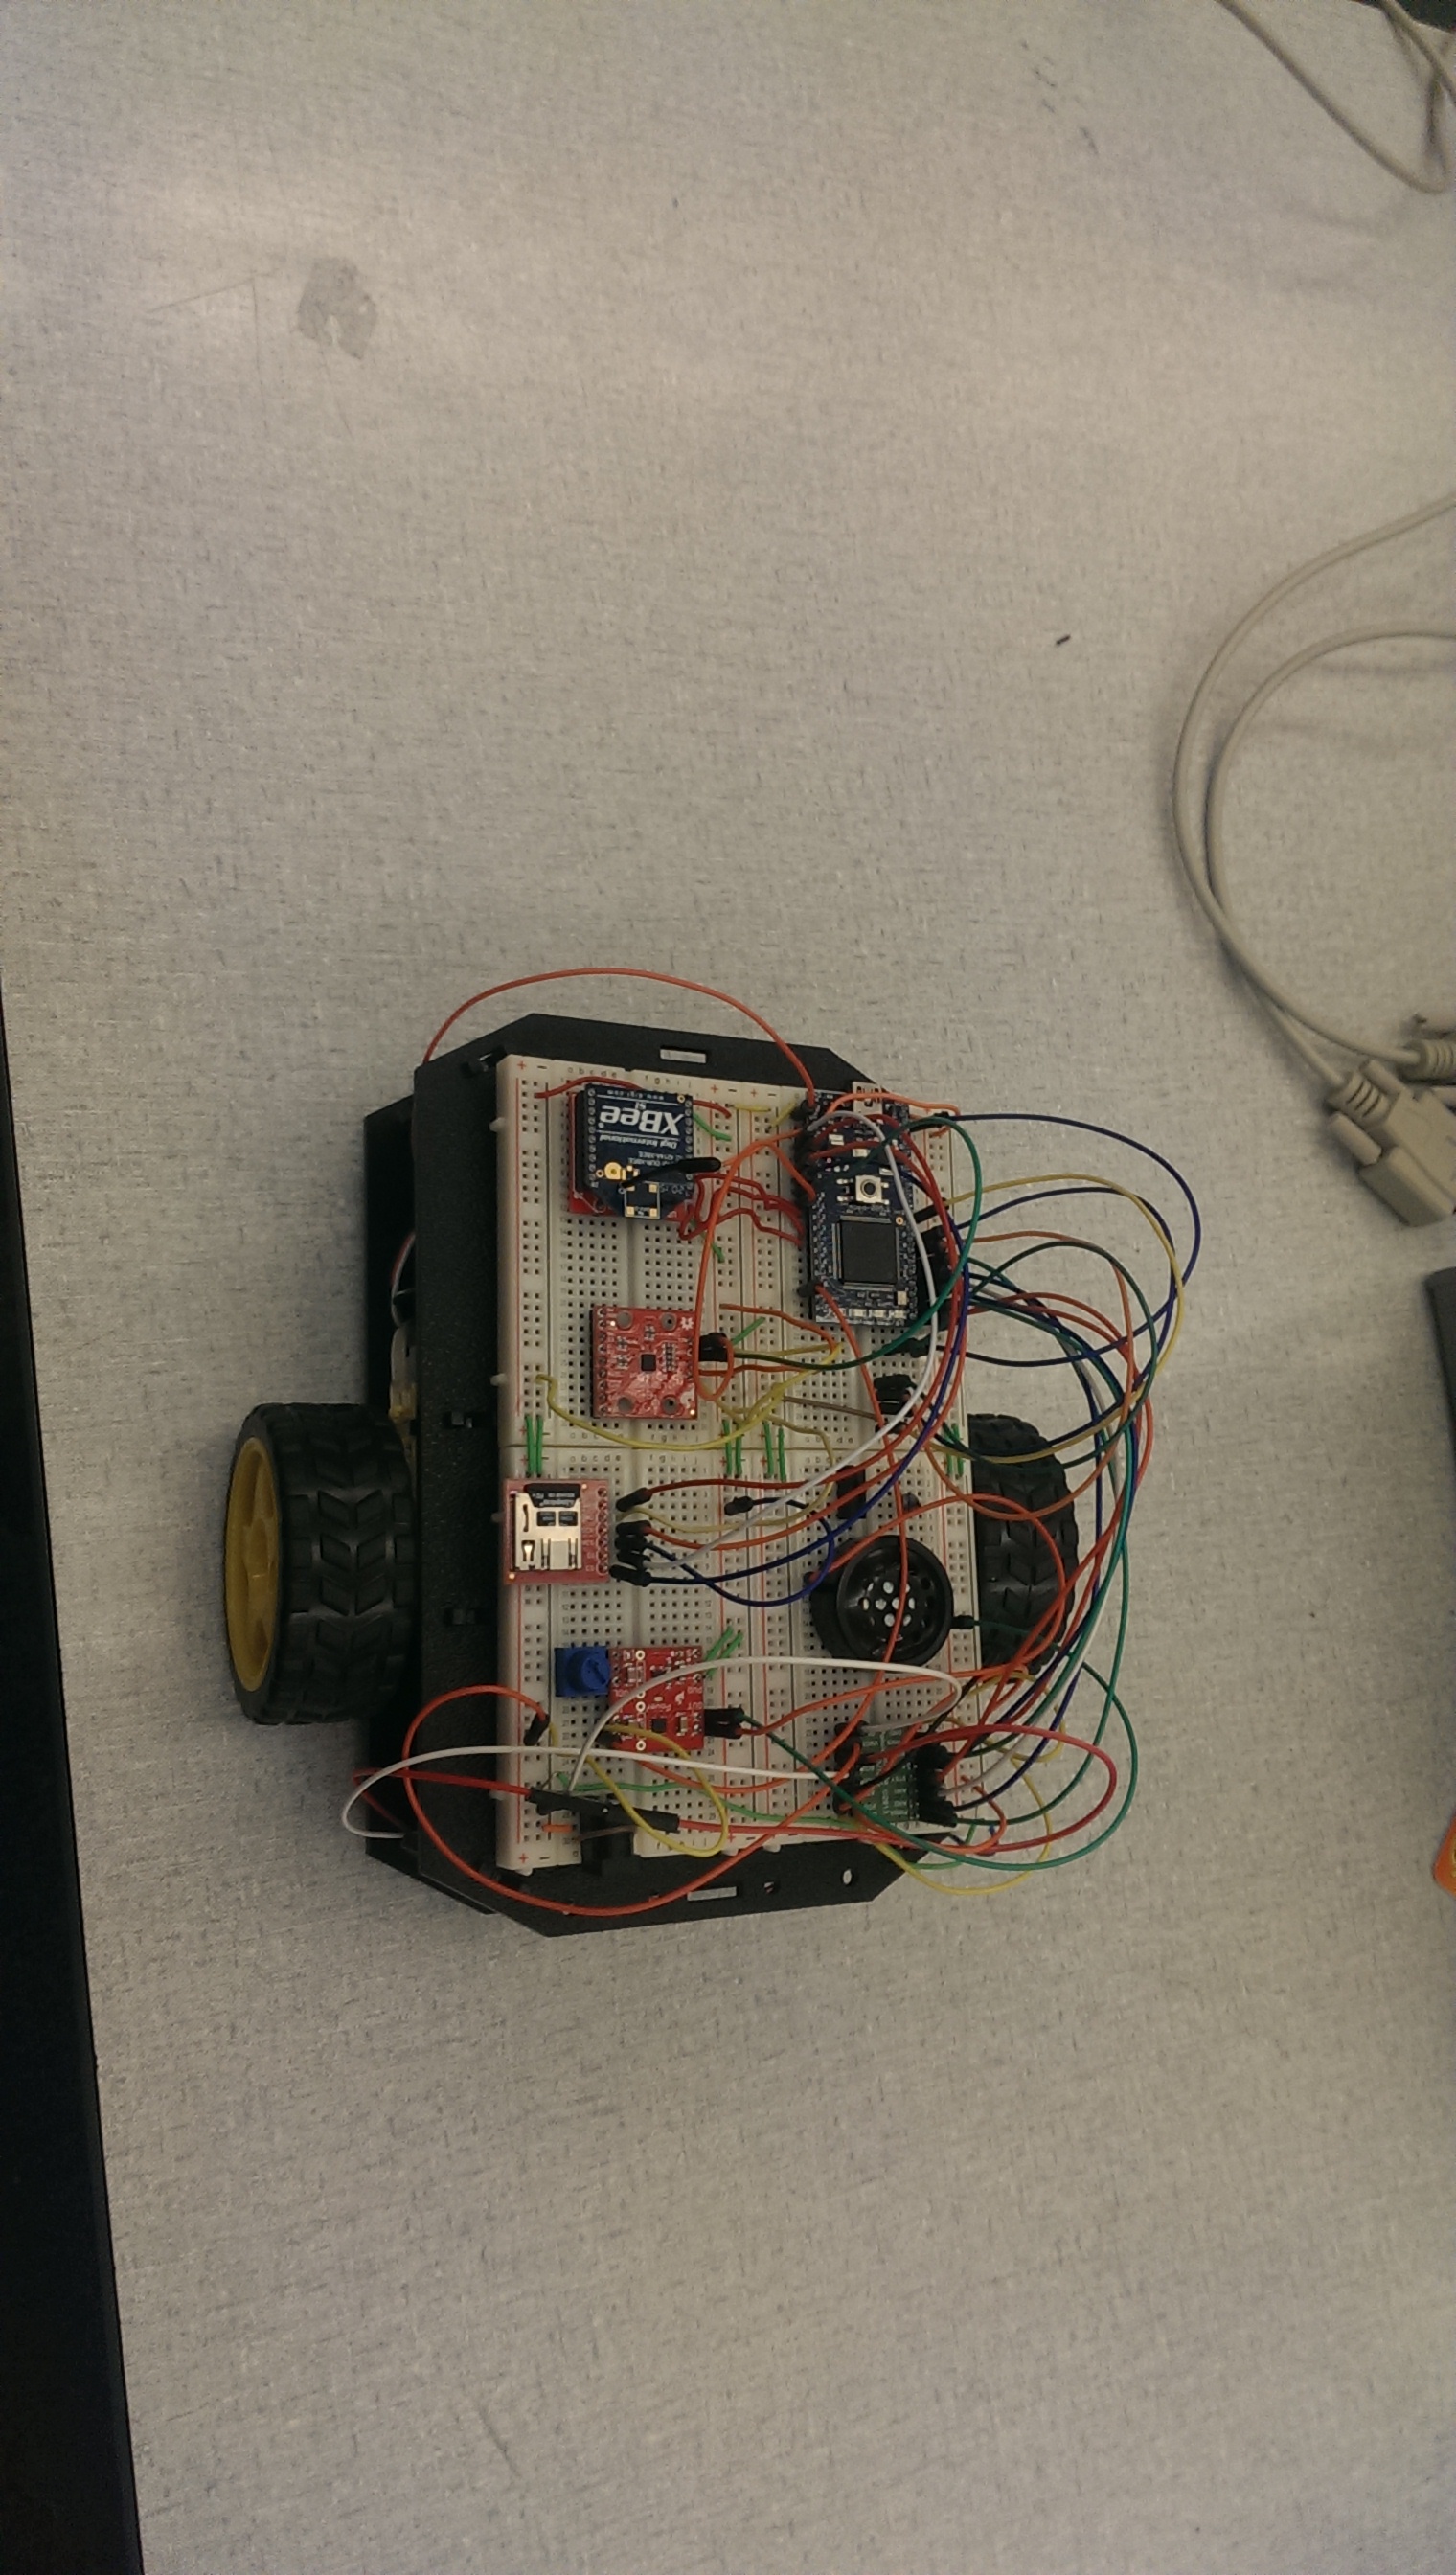
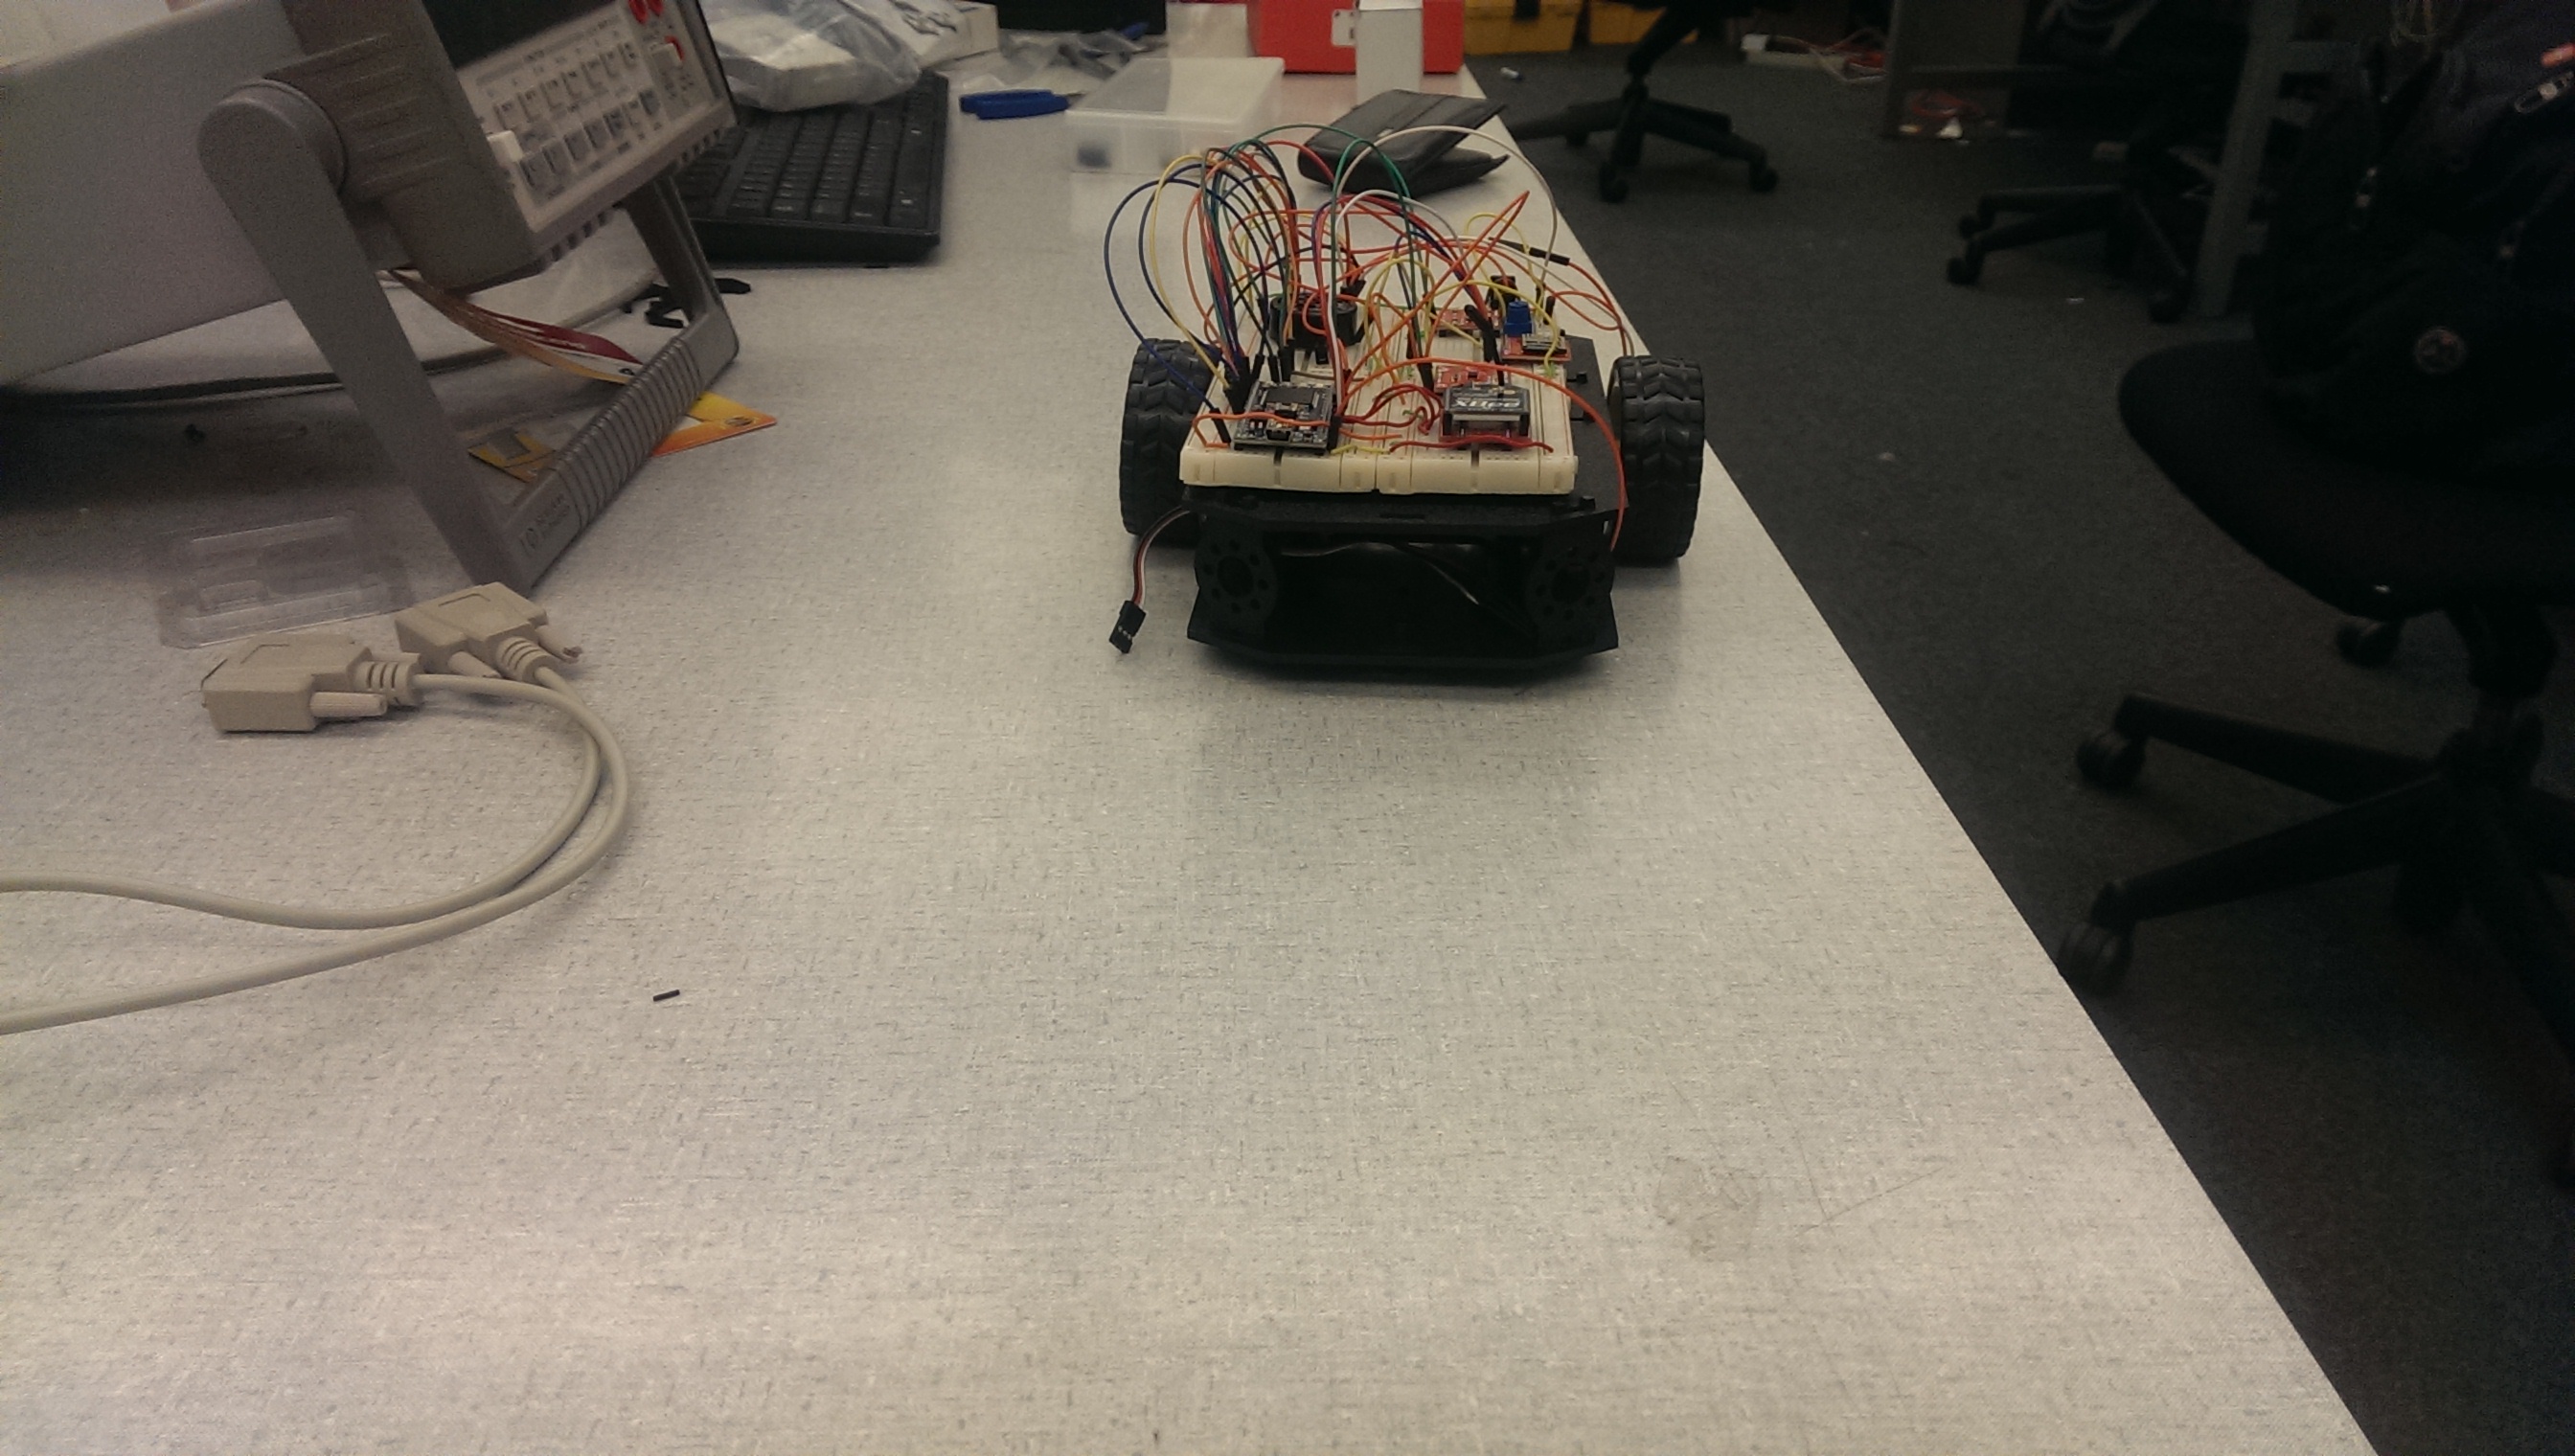
This project illustrates the control of a robotic vehichle with a Joystick via X Bee wireless communication. One Mbed is available on the Robot and the other Mbed is mounted on the Controller for the Robot. An SD Card, a Speaker and an Audio Amplifier will be used to give out audible sounds as the robot translates. An IMU will also be available as an alternative means of steering the robot. A H bridge will be used for controlling the direction of the robot as it locomotes on a planar surface.
WIRING
DUAL MOTORS ON THE ROBOT
| MBED | DUAL H-BRIDGE BREAKOUT | ROBOT DC MOTORS | BATTERY |
| Vin | Vmot | + | |
| Gnd | Gnd | - | |
| Vout | Vcc | ||
| P21 | PWB | ||
| P22 | BIN2 | ||
| P23 | BIN1 | ||
| P24 | AIN1 | ||
| P25 | AIN2 | ||
| P26 | PWMA | ||
| Vout | /STBY | ||
| A01 | Left Red | ||
| A02 | Left Black | ||
| B02 | Right Black | ||
| B01 | Right Red |
XBEE CHIPS
XBEE CHIP ON CONTTROLLER
| XBEE | MBED (CONTROLLER) |
| 1 | Vout |
| 2 | P10 |
| 3 | P9 |
| 5 | RST(P11) |
| 10 | GND |
XBEE CHIP ON ROBOT
| XBEE | MBED (CONTROLLER) |
| 1 | Vout |
| 2 | P10 |
| 3 | P9 |
| 5 | RST(P11) |
| 10 | GND |
AUDIO AMPLIFIER AND SPEAKER ON THE ROBOT
| MBED | AUDIO AMPLIFIER | SPEAKER |
| Vout from MBED or 5v POWER SUPPLY | PWR(+) | |
| Gnd | PWR (-) | |
| ANY Digitout I/O(low for Shut down) | PWR (S) | |
| OUT (+) | (+) | |
| OUT (-) | (-) | |
| Pin 18 | IN (+) | |
| IN (-) | Gnd |
SD CARD ON ROBOT
| MBED | SD CARD | |||
| Pin 8 | CS | |||
| Pin 5 (SPI MOSI) | DI | |||
| Vout (3.3V) | Vcc | |||
| Pin 7 | SPI SCLK | |||
| GND | GND | |||
| Pin 6 (SPI MISO) | DO |
IMU LSB9DS1
| MBED | LSB9DS1 |
| Vout | Vdd |
| GND | GND |
| Pin 9 | SDA |
| Pin 10 | SCL |
JOYSTICK ON THE CONTROLLER
| MBED | NAVIGATION SWITCH |
| GND | (-) |
| Pin 9 | (V |
| Pin 8 | (C) |
| Pin 7 | (L) |
| Pin 6 | (D) |
| Pin 5 | (R) |


 /media/uploads/chidiebereokoli/robotic_vehichle_video.mp4
Import programXBee_Robot
Wirelessly controlled robot through Xbee
Import programXbee_Controller
Xbee controller for robot with IMU/joystick
Please log in to post comments.
