3D LED Array (4x4x4)
Introduction
We decided to build the LED cube because it looks good and presents a non-trivial challenge. The overall goal is to build a large enough array to give a workable resolution (such as 8x8x8). For this smaller project, we chose a 4x4x4 because it presented enough challenge while still being manageable in the time span alloted.
How it works
Because a 4x4x4 cube has 64 LEDs, and a larger 8x8x8 will have 512, it is immediately obvious that each LED cannot have its own pin. To circumvent this, we multiplex each layer (z dimention) and use the effect known as persistence of vision to make it appear as if multiple layers are being lit. Because of this, we only need pins for the number of LEDs in a layer, namely 16.
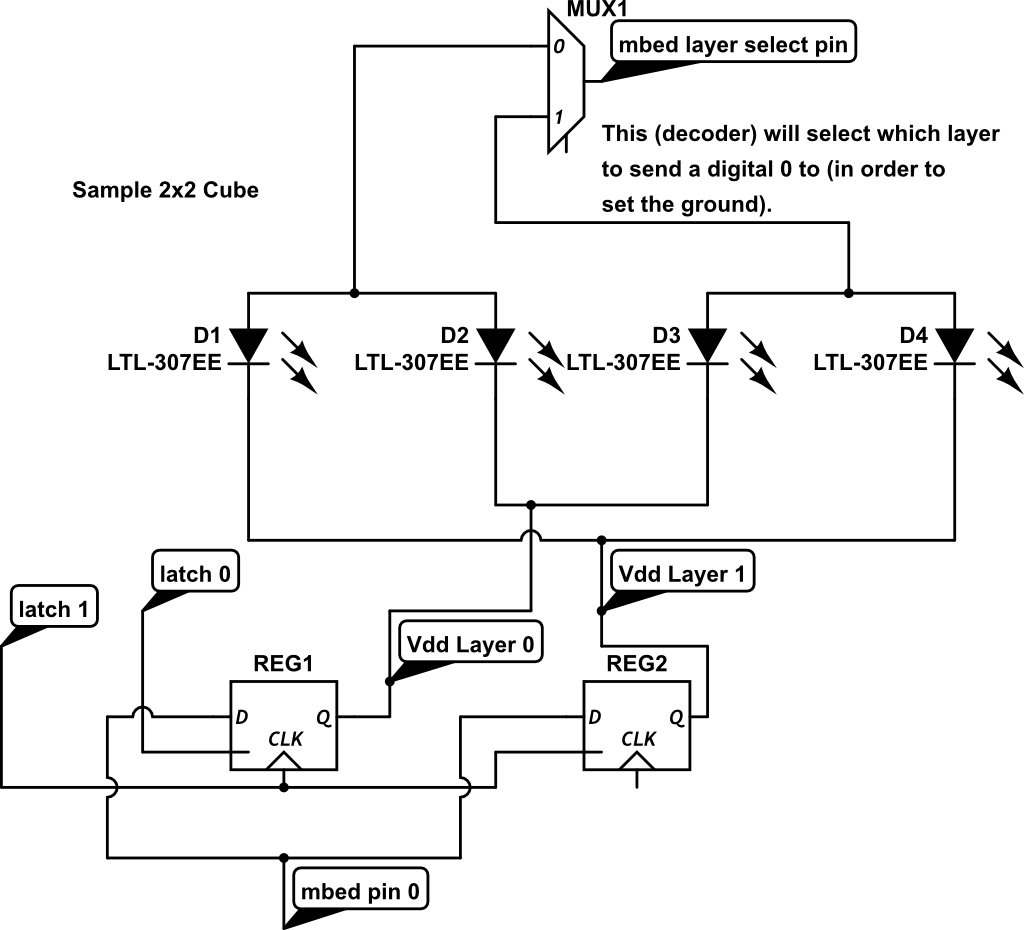
However, having 16 dedicated pins is still more than we would've liked, so we used two 8-bit latches to hold the value for an 8-LED section of a layer. We then choose which latch to turn "on" by using a 3-8 decoder. This way, a linear increase in the number of LEDS per side will result in a log increase in the number of required pins.
The final wiring looks as follows:
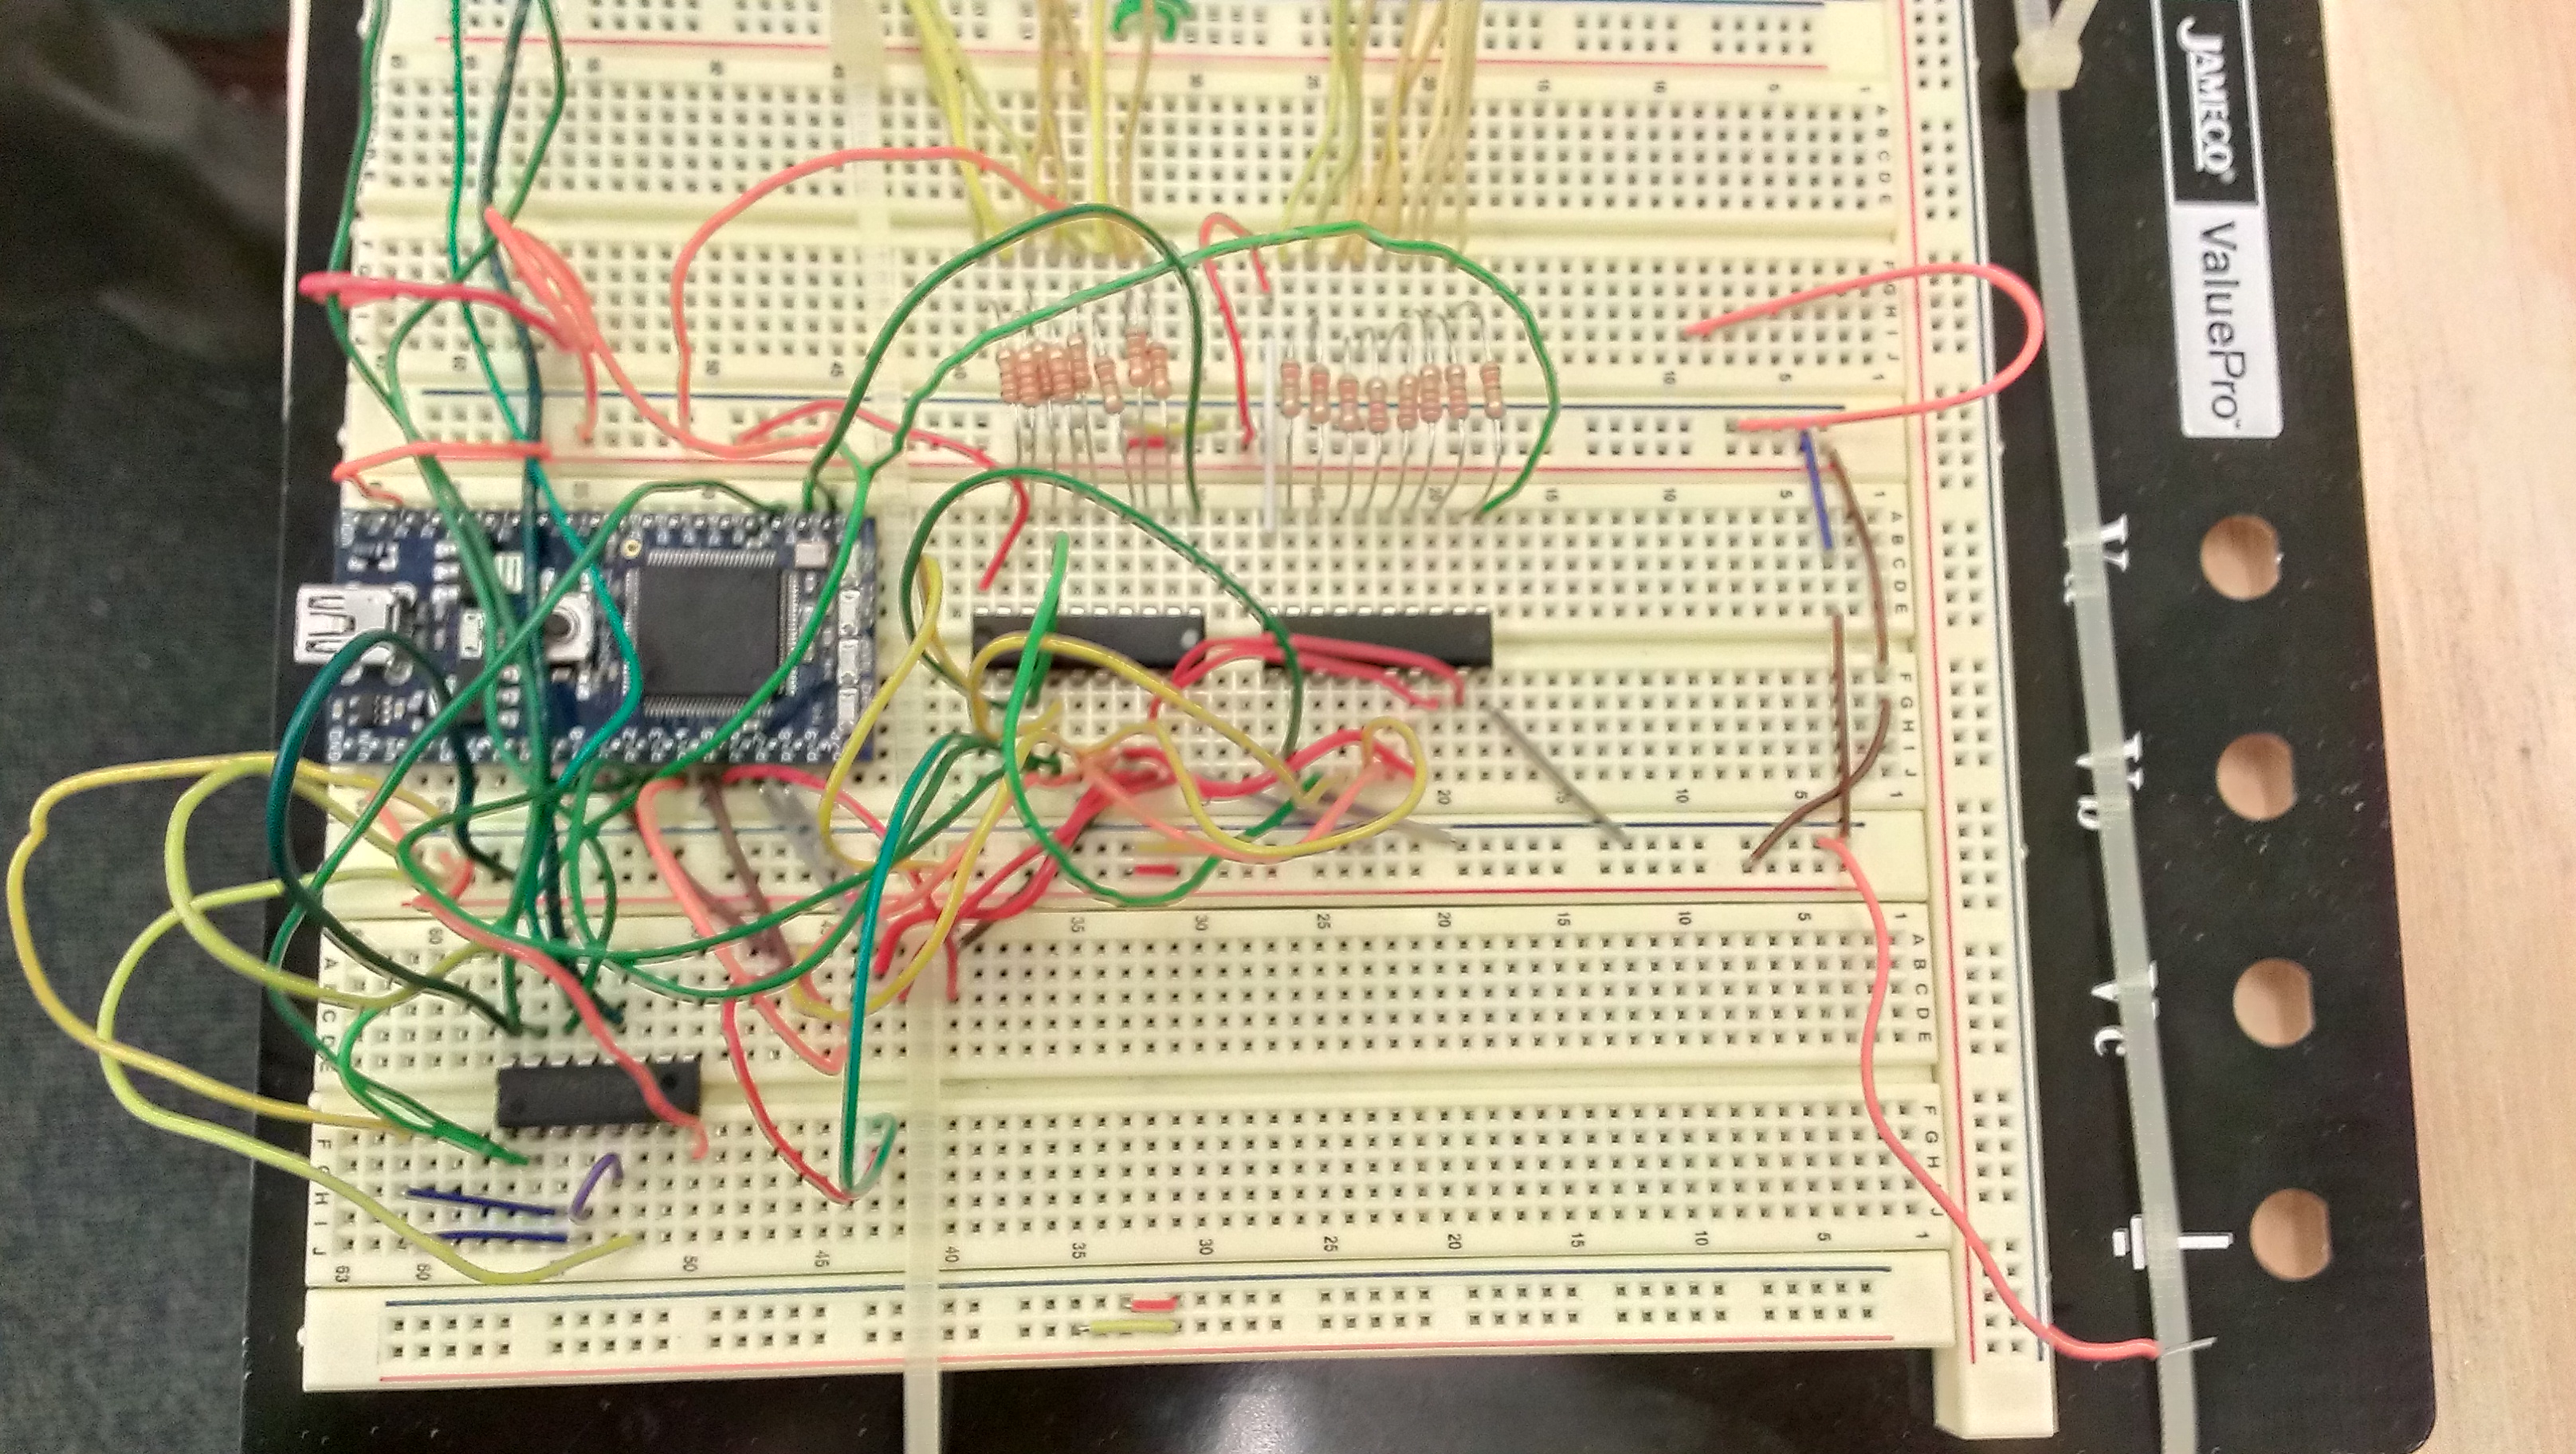
List of Components Used
- 64 Yellow LEDs
- 16 100-Ohm resistors
- 2 74HC574 latches
- 1 SN74LS48N 3 to 8 decoder
- A lot of solder and wire!
Sample Code
Below is some sample code from our main.cpp. For the entire file, please download the attachment. http://mbed.org/users/TheOneNamedS/code/LED_CUBE/
include the mbed library with this snippet
#include "mbed.h"
// Draw a layer using a 16 int array (SIDE*SIDE)
void drawLayer(int* layer, int selLayer){
    switch(selLayer){
        case 0:
            a0 = 0;
            a1 = 0;
            break;
        case 1:
            a0 = 1;
            a1 = 0;
            break;
        case 2:
            a0 = 0;
            a1 = 1;
            break;
        case 3:
            a0 = 1;
            a1 = 1;
            break;
    }

    for(int i = 0; i < (SIDE*SIDE); i+=8){
        int ffSel = i >> 3; // divide by 8 to determine which FF (will give 0 or 1)
        selLED(layer+ffSel*8, ffSel);
    }
}
// selLED will turn on the selected LEDS on a layer (8 at a time)
// cp = 0 for first FF
// cp = 1 for second FF
void selLED(int* ffOut, int cp){
    // change data, bring latch low then high to latch input to output
    for(int i = 0; i < 8; i++){
        selPin(i, ffOut[i]);
    }
    if(cp == 0){
        cp0 = 0;    // pull latch low
        // wait() ??
        cp0 = 1;
        cp1 = 0;
    }
    if(cp == 1){
        cp1 = 0;    // pull latch low
        // wait() ??
        cp0 = 0;
        cp1 = 1;
    }
}

// Turn the selected pin on the FF to the input value
void selPin(int i, int val){
    switch(i){
        case 0:
            d0 = val;
            break;
        case 1:
            d1 = val;
            break;
        case 2:
            d2 = val;
            break;
        case 3:
            d3 = val;
            break;
        case 4:
            d4 = val;
            break;
        case 5:
            d5 = val;
            break;
        case 6:
            d6 = val;
            break;
        case 7:
            d7 = val;
            break;
    }
}
The building process
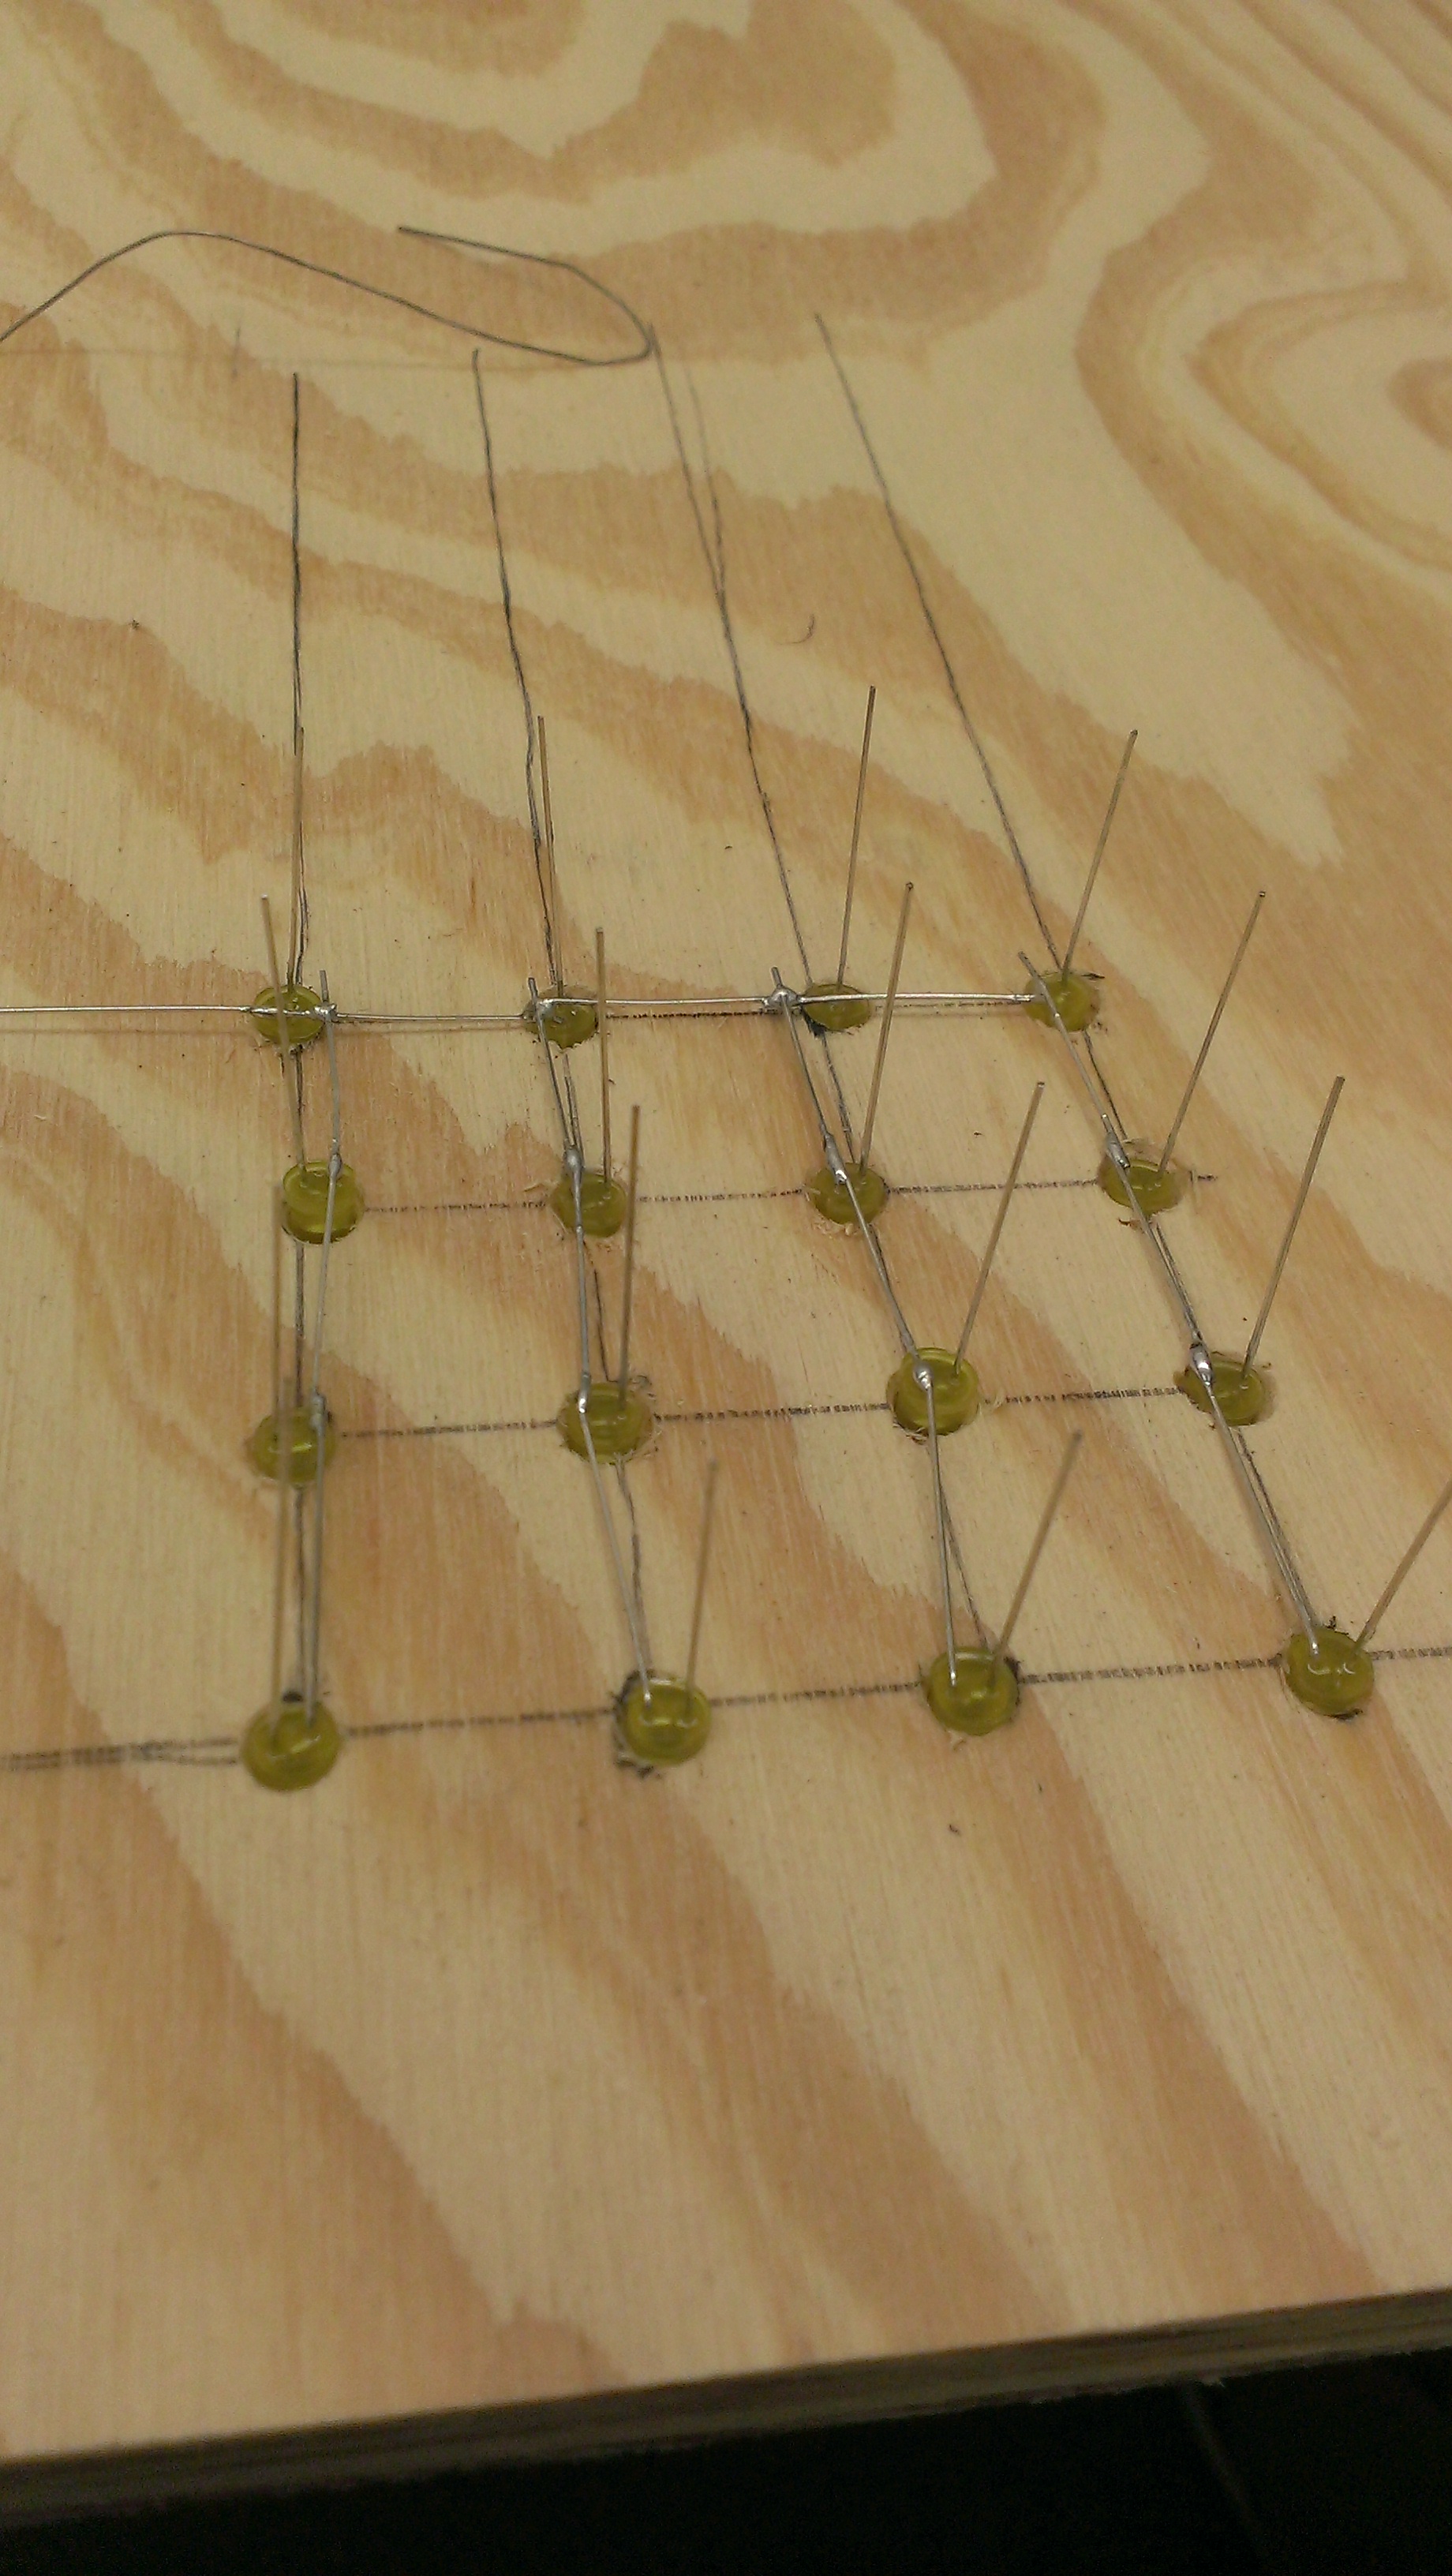
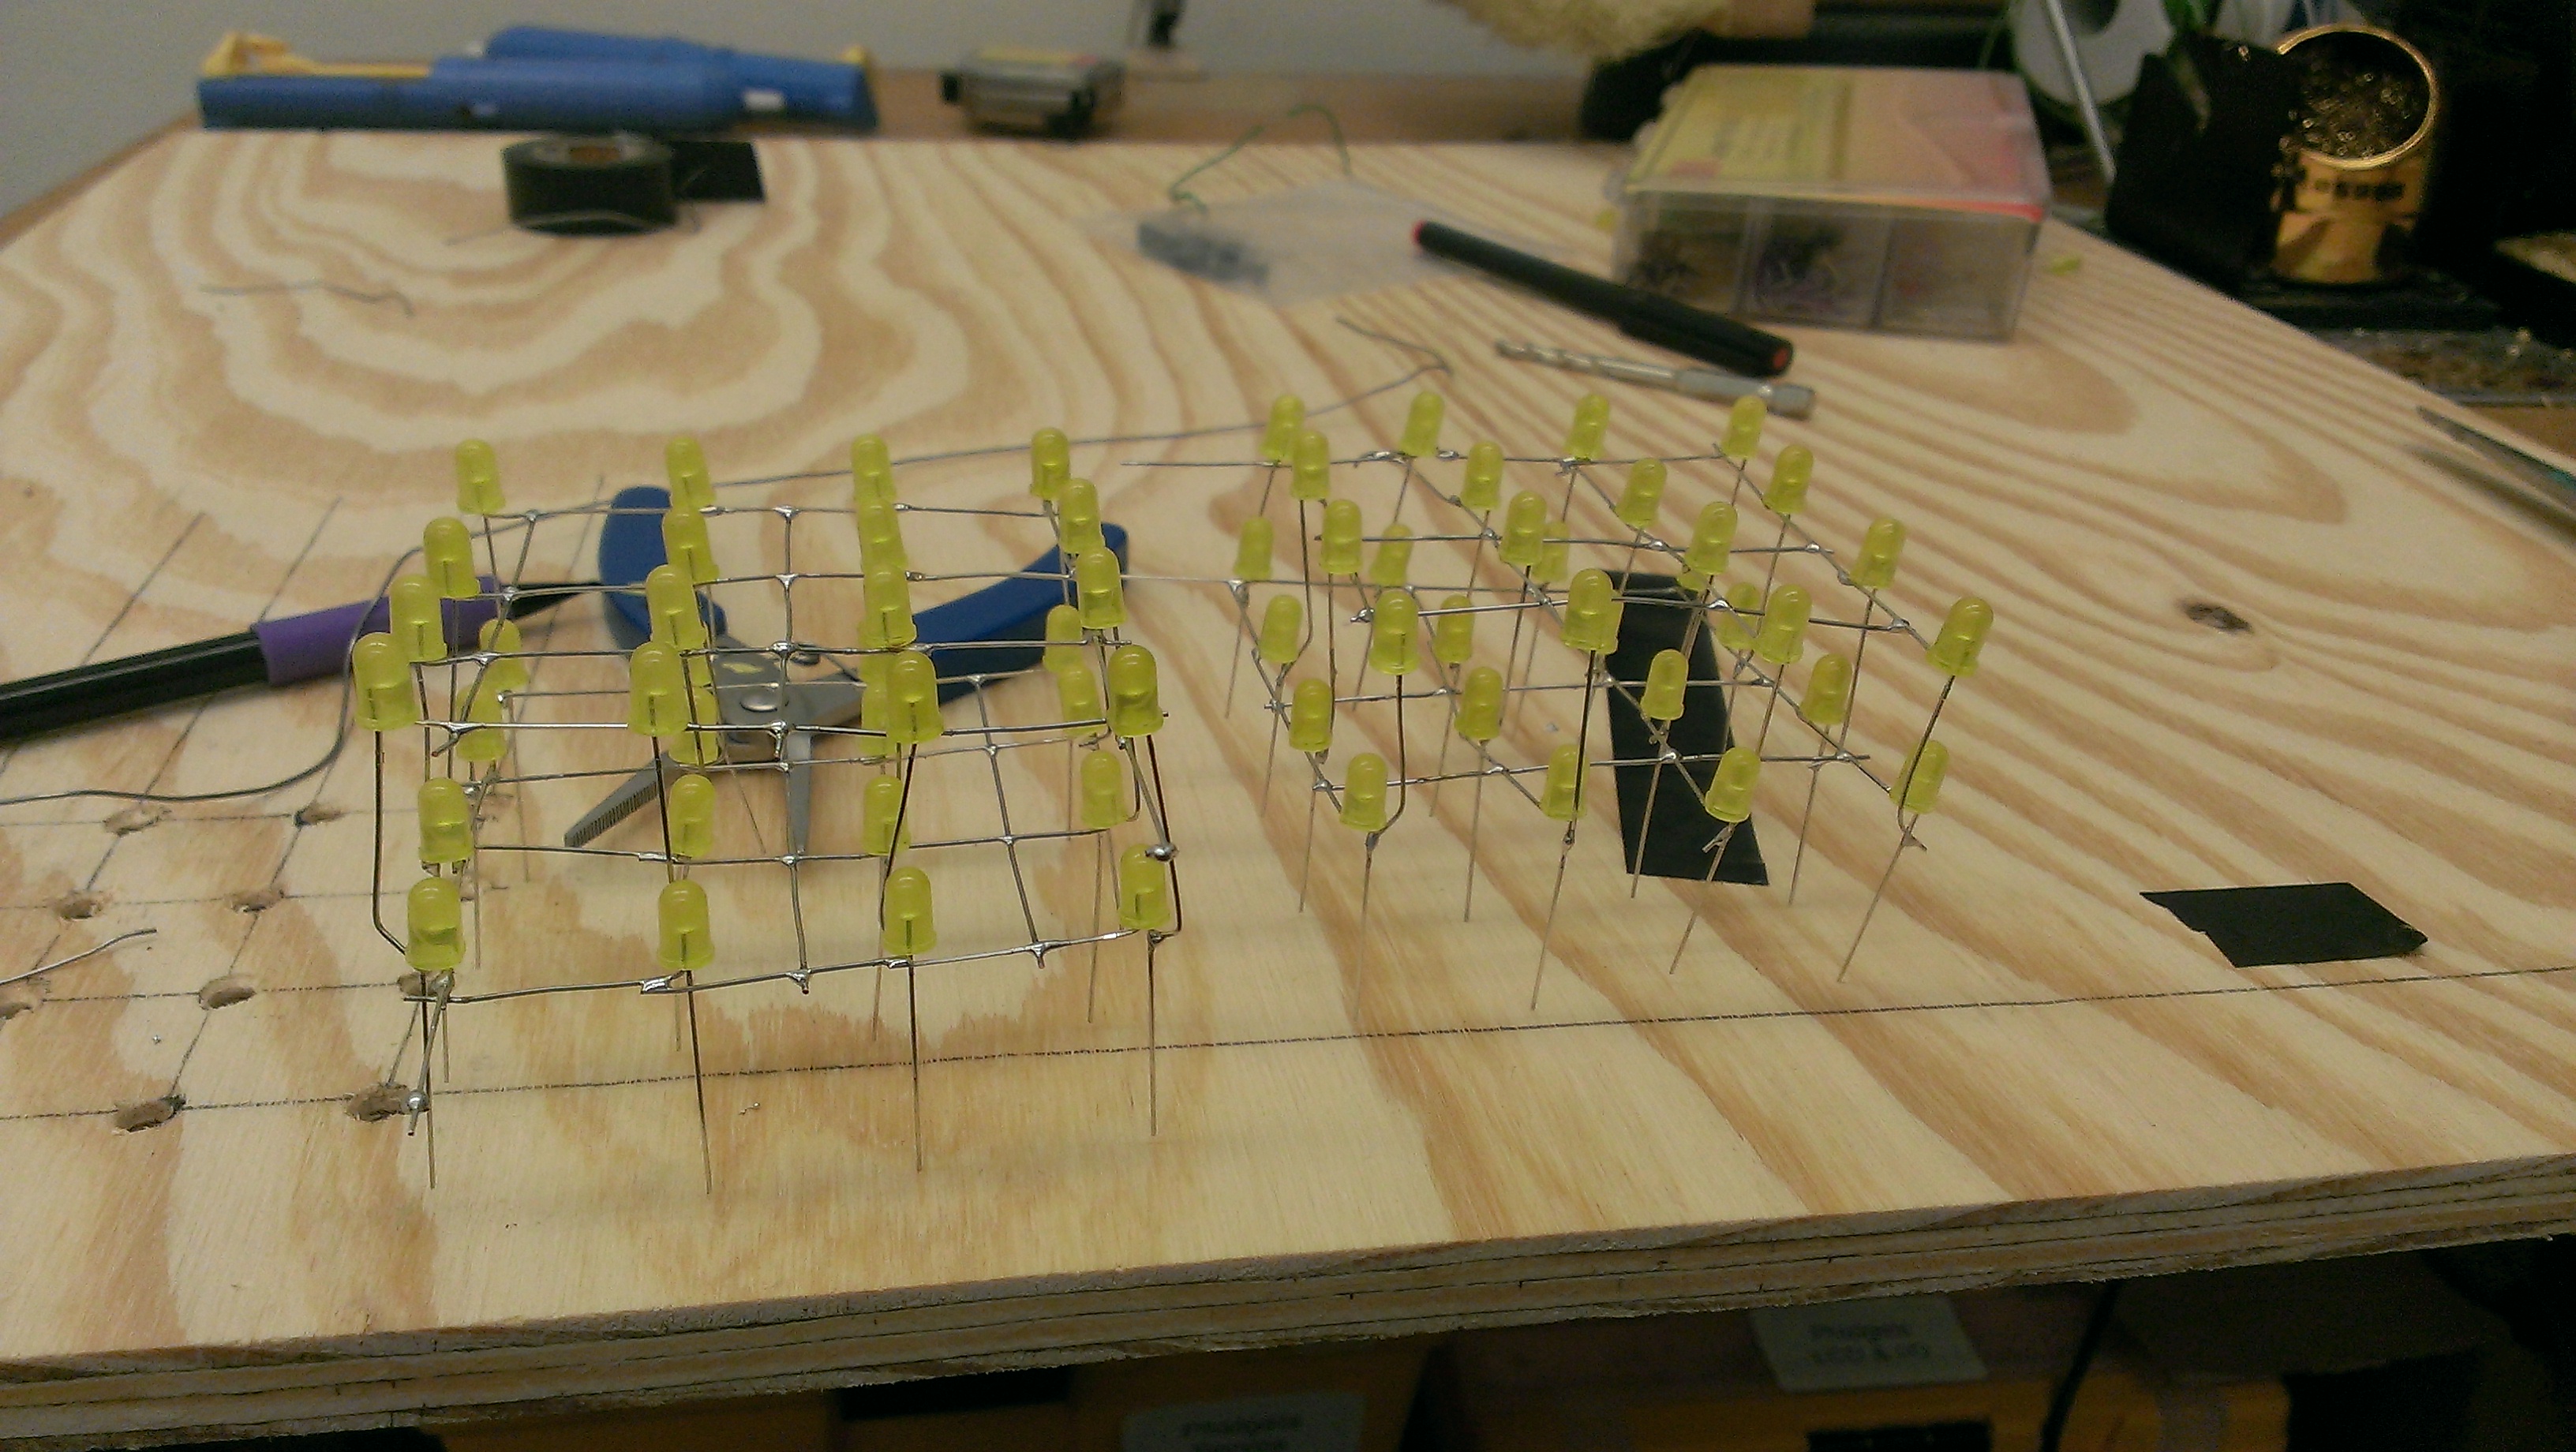
Below are some pictures that were taken during the construction process
Schematic
Videos
Below are some videos of testing and operation of the LED cube
Testing a Layer of the Cube
Working Cube
Please log in to post comments.
