Important changes to repositories hosted on mbed.com
Mbed hosted mercurial repositories are deprecated and are due to be permanently deleted in July 2026.
To keep a copy of this software download the repository Zip archive or clone locally using Mercurial.
It is also possible to export all your personal repositories from the account settings page.
You are viewing an older revision! See the latest version
Homepage
Getting Started
Installing Node.js and npm
You need to have Node.js and npm installed.
To check if you have them installed, open a terminal or command prompt and run the following commands:
node --version
npm --version
If you see an number output similar to x.x.x for each command, then they are both installed and you can continue to the next section.
To install on Windows or mac, you can download the installer from https://nodejs.org/en/download.
To install on Linux, you can use a package manager. Instructions for installing Node.js on your distribution can be found in the following link:
https://nodejs.org/en/download/package-manager
Pre-requisite
This example assumes that you've already run the following program that can communicate the decoded result of barcode data with mbed Device Connector:
Import programGR-PEACH_mbed-os-client-ZXingSample
Fork of https://developer.mbed.org/teams/Renesas/code/GR-PEACH_mbed-os-client-ZXingSample/
Configuring the Applition
In order to run this app, you need to set up the options shown below via environment variable of .env file stored in the folder GR-PEACH_mbed-os-QRCode-ShoppingCart-node which should be automatically created when cloning this program.
- ACCESS_KEY
Set this variable to your Access Key that you can create on mbed Device Connector. if you don't have an Access Key yet, please create it in accordance with the following procedure.
1. Access https://connector.mbed.com/#accesskeys.
2. Click Create New Access Key.

When prompted, enter a name for the access key (e.g. "demo") and click ADD.

3. Copy the access key you just created and use it in .env file as follows:
.env
ACCESS_KEY=...
- PORT
Set this variable as follows to override the default port for this example if needed. The default port is 8080.
.env
PORT=...
- Item List
Prepare for the comma-delimited list which includes "Item Name" and "Price" and save it by the name klist.txt as follows:

The list should be stored in GR-Peach_mbed-os_QRCode_ShoppingCart_node\public\list\klists.txt
Application Execution
This application consists of 2 tabs. One is Shopping Cart and the other is QR Code Login. In this section, it is described that how those work.
- Requisite
You need to set up GR-PEACH_mbed-os-client-ZXingSample mentioned above and execute it by pushing reset button. For details on how to set up and execute GR-PEACH_mbed-os-client-ZXingSample, please refer to its repository. If the program works properly, you can see the following message in your terminal:
- How to launch this Web Application
If the configuration is successfully done, you can now run the application by invoking the following:
Then, you should see the following message:

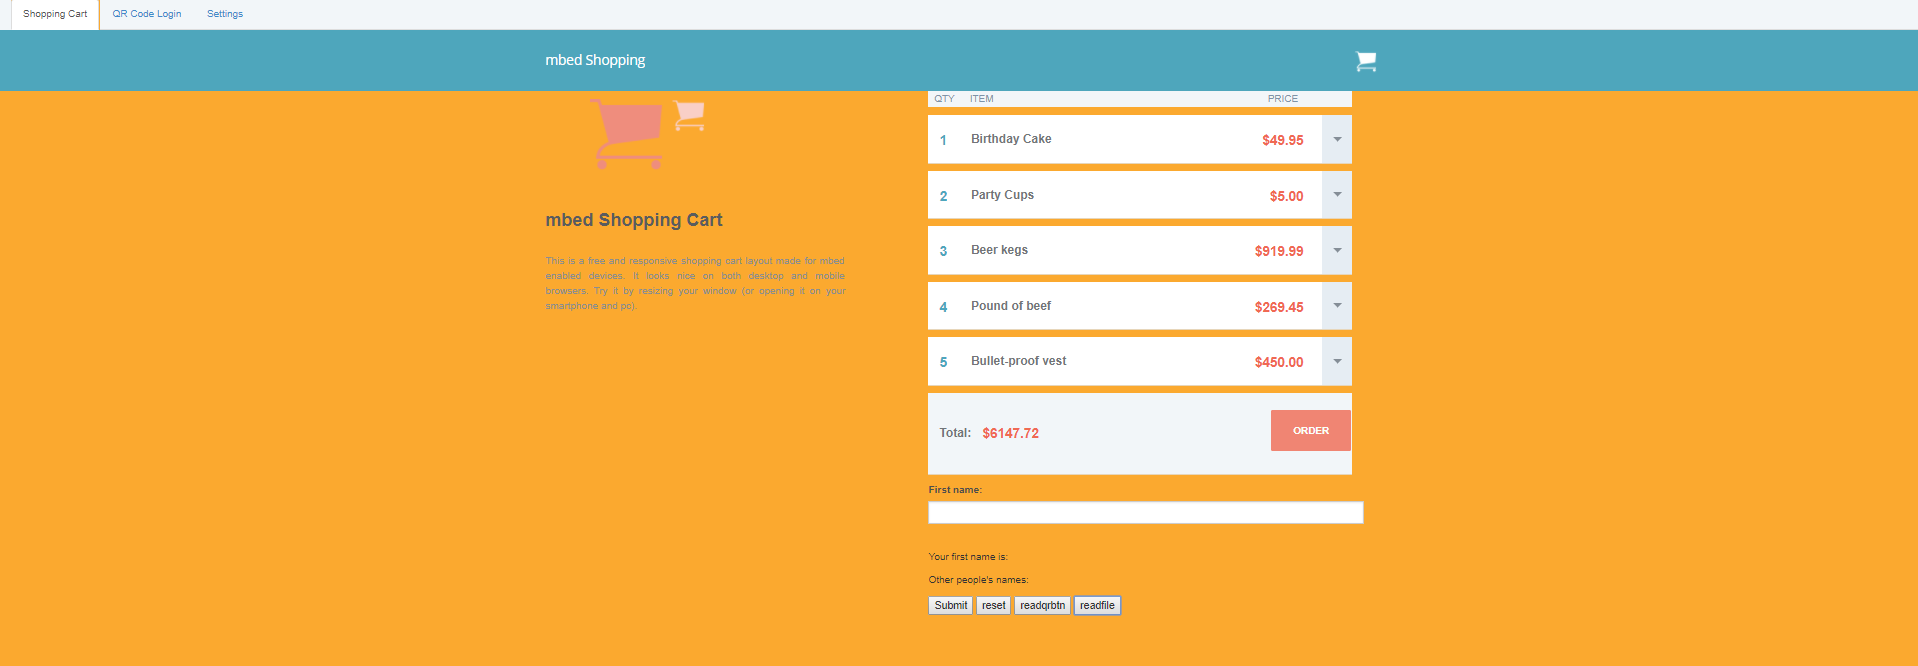
Please note that 8080 might be changed. It should depends on your PORT setting mentioned above. If you access the above URL using Web browser, you can see the following Smart Shopping Cart tab by default:
- How Shopping Cart tab works
When you decode QR code stored in GR-Peach_mbed-os_QRCode_ShoppingCart_node\qrcode by GR-PEACH successfully, the item should be added to shopping cart as follows:

- How QR Code Login tab works
When you choose QR Code Login tab, you can see the following screen indicating it's Locked status.

Then, if you decode the Unlock qrcode described in GR-Peach_mbed-os_QRCode_ShoppingCart_node\qrcode\qr.pdf, screen should transit to the following one indicating it's Unlocked status.

After that if you you decode the Lock qrcode described in the above qr.pdf, screen should re-transit to Locked status. In this way, the screen transits to Locked and Unlocked status in accordance with the decoded result of QR code.
