Angry Birds USB Controller
Angry Birds USB Controller - Created by Joshua Schrader and Brandon Yee
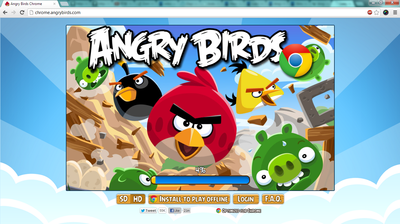
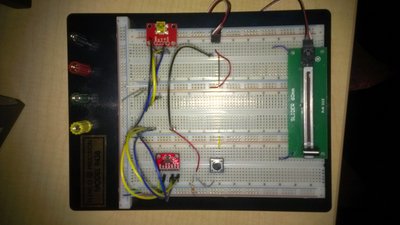
Angry Birds Controller is a student project to design a remote controller for the video game, Angry Birds. The amount you tilt the controller sets the angle, the slider sets the strength, and the pushbutton fires the slingshot. A demo of the project is presented below.
Video Demos -
The link to the web browser version of Angry Birds can be found in the link here -> chrome.angrybirds.com
How it works -
The controller is set into three different states: WAITING, AIMING, and FIRING.
The controller starts up in the WAITING state. The purpose of the WAITING state is to begin the game only if it can detect a threshold input. This allows the user to position their mouse over the bird before the AIMING state. The activating input comes from the slider, which sends a floating point value from 0 to 1 which corresponds to the minimum and maximum length that the slingshot can stretch respectively. Once the slider is set to a value above the threshold, the controller enters the AIMING state.
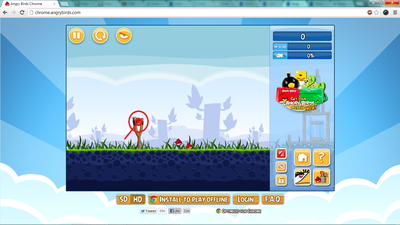
In the AIMING state, the controller uses both the accelerometer and the slider as inputs. The accelerometer finds the tilt of the controller relative to the ground and transfers the angle to the code for filtering while the slider detects the inputted strength. The code continuously updates both inputs and evaluates them together to move the USBMouse dynamically away from and around the starting point. This process is described in greater detail by Simon Ford on his original angry birds page cited below. Once the user is satisfied with his decision, he can press the pushbutton to fire the slingshot. This causes the controller to enter the FIRING state.
In the FIRING state, the controller waits for the animation in the game to finish and to provide soft debouncing. The user can then choose to return the slider to it's original state or keep it at the same strength. Upon an additional pushbutton press (allowing the user as much time as they need to make this choice and return their mouse to the bird), the controller returns to the WAITING state. If the slider was left at the previous strength instead of returned, it will begin aiming at that strength again automatically after the button is pressed.
List of mbed components and peripherals used --
| mbed LPC1768 | 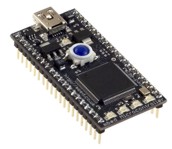 | Slide Pot - Motorized (10k Audio Taper) |  |
| Triple Axis Accelerometer Breakout - ADXL345 | 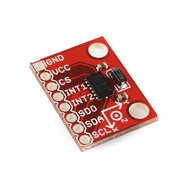 | Mini Push Button Switch | 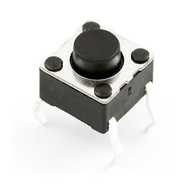 |
| USB Mini Breakout | 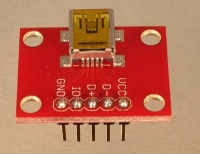 |
Code -
Import programSlingshot
Slingshot Controller
Adapted from Simon Ford's Slingshot code to include a slider and pushbutton that replaces their stretch sensor. Thanks to Simon Ford and everyone who helped him for sharing his Slingshot code!
His original cookbook page with complete code can be found here -> http://mbed.org/cookbook/Slingshot
Pinout Table -
| ADXL345 Pin | mbed Pin |
|---|---|
| Vcc | Vout |
| SDA | p5 |
| SDO | p6 |
| SCL | p7 |
| CS | p8 |
| Slider Pin | mbed Pin |
|---|---|
| Red | Vcc |
| Black | Gnd |
| White | p15 |
| USB Connecter Pin | mbed Pin |
|---|---|
| Vcc | Vin |
| Gnd | Gnd |
| D+ | D+ |
| D- | D- |
| Pushbutton | mbed Pin |
|---|---|
| Output | p13 |
(For the input, use a 2.2k pull up resistor to Vdd)
mbed's LEDs state
| LED1 | LED2 | LED3 | LED4 |
|---|---|---|---|
| Before game is started | WAITING | AIMING | FIRING |
Problems Encountered and Future Steps
We faced problems when switching the analog input from a stretch sensor to a slider. The original code applied some filtering and modification to the pure analog input. The filtering was removed and the multiplier was reduced to make the slider more dynamic and allow a greater range of inputs. In the future we plan to add an LCD screen that records the last shot parameters and shows the current shot parameters to allow the user to precisely replicate or alter individual shots.
Please log in to post comments.
