You are viewing an older revision! See the latest version
5 Steps to Create Your Connected Device
5 Steps to Create Your Connected Embedded Device
Welcome!
ST is proud to be a part of Team mBed™ at the AT&T Hackathon at Super Mobility Week - Code for Car and Home. This overview will show you the steps needed to create a connected embedded device for the AT&T connected car or connected home hackathon.
Step 1
At the event, swing by the ST table and ask for an STM32F401 Nucleo board and USB cable.
Step 2
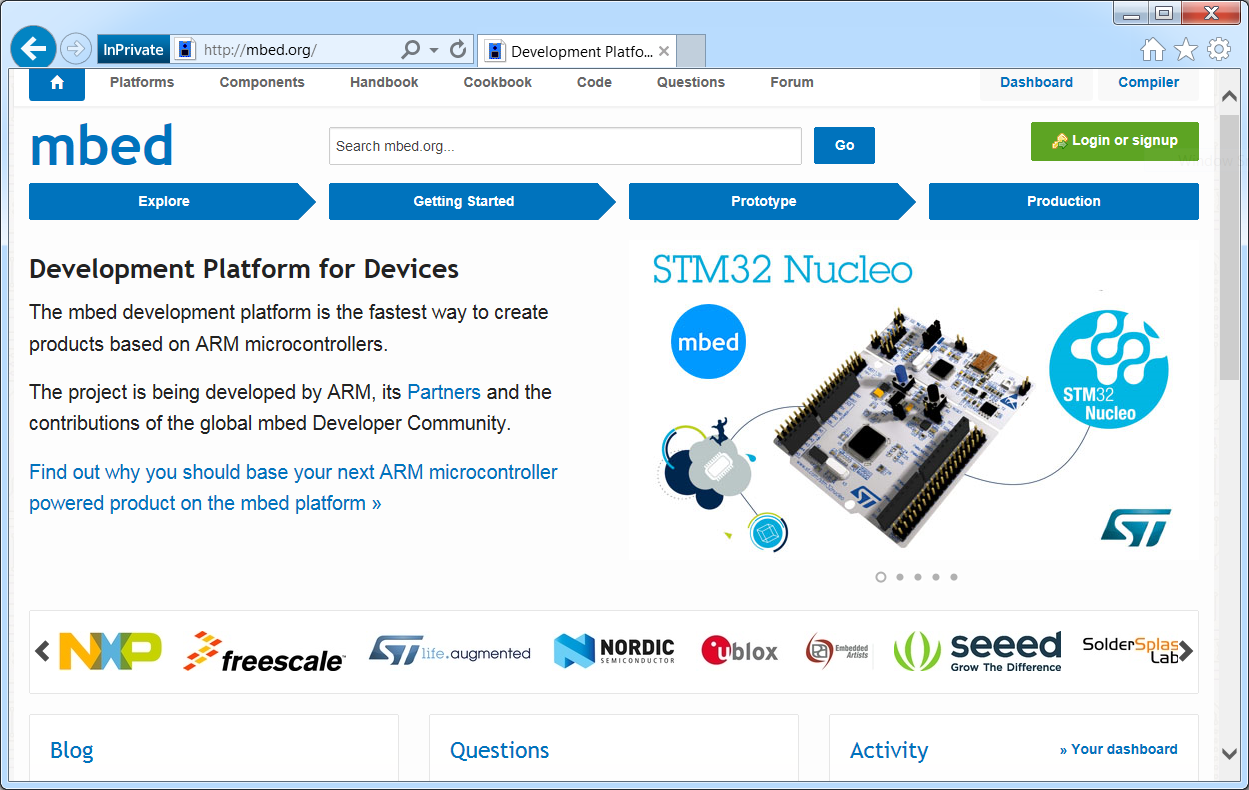
Open your web browser to www.mbed.org and login. Connect your Nucleo board to your PC, explore the development environment and begin programming the STM32 in the C or C++ programming language.
Step 3
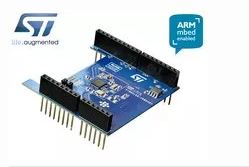
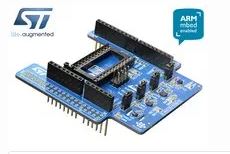
Determine your connectivity options. For easy connectivity, select one of the NFC and/or Bluetooth Low Energy modules recommended for the STM32F401 Nucleo board. Find the corresponding mbed NFC / BTLE module libraries and write the code to connect your device.
 .....................................

Step 4
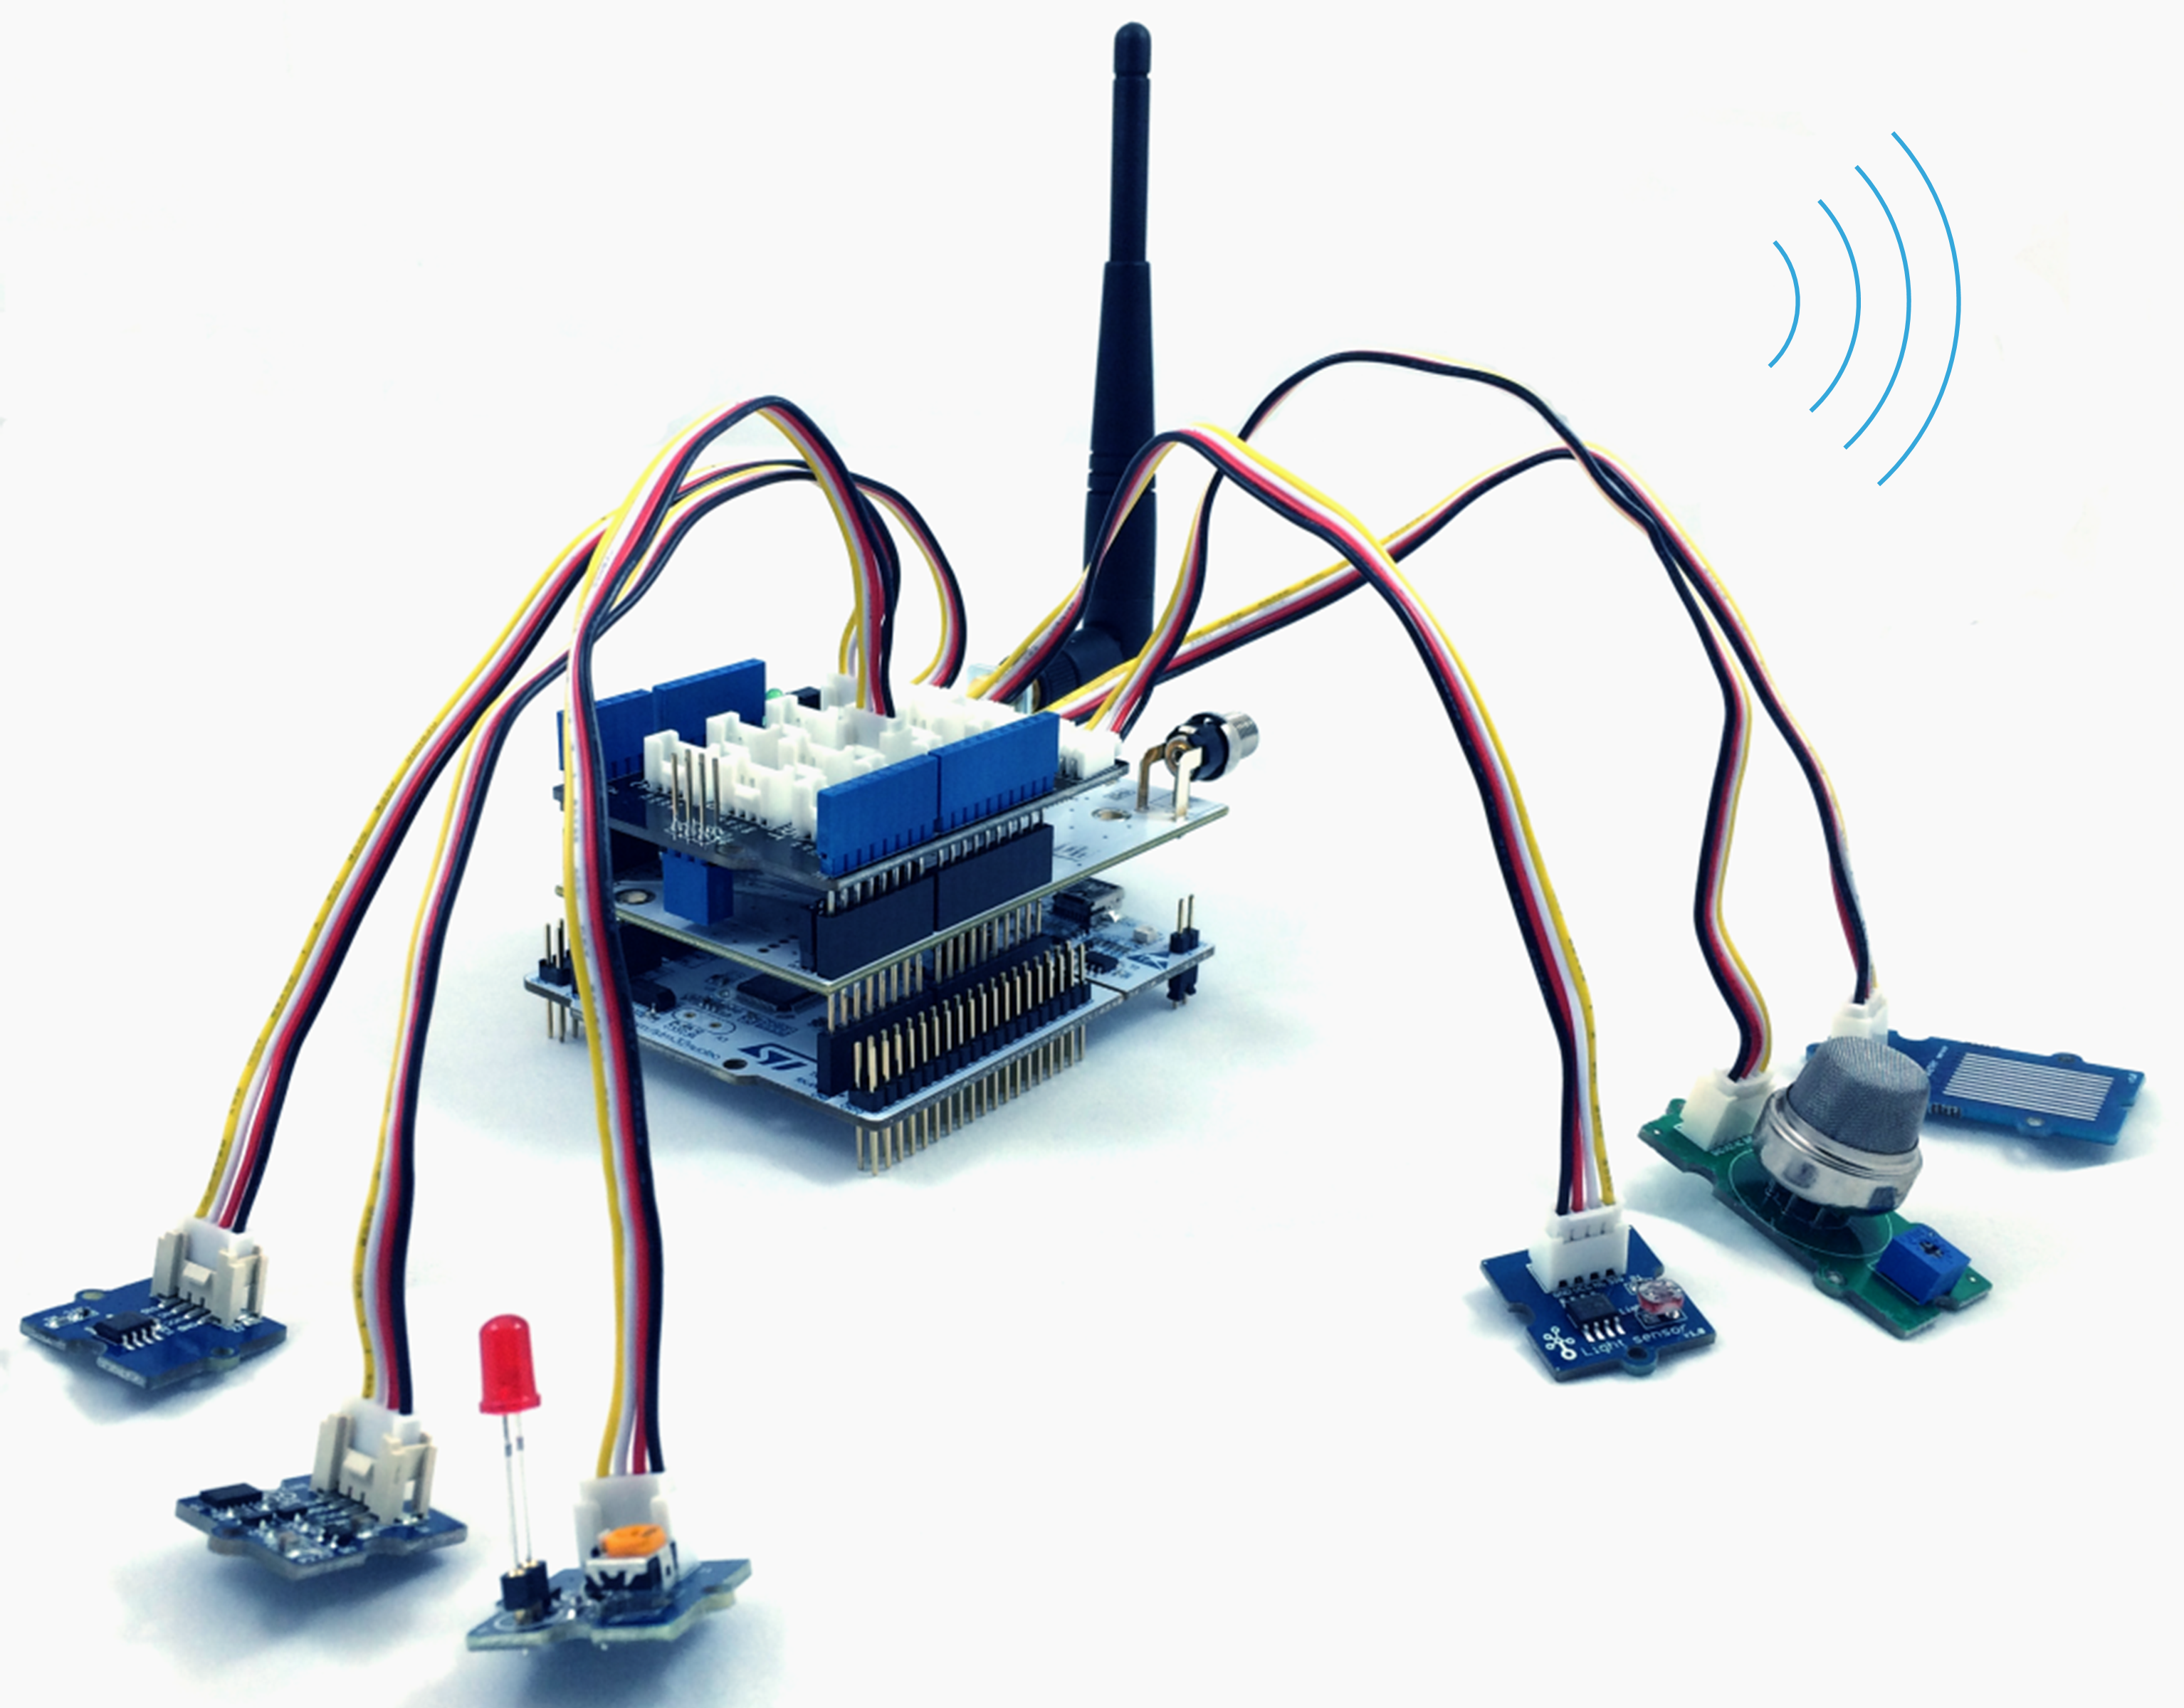
Select the sensors and I/O options needed for your application and connect them to your Nucleo board. Write the application code needed for the sensors and user I/O.
 .....................................
Step 5
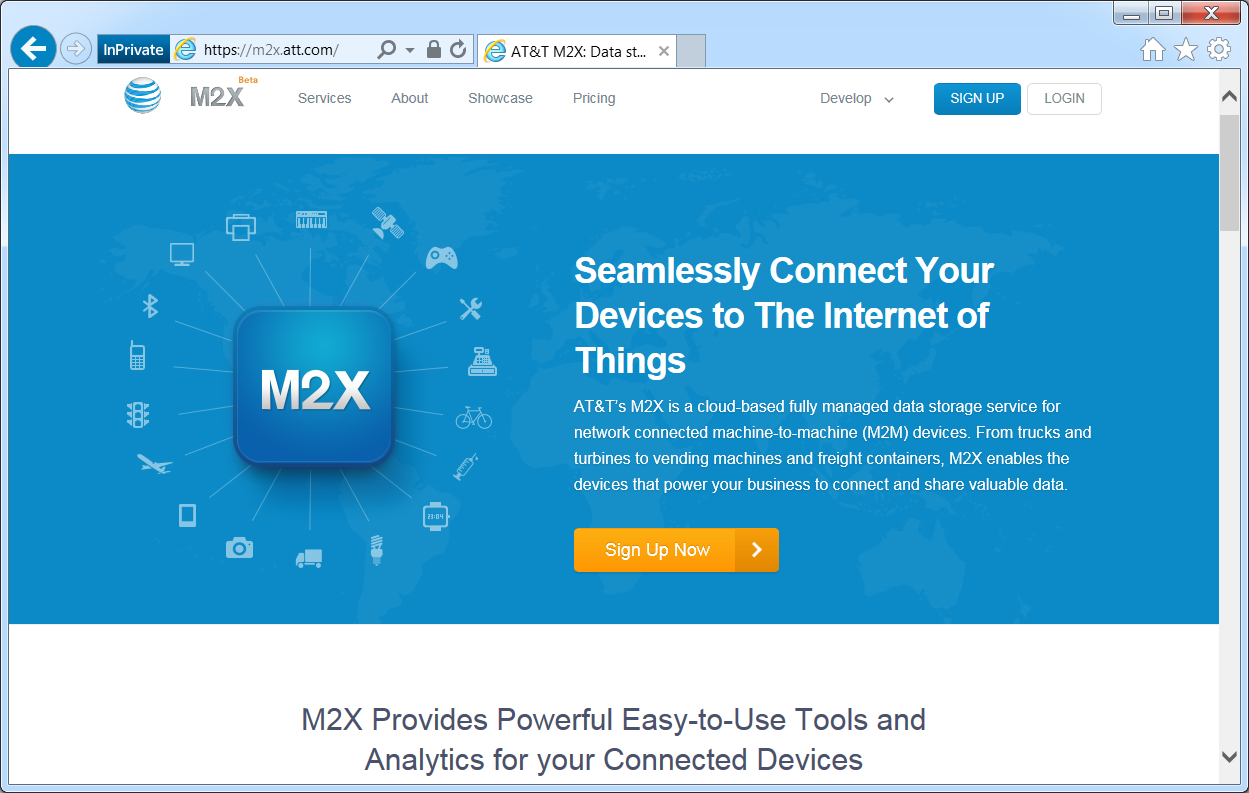
Using the mbed AT&T M2X socket library, connect your device to the AT&T M2X cloud services. For information on M2X can be found at https://m2x.att.com.
Configure and write the backend code for your device.
Put it all together and voila! Your connected embedded device!
