SmOuse
Welcome to SmOuse
Quote:
"When I grow up, I want to be as smart as SmOuse" - Benjamin Davis, 2016
Our aim was to design and build a system which can be installed in any home to turn it into a smart house.
The first stage of the system is a range finder which triggers a flag when someone comes within 50cm, then flashes an LED for 5 seconds allowing the user time to scan their RFID fob. proximity sensor which triggers an intruder alarm. The alarm is deactivated by an RFID scanner which allows residents to scan their fob, at which point a touchscreen prints a personalised welcome message. If an unrecognised fob is scanned then the alarm continues to sound and "Intruder" appears on the screen.
Inside the house, the lights and AC are controller automatically, with the option of a manual override. The touchscreen is the central control panel for the smart house; it displays the temperature and light levels, and allows the user to set AC and lights to automatic or manual modes.
The SmOuse Team
- Arthur Spencer - Range finder, alarm, wifi setup
- Joe Zacaroli - Temperature and light controls, wifi setup
- Benjamin Davis - Touchscreen, RFID
Hardware
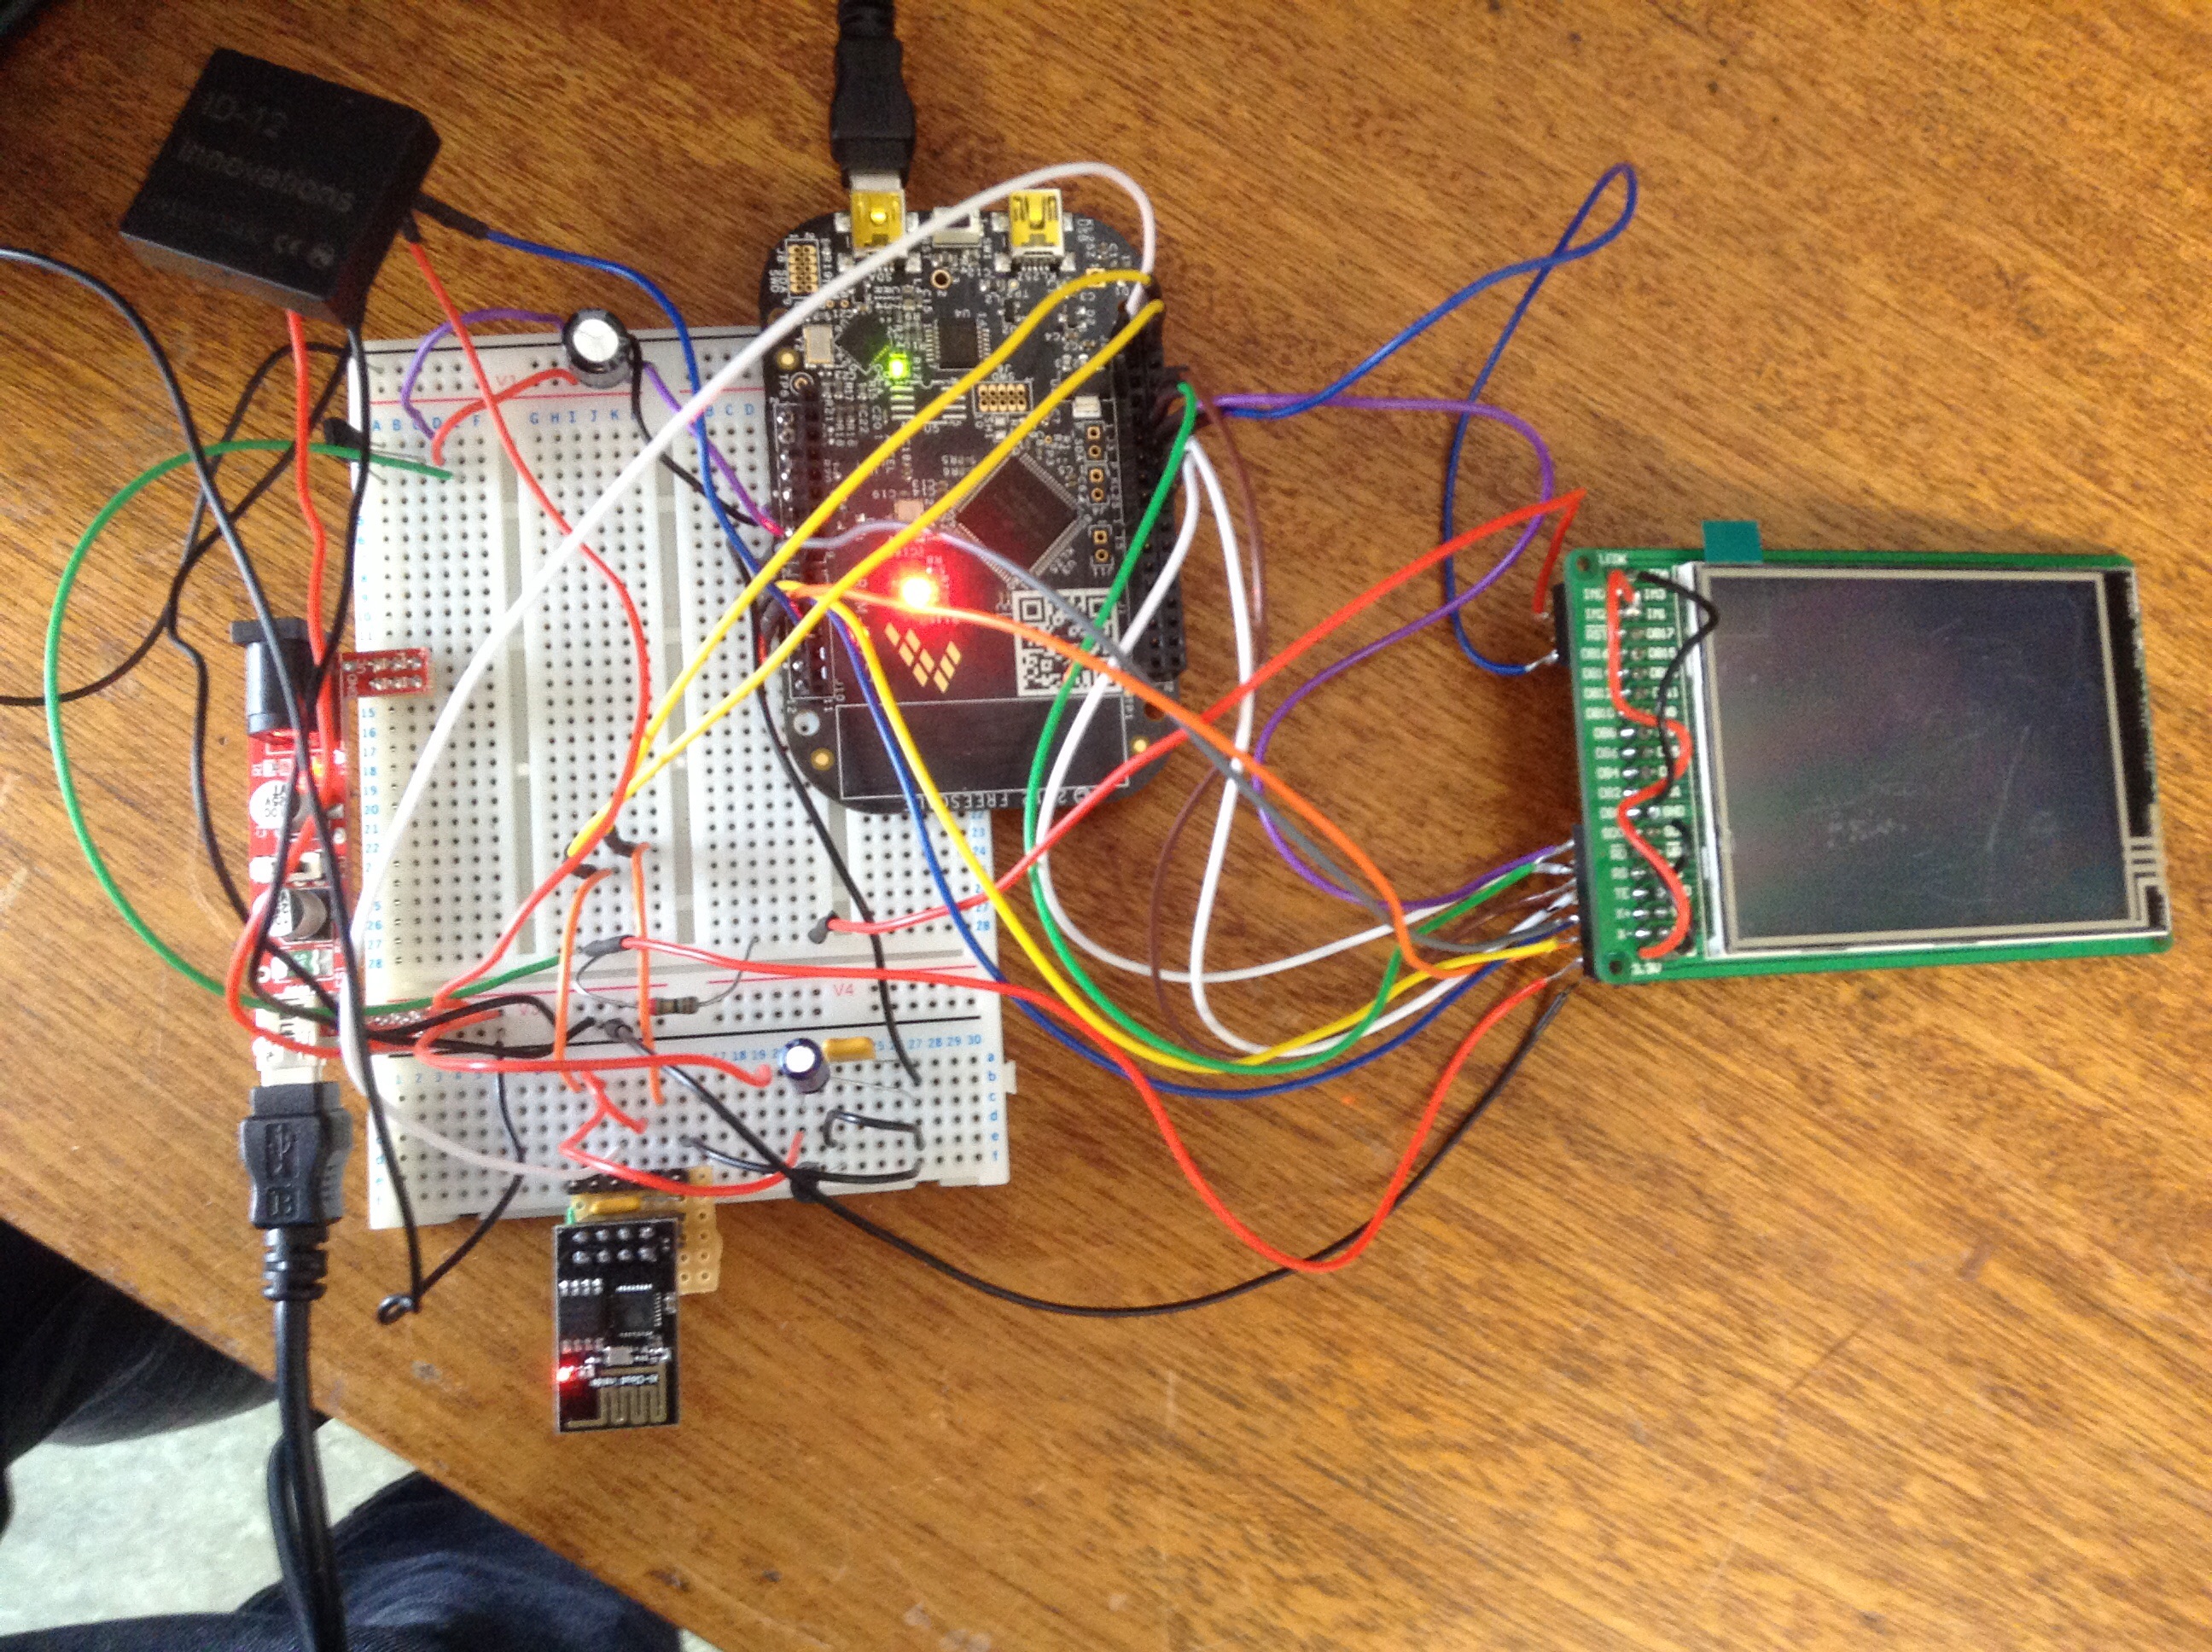
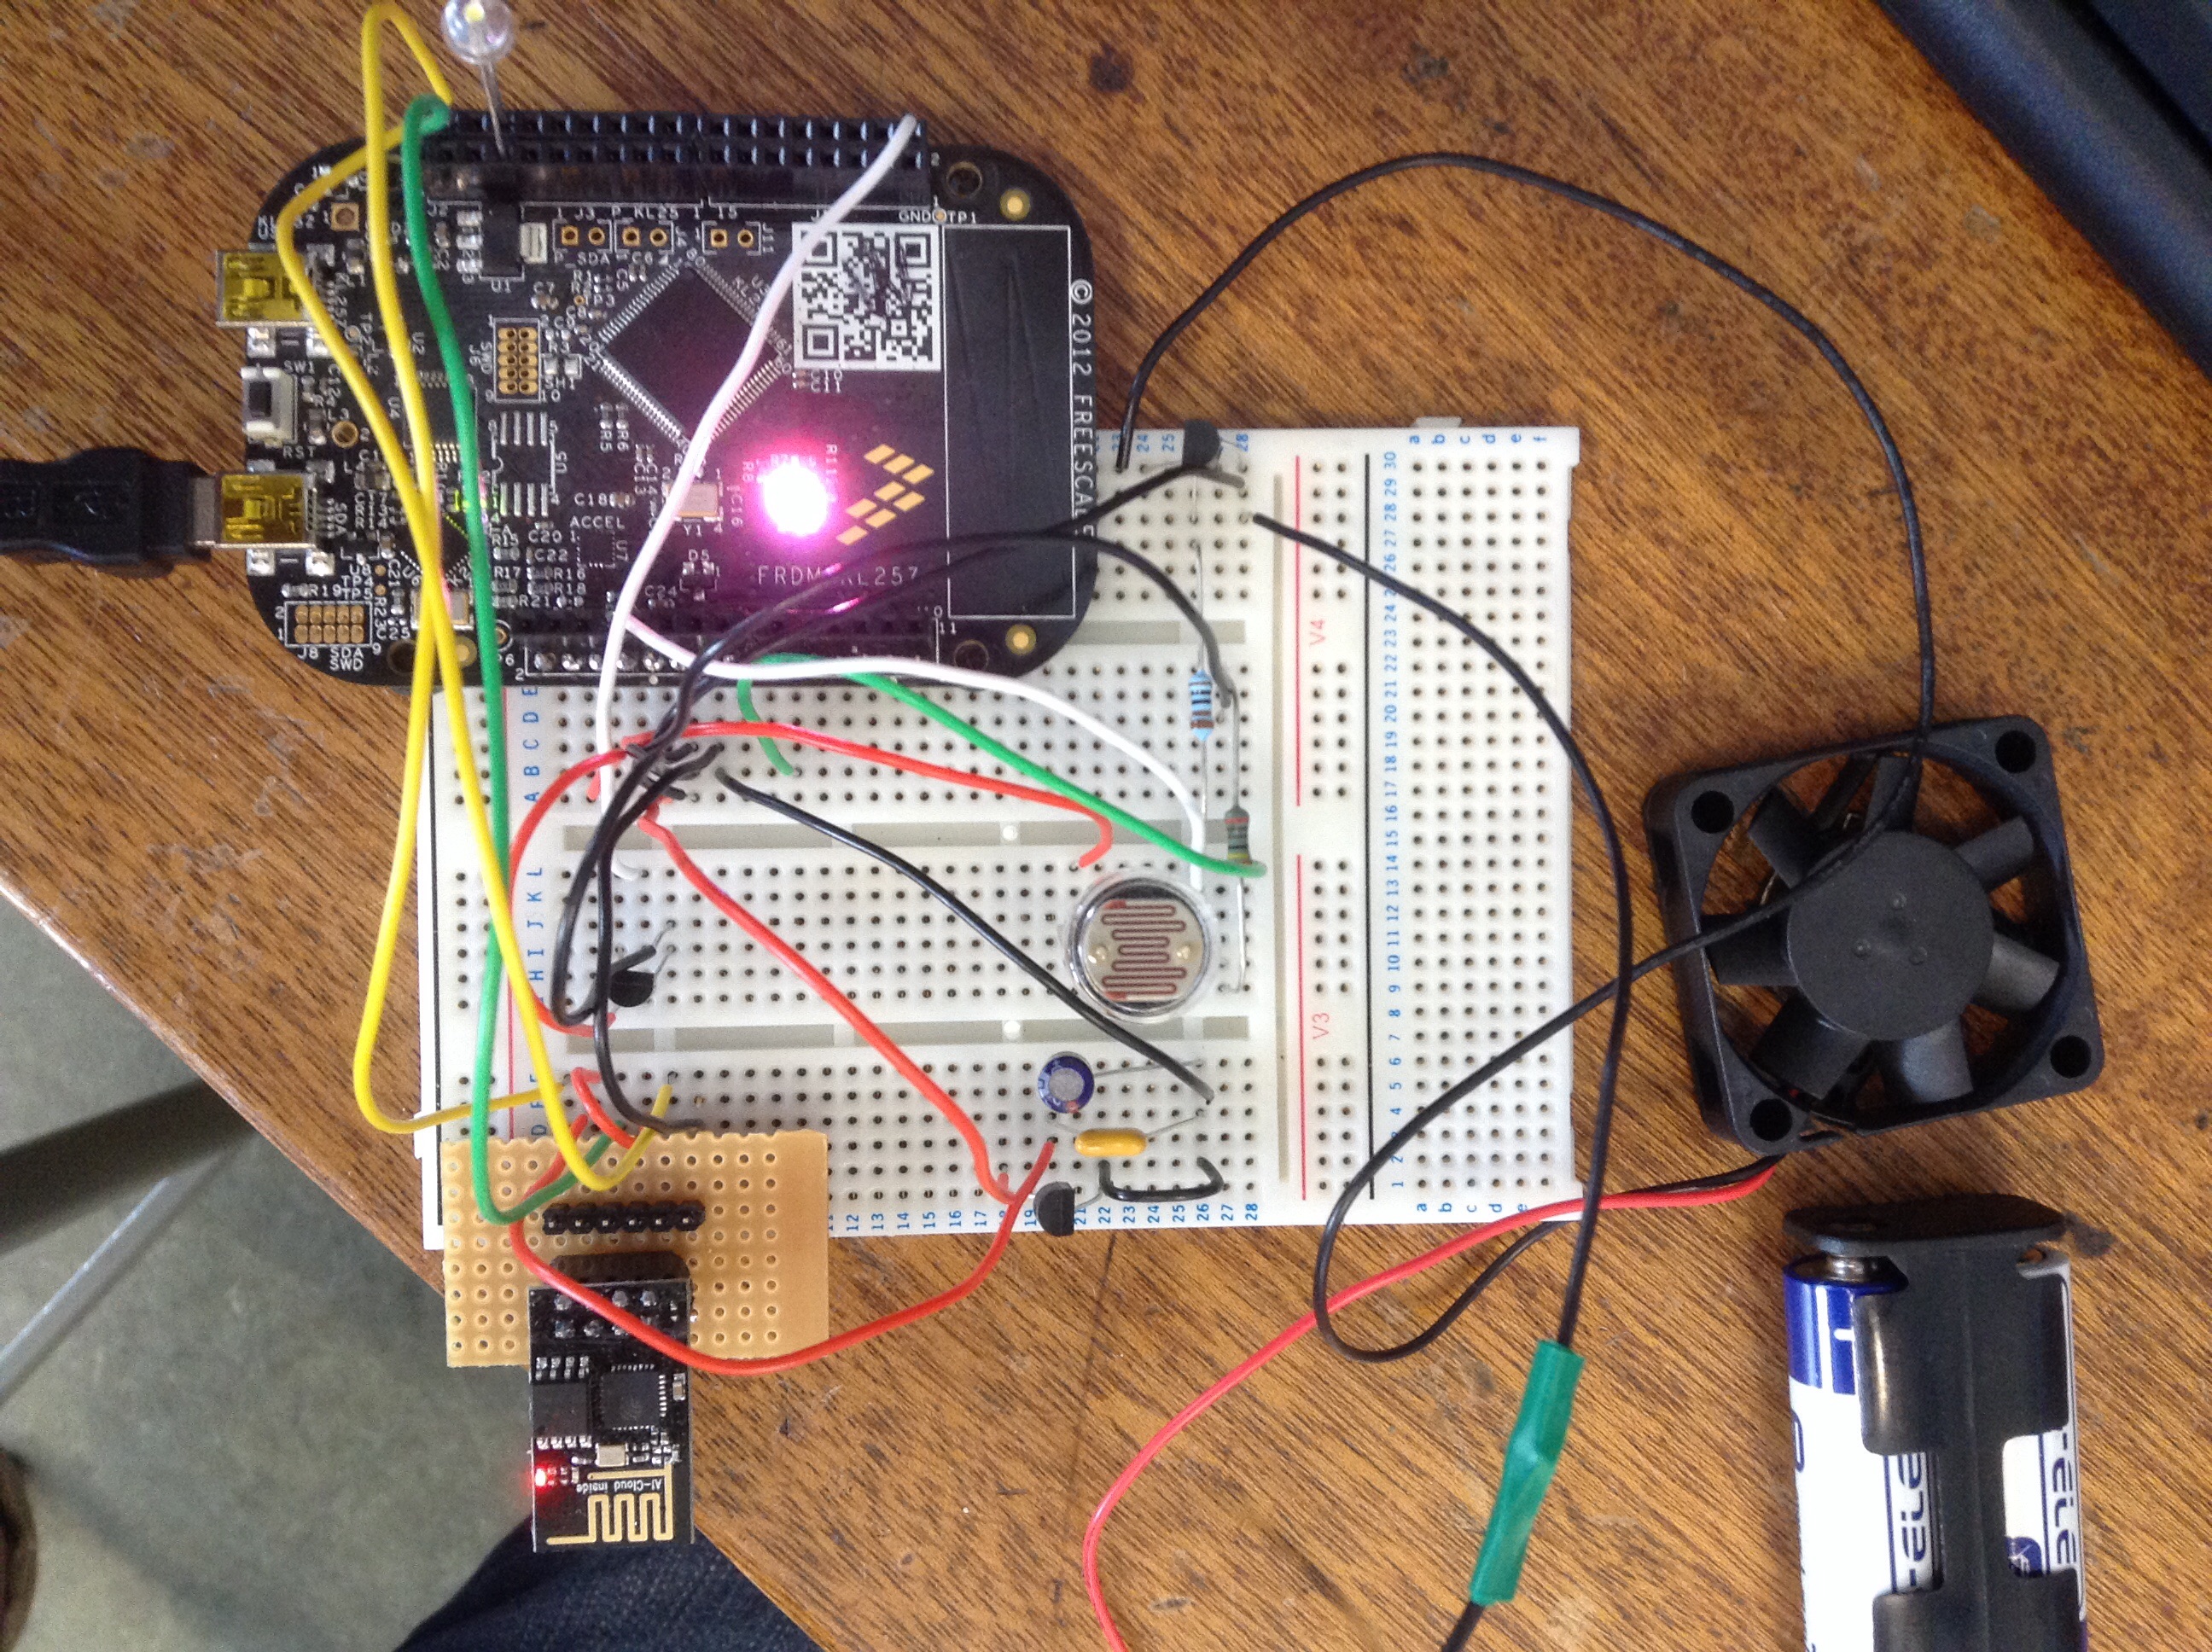
The system is set up on three FRDM-KL25Z mbed devices.
MBED1 - Interface
The first runs the central control panel; RFID, touchscreen and the wifi server.

MBED2 - Security
The second controls the proximity alarm; it has a range finder, buzzer, a wifi link (set up as a client) and a push button to reset the alarm.

MBED3 - Control
The third mbed controls the lighting and AC; it has an LDR, a thermometer, a DC fan, and a wifi link (set up as a client).

Software
Startup
Each mbed must have code writte1n in the startup sequence to set up the wifi link.
Wifi Starup Sequence
dev.printf("AT+RST\r\n");
wait(10);
dev.printf("AT+CWJAP=\"BTHub3-WXWX\",\"fdd6f7c682\"\r\n");
wait(10);
dev.printf("AT+CIPMUX=1\r\n");
wait(2);
dev.printf("AT+CIPSERVER=1,333\r\n");                                    //This line for server
//dev.printf("AT+CIPSTART=2,\"TCP\",\"192.168.1.95\",333\r\n");          //This line for clients
wait(2);
Flags
Each mbed must send flags over the wifi link. This is done using dev.printf to print commands.
Flag Sequence
dev.printf("AT+CIPSEND=3,1\r\n");
wait(2);
dev.printf("Q\r\n");         //Send flag Q
wait(2);
Alarm
When the mbeds have all been reset, the analogue output from the range finder is constantly checked and the distance calculated. When something (i.e. someone) comes within 50cm, it triggers a flashing LED for 5s, then the buzzer sounds as an alarm. The alarm is stopped when this mbed receives a flag through the wifi link the server. This flag is triggered when an RFID fob is scanned. If the push button is pressed, an interrupt sequence resets the alarm.
Full code:
Import programproximity_buzzer_client_startup
Proximity alarm with flags to stop the buzzer or reset the range finder
RFID & Touchscreen
The touchscreen waits on its screensaver until a fob is scanned. The RFID scanner records the fob's unique ID, then compares this to it's recorded list of IDs (programmed to recognise each resident). If it recognises this ID, the touchscreen displays a welcome message; if it doesn't, it flashes "Intruder". After sending the flag to stop the alarm, the screen then shows the controls for AC and lights, with the temperature and light status displayed in the top corner. When certain buttons are pressed on the calibrated touchscreen, flags are send to the control mbed to set the fan and lights.
Full code:
Import programWelcome_Screen_TFT_3_point_oh
Full layout 'HUB' with functioning navigation between all screens and active temp/state display, now with outbound signals to leds and buzzer. Final Project.
Lights & AC
The thermometer and LDR give analogue signals, which are constantly read and processed in 'if' loops to set the automatic fan and lighting. This data is sent, via the wifi link, to the server to be displayed on the screen. Flags are checked to set the mode to automatic, or to manually override the system.
Full code:
Import programACandLightsandWifi
AC and lights remotely controlled over Wifi, or set to automatic

