Important changes to repositories hosted on mbed.com
Mbed hosted mercurial repositories are deprecated and are due to be permanently deleted in July 2026.
To keep a copy of this software download the repository Zip archive or clone locally using Mercurial.
It is also possible to export all your personal repositories from the account settings page.
Dependencies: mbed
Fork of PAT9125_OTS_L476RG by
This section highlights the setup and operating guide to integrating PAT9125EL with the Nucleo L476RG.
Setup
Hardware:
- 1. PC with Windows Operating System
- 2. Nucleo L476RG Dev Kit Board from ST
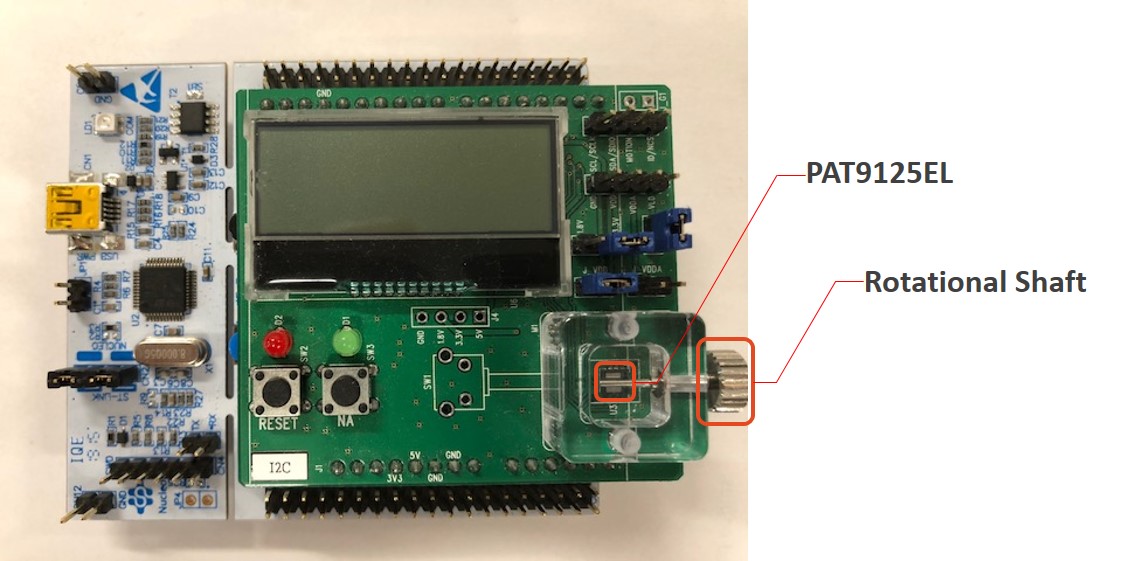
- 3. PAT9125EL Arduino Enabled Board
- 4. USB Cable (one end with miniUSB)
Connection:
Please connect the board as show below.

Supplying Power
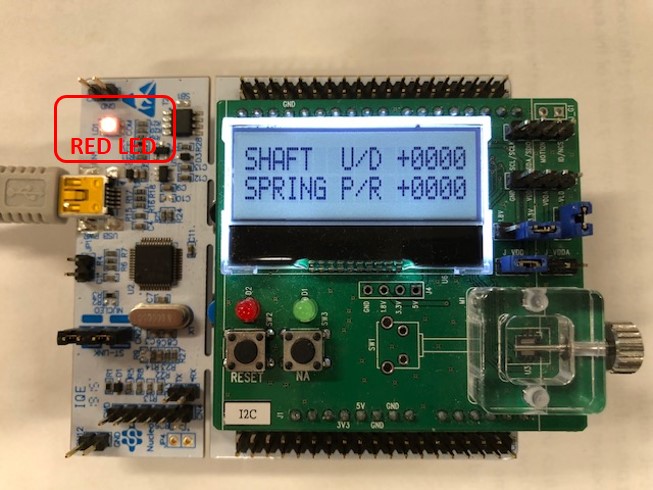
Connect the one end of the USB to the PC USB and the other to the Nucleo L476RG miniUSB as shown in the figure below.

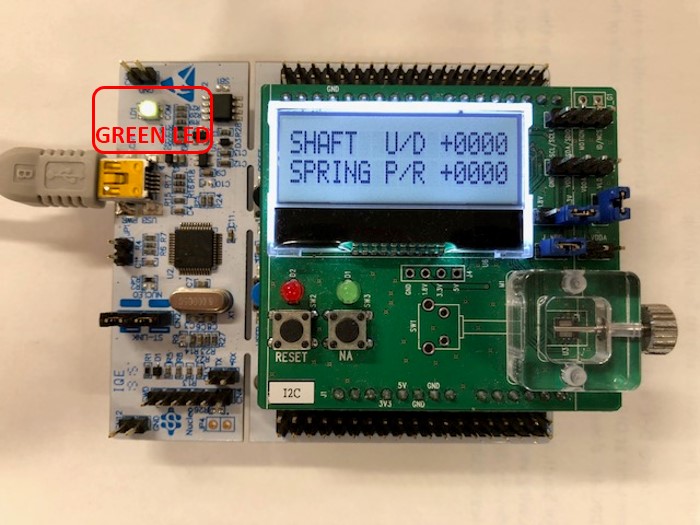
I am assuming that you already know and are able to download the code at this point. Once programmed with the latest compiled .bin file, the LED should turn Green, as illustrated below.

Next, we will test to see if the sensor (PAT9125EL) is indeed functional, and able to display the rotational displacement, on the on-board LCD Display.
While you rotate the Rotational Shaft clockwise, you should see an increment in the digital count for "SHAFT" on the LCD Display, also showing "Up" as you rotate the shaft in the clockwise direction.
While you rotate the Rotational Shaft counter-clockwise, you should see decrease in the digital counts under "SHAFT"on the LCD Display, also showing "Down" as you rotate the shaft in the counter-clockwise direction.
While you push the shaft inward, you should see an increment in digital counts under SPRING. While pushed inward, it will show as "Pre" for Press on the LCD Display.
Conversely, once you release the shaft, the LCD Display should show "Rel" for "Release".
To RESET the digital count, press on the button on the bottom left side of the board. This should reset the digital count on "SHAFT" and "SPRING" to "+0000".
Have fun with this and should you have any questions, please do not hesitate to contact us.

 PAT9125EL - Miniature Optical Navigation for Surface Tracking