Dependencies: mbed
Simply Import this Program into your mbed compiler
Select Compile to generate the binary file
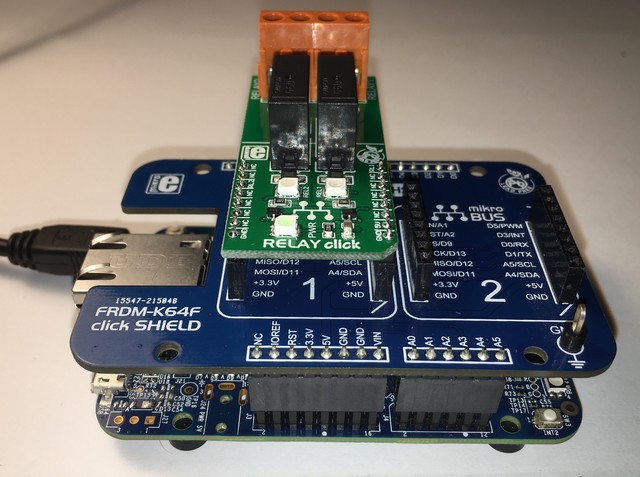
Plug the Mikroelektronika FRDM-K64F Click SHIELD on the top of your FRDM-K64F
Connect the Mikroelektronika Relay Click module in the Socket 1 of the Click SHIELD.

Drag n drop the frdm_Click_Relay_Example_K64F.bin into the mbed drive from your file explorer
Wait for download to complete
Press the Reset/SW1 button of your FRDM-K64F board to launch the program
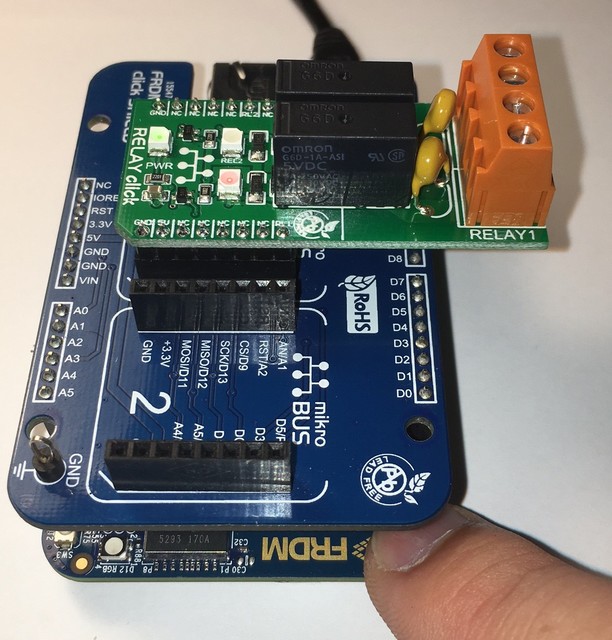
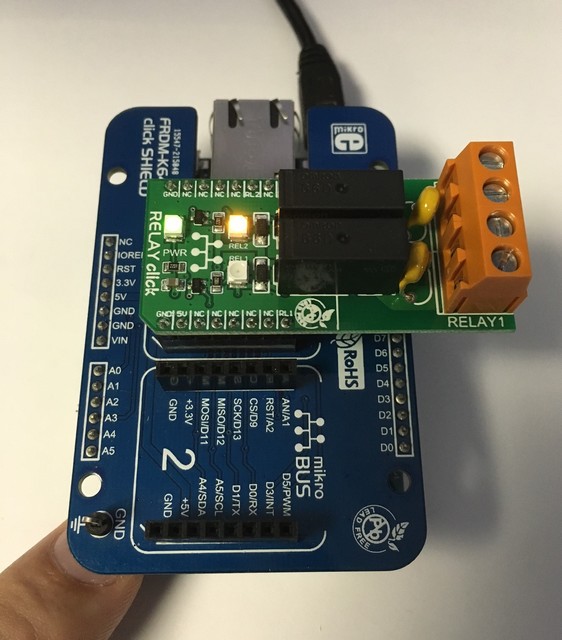
There is two relays on the Mikroelektronika RELAY Click module
Relay1 should now switch On and Off with LED Red as indicator each time you press the SW2 button of your FRDM-K64F (see picture below)!!

Relay2 should now switch On and Off with LED Orange as indicator each time you press the SW3 button of your FRDM-K64F (see pictures below)!!

Revision 1:665830412d05, committed 2016-04-26
- Comitter:
- GregC
- Date:
- Tue Apr 26 16:51:48 2016 +0000
- Parent:
- 0:3b9b4fce896e
- Commit message:
- Mikroe Click Relay module demo for NXP Freedom boards (tested on FRDM-K64F)
Changed in this revision
| main.cpp | Show annotated file Show diff for this revision Revisions of this file |
diff -r 3b9b4fce896e -r 665830412d05 main.cpp
--- a/main.cpp	Fri Jan 01 16:33:29 2016 +0000
+++ b/main.cpp	Tue Apr 26 16:51:48 2016 +0000
@@ -1,16 +1,25 @@
 #include "mbed.h"

-DigitalOut relay(D6);
+DigitalOut relay1(D6);
 InterruptIn sw2(SW2);

+DigitalOut relay2(D10);
+InterruptIn sw3(SW3);
+
 void sw2_release(void)
 {
-    relay = !relay;
+    relay1 = !relay1;
+}
+
+void sw3_release(void)
+{
+    relay2 = !relay2;
 }

 int main()
 {
     sw2.rise(&sw2_release);
+    sw3.rise(&sw3_release);
     while (true) {
     }
 }
\ No newline at end of file