Program4_mbedClient
This is the mbed Client example for mbed OS. It demonstrates how to register a device with mbed Device Connector, how to read and write values, and how to deregister. If you are unfamiliar with mbed Device Connector, we recommend that you read the introduction to the data model first.
The application:
- Connects to network with Ethernet.
- Registers with mbed Device Connector.
- Gives mbed Device Connector access to its resources (read and write).
- Records the number of clicks on the device’s button and sends the number to mbed Device Connector. Lets you control the blink pattern of the LED on the device (through mbed Device Connector).
Setup
First, connect the device to internet using an Ethernet cable as shown here:

Make sure the internet is available. You can try it first on your PC.
Compile and Run
Building with mbed CLI
If you'd like to use mbed CLI to build this, then you should follow the instructions for mbed cli. The instructions here relate to using the developer.mbed.org Online Compiler
- Import Program4_mbedClient to your online compiler.
- Set the connection type in mbed_app.json, change the value of network-interface to be ETHERNET
mbed_app.json
        "network-interface":{
            "help": "options are ETHERNET,WIFI,MESH_LOWPAN_ND,MESH_THREAD",
            "value": "ETHERNET"
        },
3. Client credentials
- Go to mbed Device Connector and log in with your mbed account.
- On mbed Device Connector, go to My Devices > Security credentials and click the Get my device security credentials button to get new credentials for your device.
- Replace the contents in `security.h` of this project's directory with content copied above.
4. Compile and download the bin file to 'NODE_F429ZI' disk. Then reset the board.
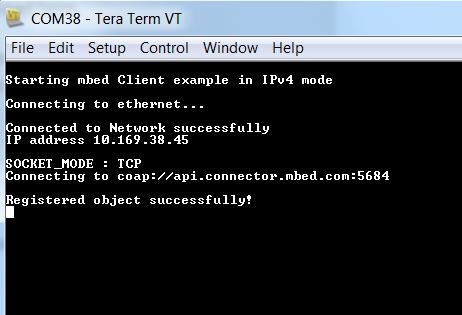
5. Open the terminal window to display the output. For this example, set the terminal BAUD rate to 115200. If you see Registered object successfully!, the connection is established successfully!

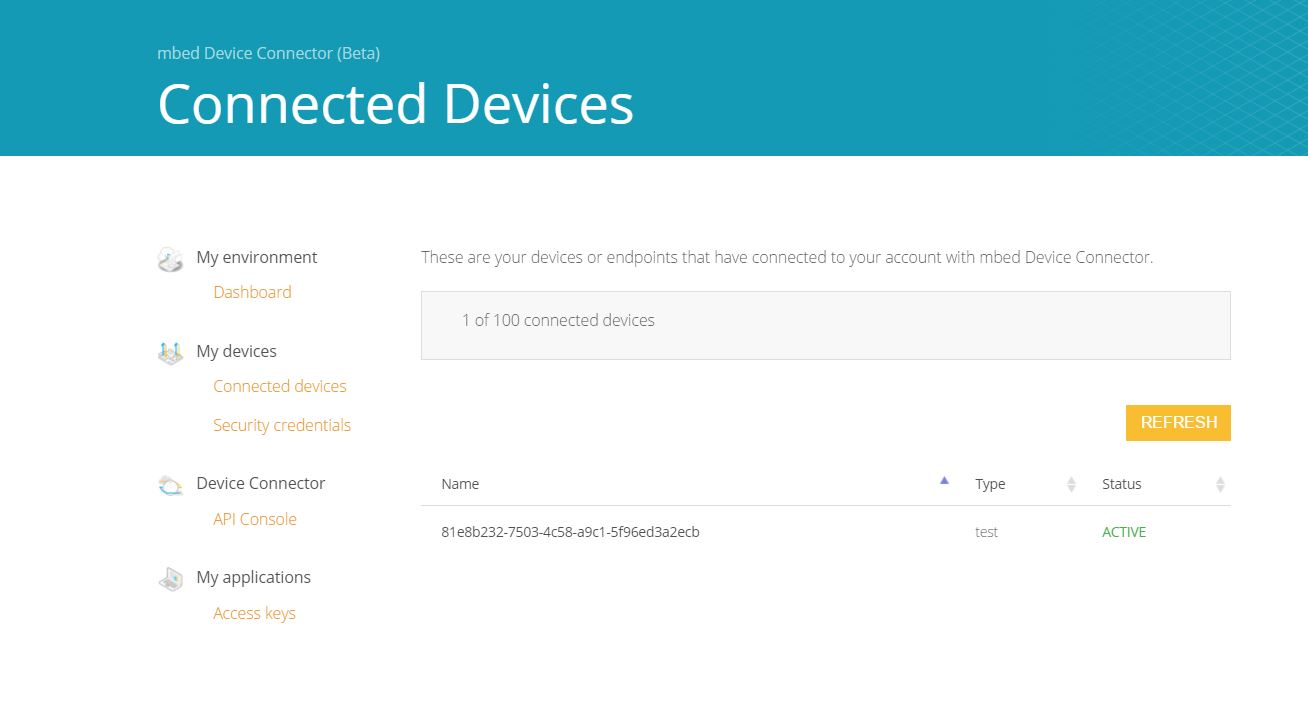
6.You can also verify your result by opening Connected devices. You will see your device listed here.

Also, you can go to mbed Connector Quickstart. Select connectivity method on client side and web app backend on cloud side. Then click RUN IT!. Your will see the detail instructions for the program. Follow the steps on the page to connect your device to mbed cloud.