Program2_SensorReader
The "Sensors Reader" program is a more complex example of how to use the X-NUCLEO-IKS01A1 expansion board featuring among others:
- Support for LSM6DS3 3D Accelerometer & Gyroscope (on DIL 24-pin socket) including free-fall detection
- Usage of LED & Ticker
- Exploitation of wait for event
- (Top-/Bottom-Half) Interrupt handling
The expansion board features also a DIL 24-pin socket which makes it possible to add further MEMS adapters and other sensors (e.g. UV index).
It is intentionally implemented as a singleton because only one X_NUCLEO_IKS01A1 at a time might be deployed in a HW component stack. In order to get the singleton instance you have to call class method `Instance()`, e.g.:
// Sensors expansion board singleton instance
static X_NUCLEO_IKS01A1 *sensors_expansion_board = X_NUCLEO_IKS01A1::Instance();
To read the data from the sensor, you need call the corresponding function of the composing elements:
static TempSensor *temp_sensor1 = mems_expansion_board->ht_sensor;
static HumiditySensor *humidity_sensor = mems_expansion_board->ht_sensor;

float value1, value2;
temp_sensor1->GetTemperature(&value1);
humidity_sensor->GetHumidity(&value2);
printf("HTS221: [temp] %7s°C,   [hum] %s%%\r\n", printDouble(buffer1, value1), printDouble(buffer2, value2));
Furthermore, library ST_INTERFACES contains all abstract classes which together constitute the common API to which all existing and future ST components will adhere to.
Setup
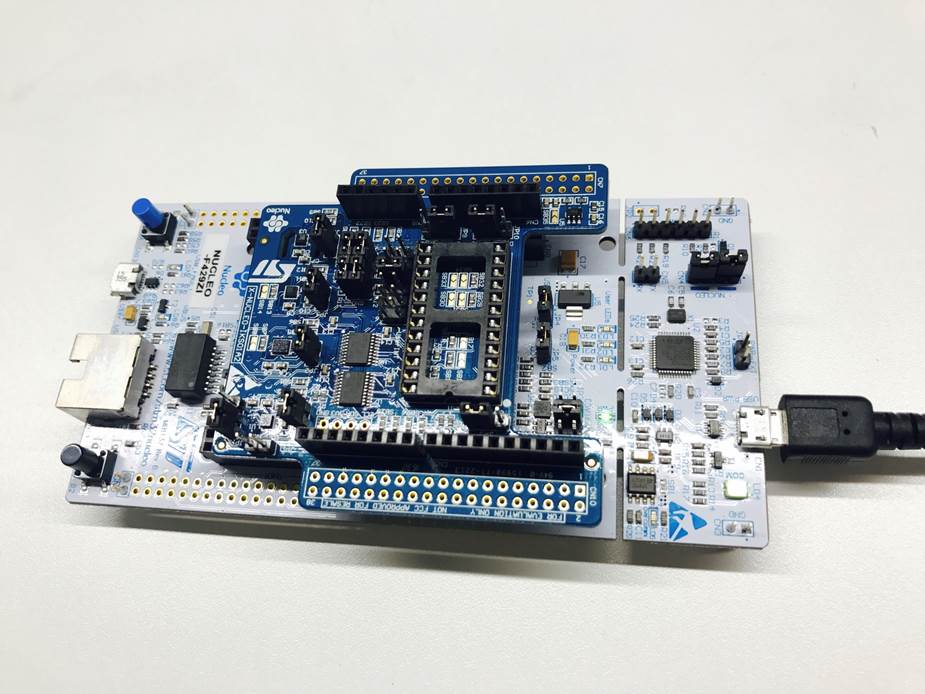
First, attach the X-NUCLEO-IKS01A1 to the STM32 Nucleo platform and then connect them to your PC using micro USB cable as shown here:

Compile and Run
- Import Program2_SensorReader to your online compiler.
- Compile and load the bin file to 'NODE_F429ZI' disk. Then reset the board to run the program.
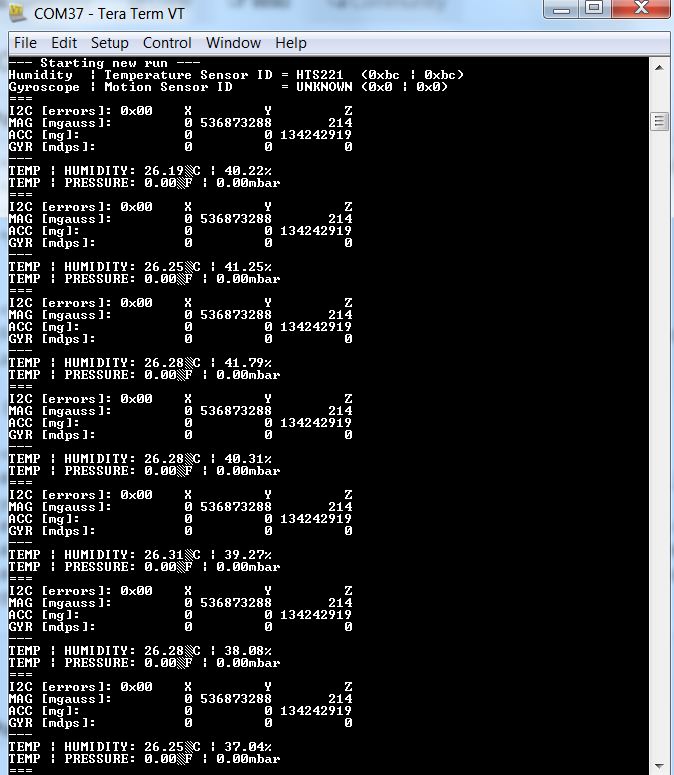
- Open your terminal window to see the output information (set the baud rate to 9600).
- Now you should see the sensor values from device including temperature, humidity, pressure...! You can put you hand on the shield for a while. The temperature and humidity will soon get higher.
