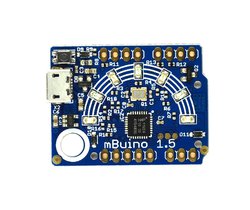
mBuino
A powerful platform for tiny circuits

Getting Started with the mBuino
The mBuino comes pre-programmed showing basic use of the on-board LEDs. However, when using with the mbed compiler and related tools, the capabilities of the mBuino is limited only by your imagination, mbed + mBuino = Limitless Prototyping. Click here for more details and the user guide.
Key Features
- NXP LPC11U24 ARM® Cortex™-M0 50Mhz
- 32K FLASH / 10K RAM
- SPI
- I2C
- UART
- USB
- PWM
- Analog to Digital Conversion
- Serial Wire Debug (if using a debugger like Keil uVision)
How To Program
The mBuino provides you with two ways to program. The first, simply plug your mBuino into your PC or laptop with a standard micro USB cable via the on-board USB connector. However if you prefer using JTAG, the mBuino exposes the two SWD pins allowing for a JTAG connection.
Installing Optional 2032 Battery Holder
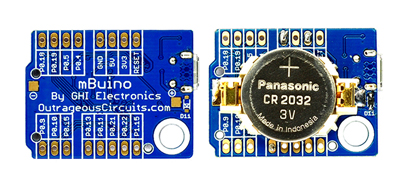
The processor is capable of running down to 2V so adding a battery will effectively run the mBuino, anywhere from 2V to 3.3v.There are two pads on the back where a 2032 disk battery holder can be soldered, please see the image below. Please note that mBuino does not ship with battery holder.

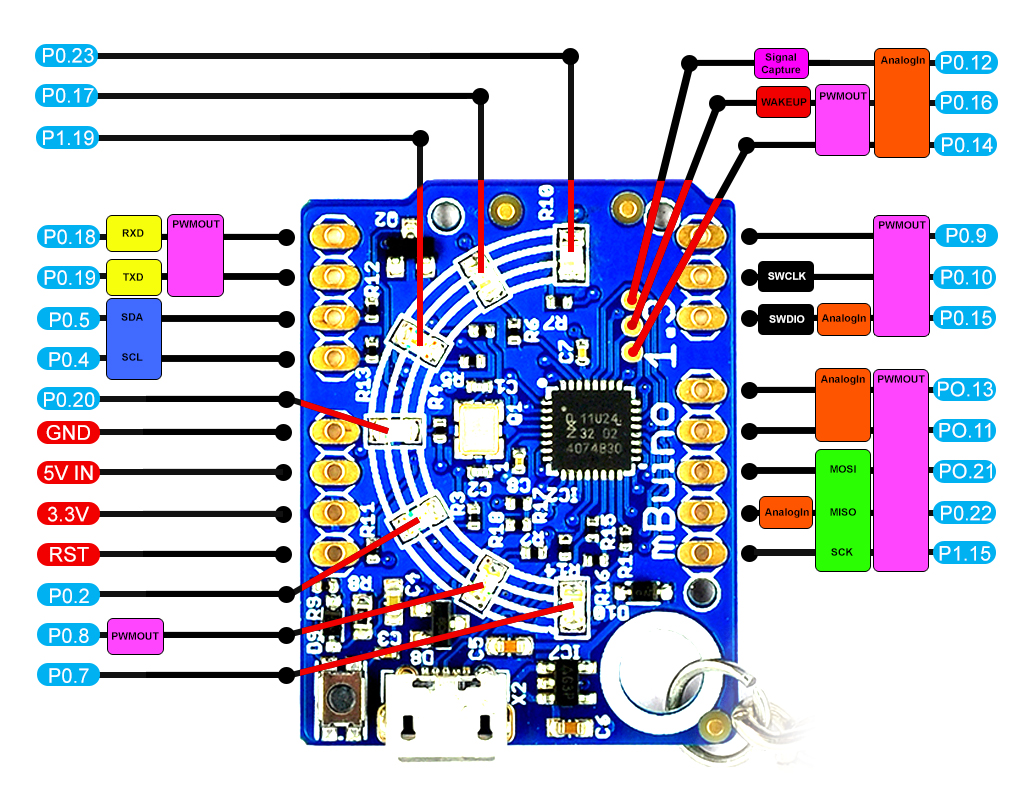
mBuino Pinout

Schematics and Eagle Files
Click here to download.
You need to log in to post a discussion
Discussion topics
| Topic | Replies | Last post |
|---|---|---|
| GHI, mBuino, onlinehelp, Outrageous Circuits Support at GHI's main site. | 0 |
06 Nov 2014
by
|
| I2C, mBuino, SPI Using I2C and SPI interfaces together on mBuino | 8 |
26 Sep 2014
by
|
| mBuino, powerdown, Sleep Getting the most battery life out of an mBuino | 2 |
22 Sep 2014
by
|
Questions
10 years, 9 months ago


