Manufacturing mbed!
The first batch of mbed NXP LPC11U24 have now made it through production! It made me reflect on the journey from concept to release, so I thought it might be interesting to take another look behind the scenes, this time at maufacturing.
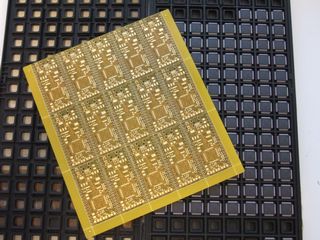 | |
| Ingredients | Equipment |
|---|
Manufacturing, LTEK and Slovenia
I traveled to Sentjernej, Slovenia to visit LTEK d.o.o to oversee the first batch of mbed NXP LPC11U24 being manufactured.
We've been working with LTEK since the beginning of the mbed, and as well as manufacturing all the mbed hardware that we've all come to know and love, they have also assembled various prototypes and experiments for us too (which is probably worth it's own blog article).
This was my second visit to Slovenia, and I have come to really like the Slovenian culture. The traditions and work ethic of the country's communist past are still in place - work starts early, but finishes early. In the past this was to allow the population to work in their job and also tend to their own farm land. Tending to the land is still a pass time, but it seems to be more in the pursuit of wine making (more on that later!)
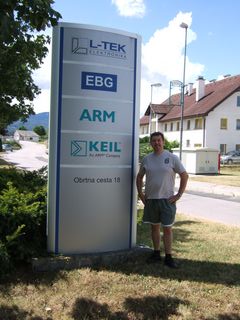 |
| Arrived at LTEK, Sentjernej |
|---|
Getting on with some work!
On arrival the first person to greet me is Rok Sinkovec. I talk to Rok regularly on skype and email, so its more like seeing an old friend than going on a factory visit.
Since my last visit, there have been substantial changes at the LTEK factory. LTEK has grown as mbed has grown - we've shared growing pains. Manufacturing in tens of thousands presents a very different set of problems compared with the small batches of 25 we were originally building for experimentation back when we started mbed!
The first new toy Rok shows me is their new board loader/unloader. This gets stacked with bare PCB panels, and it loads them down the production line in a nice automated fashion, with the completed panels being re-stacked at the other end.
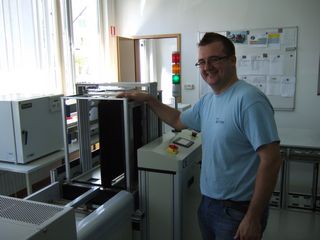 | 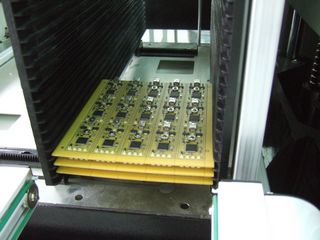 |
| Rok and his new toy | Completed panels |
|---|
The process
For those unfamilar with the PCB production line process, here it is in a few simple steps :
Preparation
A good deal of time is spent preparing the production line. The PCB panels are loaded, the reels of component are placed in special trolleys, the solder stencils are placed in the solder printer and calibrated.
One thing that I am surprised to learn about is how traceable the process is. The pick and place machine reads barcodes containing part numbers and batch codes when the components are loaded, and knows and keeps log which panels of which products they were placed on.
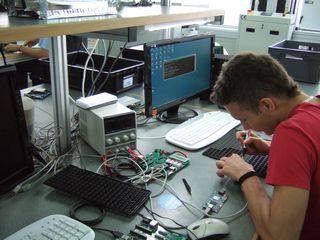 |
For this test batch, the mbed Interface devices are programmed in a special little jig LTEK have made, so that the parts that are placed are already programmed, and should just work when the come off the line.
Solder Printing
For surface mount production, a solder paste is applied to the PCB precisely where it is needed using a stencil, rather like silkscreen printing. With such small dimensions involved (0.5mm between the pins of an LPC11U24), the calibration is essential to make sure the solder goes in the right places.
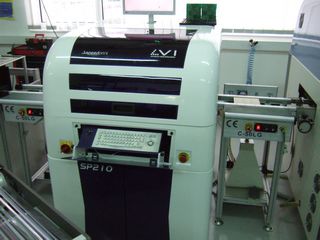 | 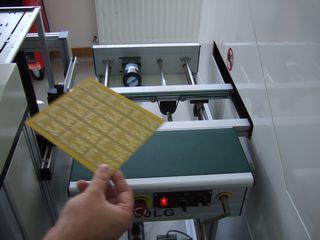 |
| First stop - Solder paste | A pasted panel |
|---|
Pick and Place
Once the PCB panel has had it's solder printed, continues down the line into the pick and place machine. This is where the magic happens. Photos and video clips of how fast and accurate such tiny components are placed (we used 0402 passives, at 1.0mm x 0.5mm) do not do it justice.
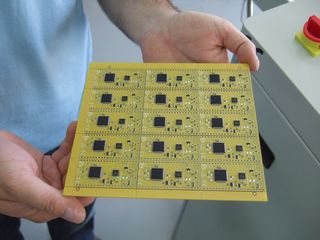 | |
| Stunning! | Placed panel |
|---|
Essentially the pick and place machine is placing the components into position, and the solder paste that has been printed does a very good job at holding the components in place. It is quite safe to handle a populated panel before it is soldered.
Reflow
The reflow oven isn't all that exciting. It is a conveyor belt through and oven that has a specific temperature profile. As the panel makes its way through it is heated gently to get the board uniformly up to temperature. The heat is then increased to get the board temperature to the point where solder paste re-flows and becomes molten solder. The last stage of the oven gently cools the board evenly.
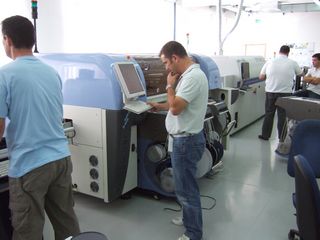 |
| A view down the line |
|---|
There are design best practices to help keep things simple at this stage. The main problem during reflow is "tombstoning" when the solder melts on one end of a resistor or capacitor before the other. The surface tension of the molten end lifts the component vertical, like a tombstone. There are tips and tricks that can help prevent this. Usually after a few panels have run through the line, the components most at risk from tomb stoning will be identified.
For persistent offenders, it is sometimes worthwhile placing an 0603 component instead. An 0603 will fit on the the footprint of an 0402 and is far less likely to tombstone. In general, the smaller the component, the more likely it is to tombstone.
Did it work?
Being at the end of the production line is daunting. When the first panel comes off, there is no reason not to test it right away, in front of everyone. They'll all know instantly if it's worked or not!
Fortunately for me, the first ones off worked perfectly the first time!*
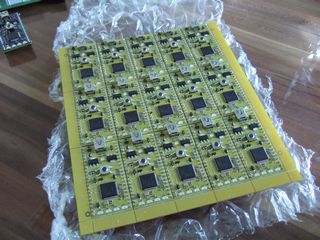 | |
| The first panel off the line | Blinky, 10 mins after production! |
|---|
(*) There were a a few minor blips, as my first program was compiled for LPC1768 and so didn't work! It only took a few minutes to spot the problem.
... and relax
At 3pm we all decamp to Radko's (the proprietor of LTEK) wine house for a BBQ, complete with (very good) home made wine. I particularly liked the phrase when reaching for some bottled water "Drink the wine! The water we pay for!".
Excellent hospitality, food and wine, and company.
 |
| Rok - Same pose, different machine! |
|---|
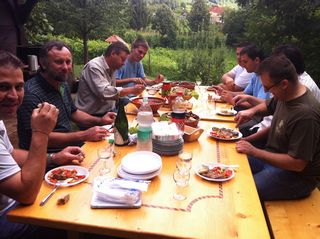 | 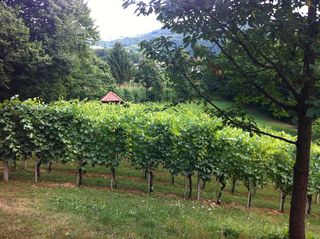 |
| A good guest list | The vines - An essential ingredient |
|---|
Some other interesting stuff
Whenever I have discussed ideas with LTEK, the mantra is "Everything is possible". Radko took me on a tour of the other companies in the same industrial park, who he has close working relationships with. Suddenly I understand why everything is possible!
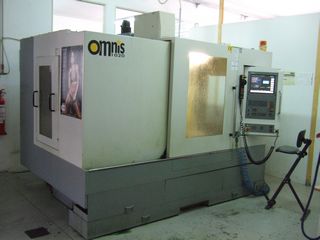 |
Big CNC milling machine
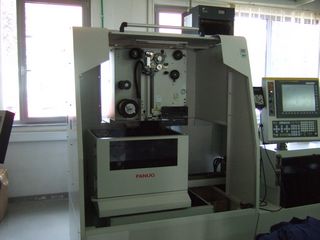 |
Erosion machine. Like a big band saw, but it uses really fine wires and high current to errode/cut through very think sheet/block material, like steel and stainless.
This press was stamping parts out from 5mm thick steel strip being fed into it. When it runs the ground shakes and you can feel your insides resonating.
Everything is possible!
Back to mbed
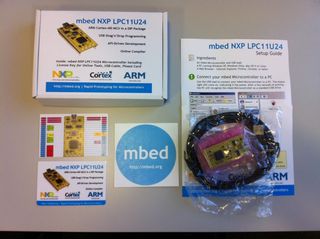
A little while later, the production batch are tested, packed into the familiar kit (complete with the cable, cards, sticker and Setup Guide)
The kits are leaving the warehouse now, being shipped to all the usual outlets, just in time for the holidays!
 |
Looking forward to seeing it out there, and what you invent and prototype with it!
8 comments on Manufacturing mbed!:
You need to log in to post a discussion


Super!
I like to see this things! Very nice! Good choice!